
(December 22, 2016)—Last-minute holiday gift idea! Review my previous post on how to make bone awls, and then check out this post to learn how to decorate your awl.
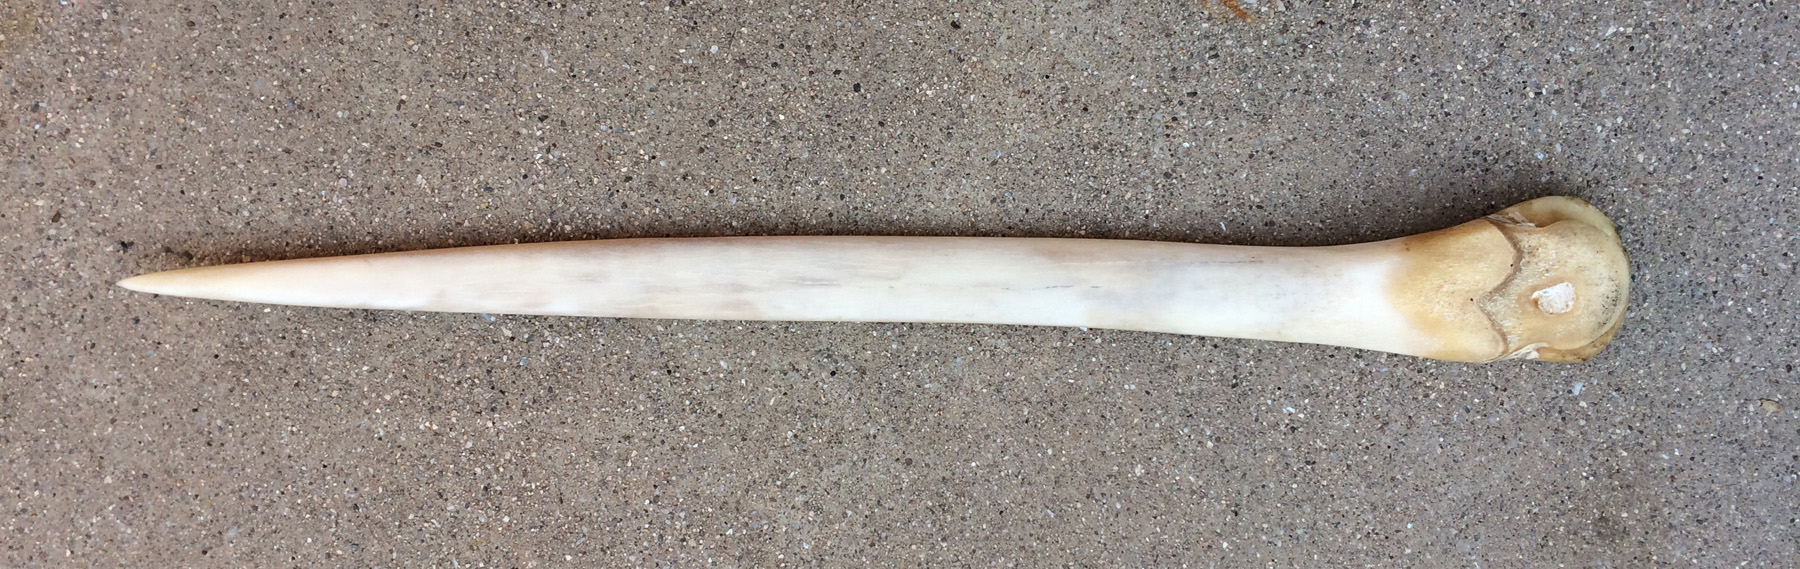
For this project, I used a large bone awl made out of an elk metacarpal. I made this awl a few years ago, but I hadn’t yet decorated it, and I wanted to finish it off as a nice hair pin. Large hair pins/awls are not uncommon in Salado sites and sites where people had access to a lot of bone.
I used some of these flakes to incise a design in the awl:
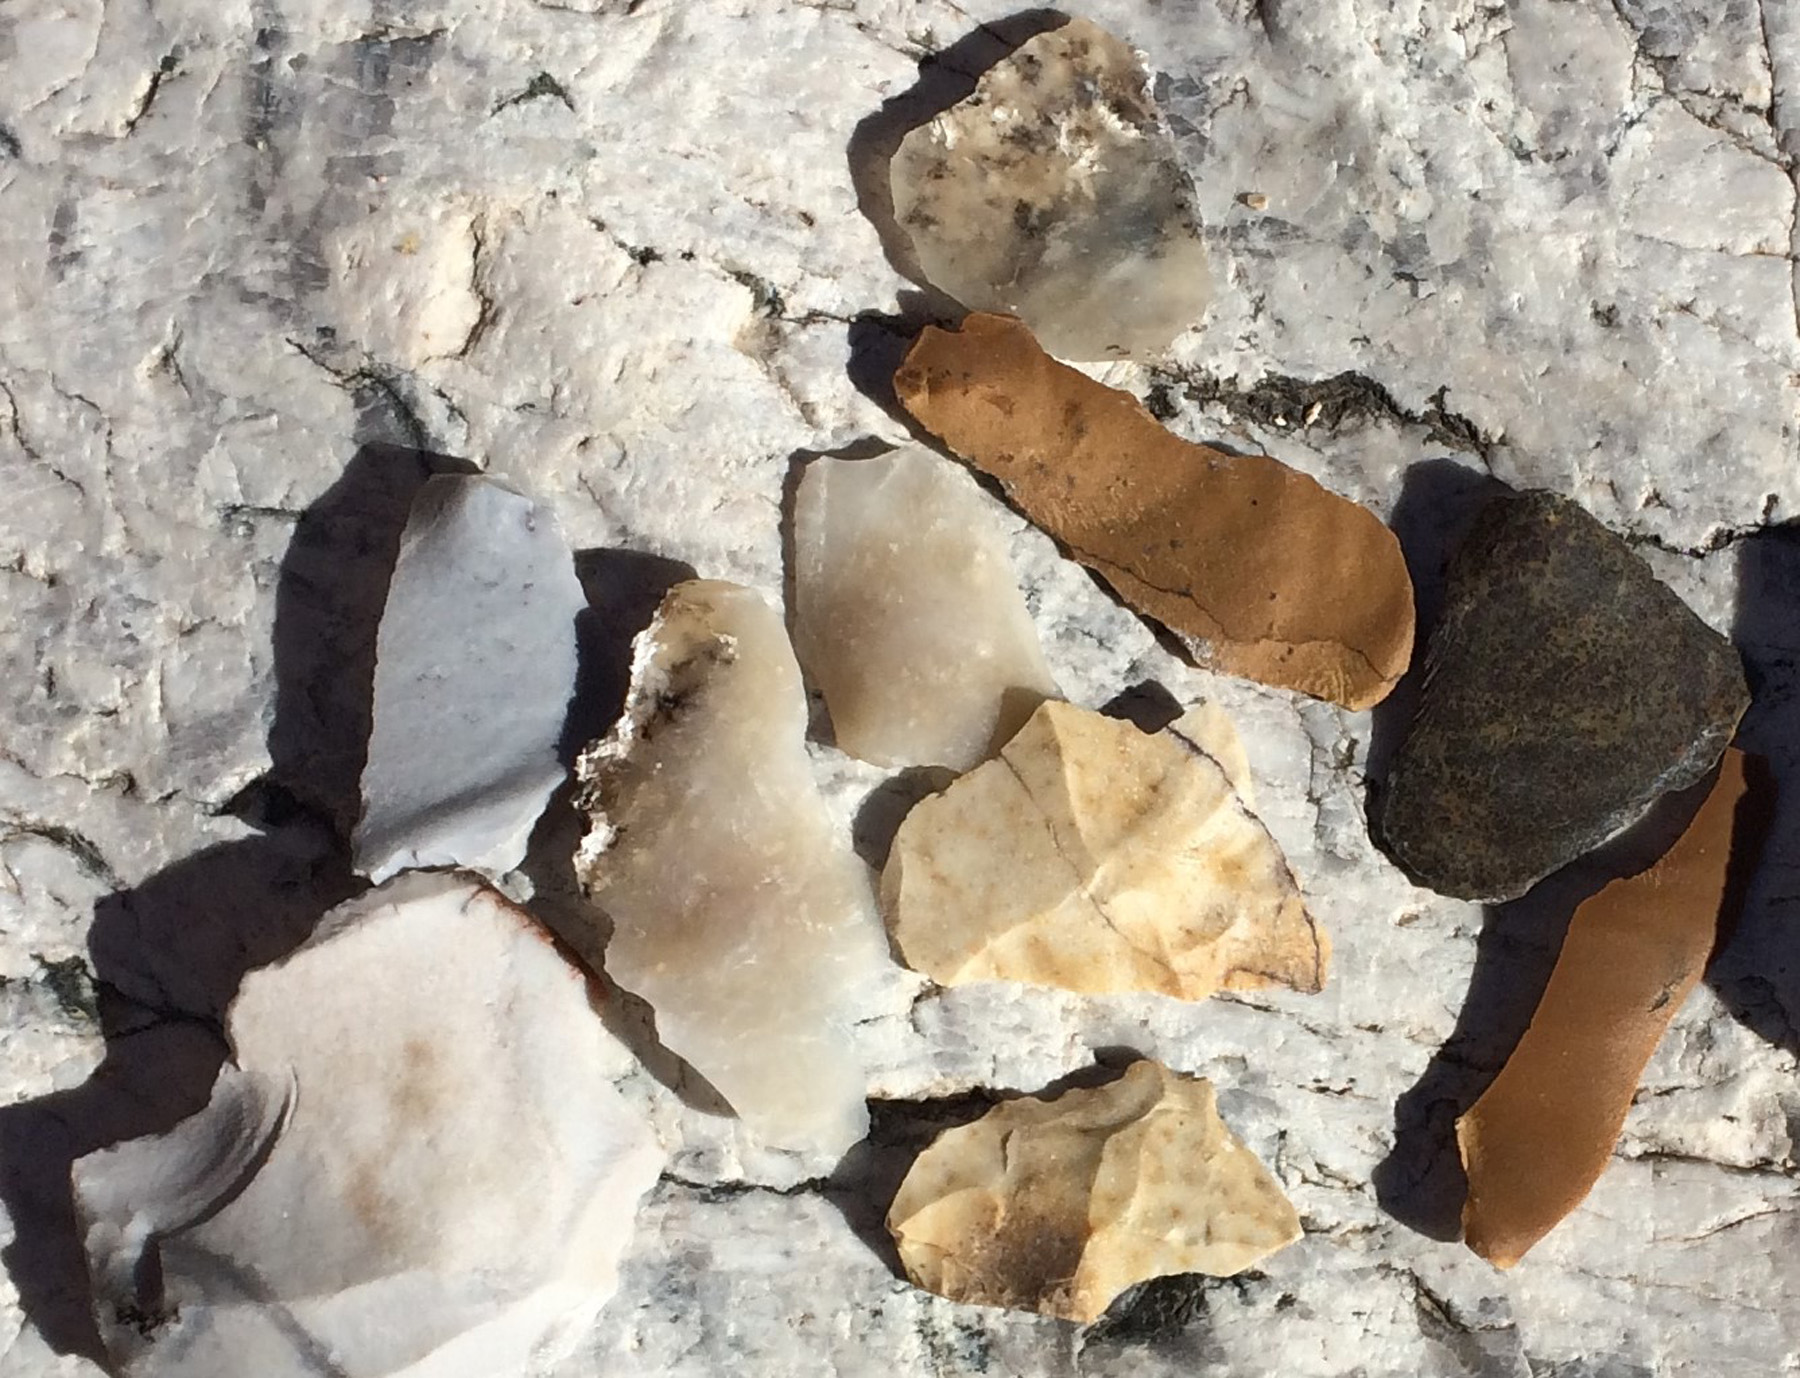
Fresh flakes work really well for incising. As the flake dulls, the edge widens and the incised mark becomes easier to see. None of these flakes have been used for other projects.
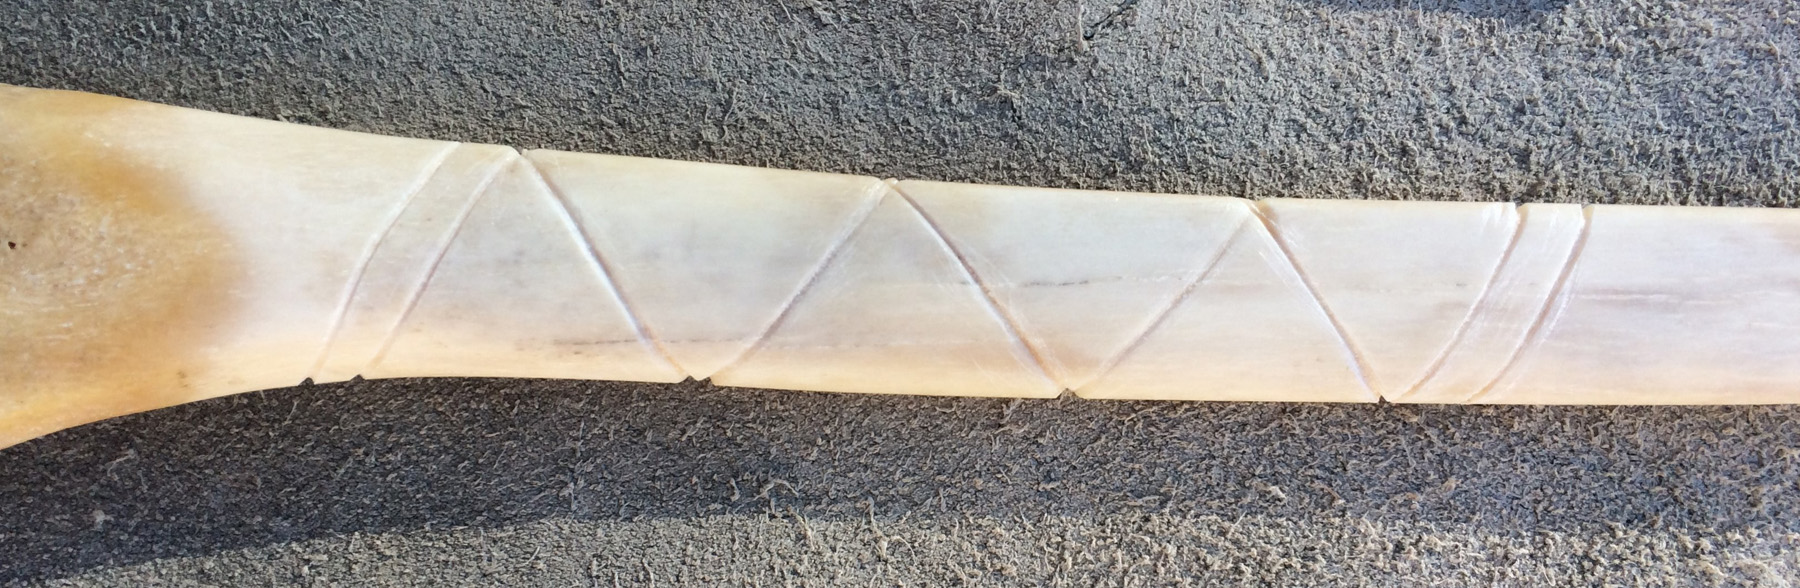
It took about 20 minutes to incise the layout of this design. The lines are not even a millimeter deep, but they are still wide enough to show up well.
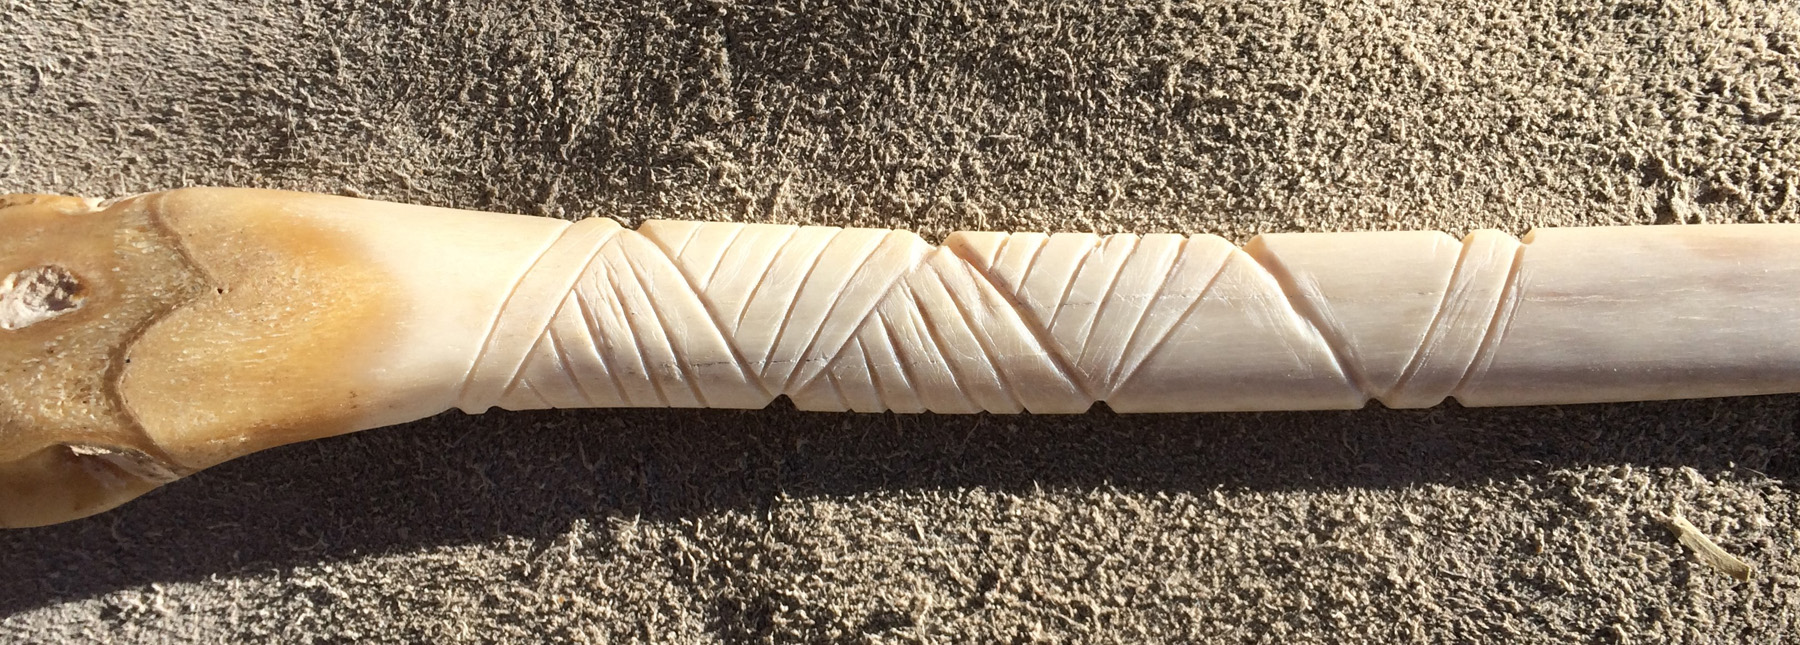
In this photo you can see how the design has progressed after about 40 minutes. It took less than an hour to finish the incising. All the scratches outside the lines show that this was done with stone tools.
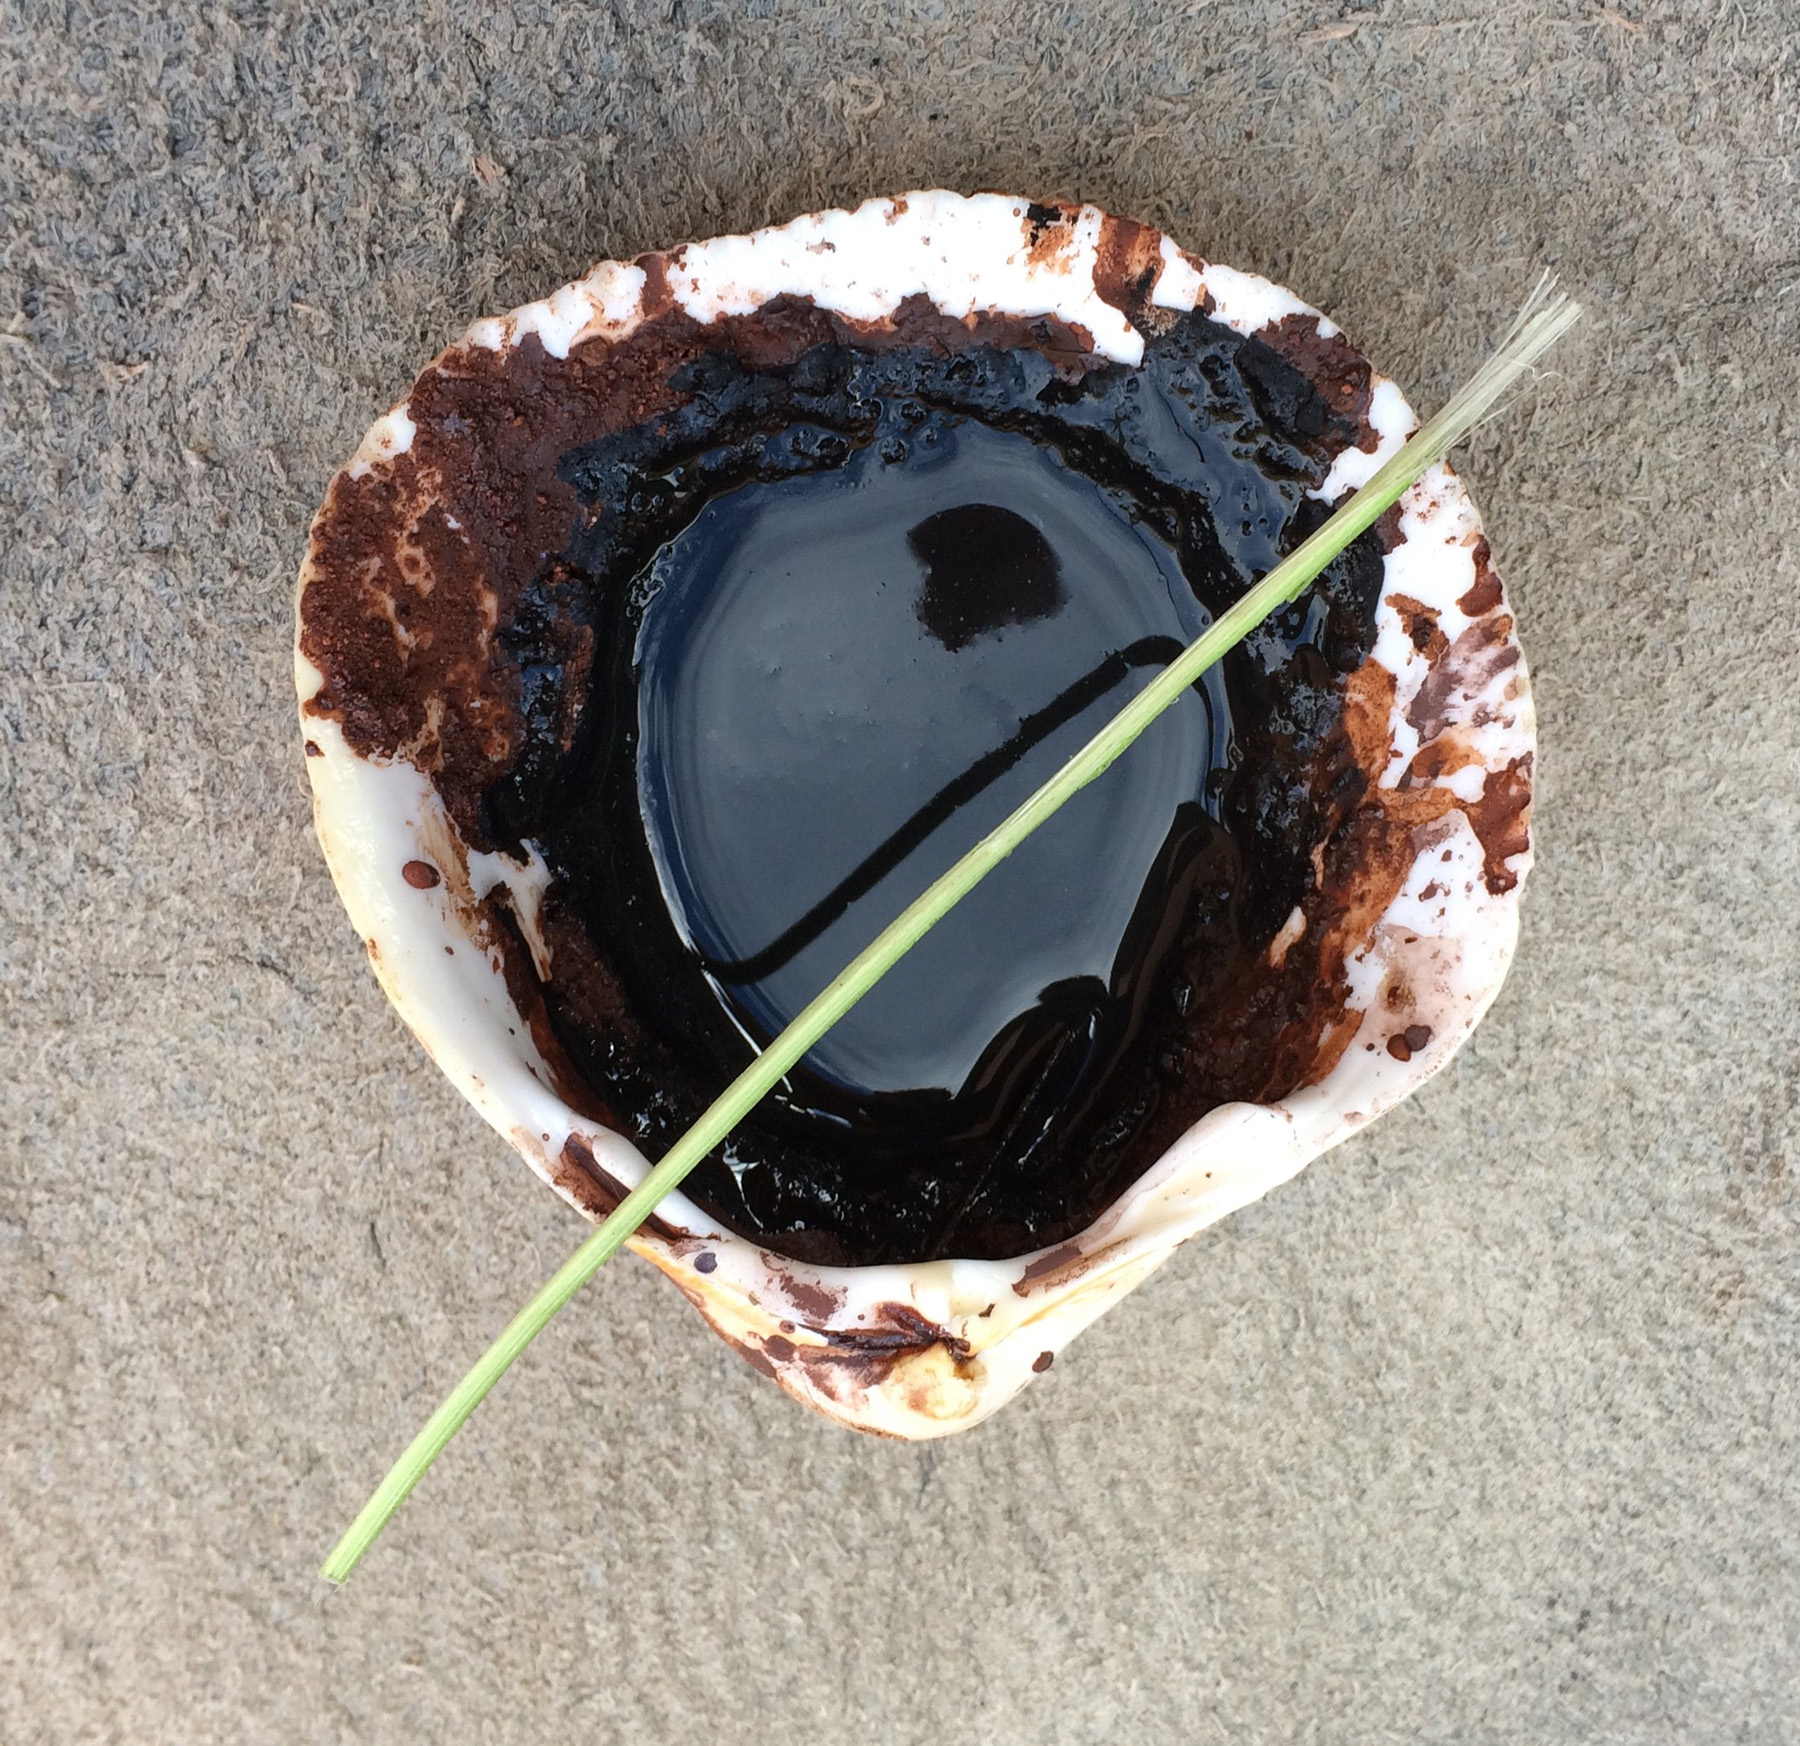
To really make the design stand out, I decided to paint it and sand off the paint, leaving only the paint in the incisions. This paint is a mixture of mesquite sap and ground charcoal. The brush is made of yucca leaf.
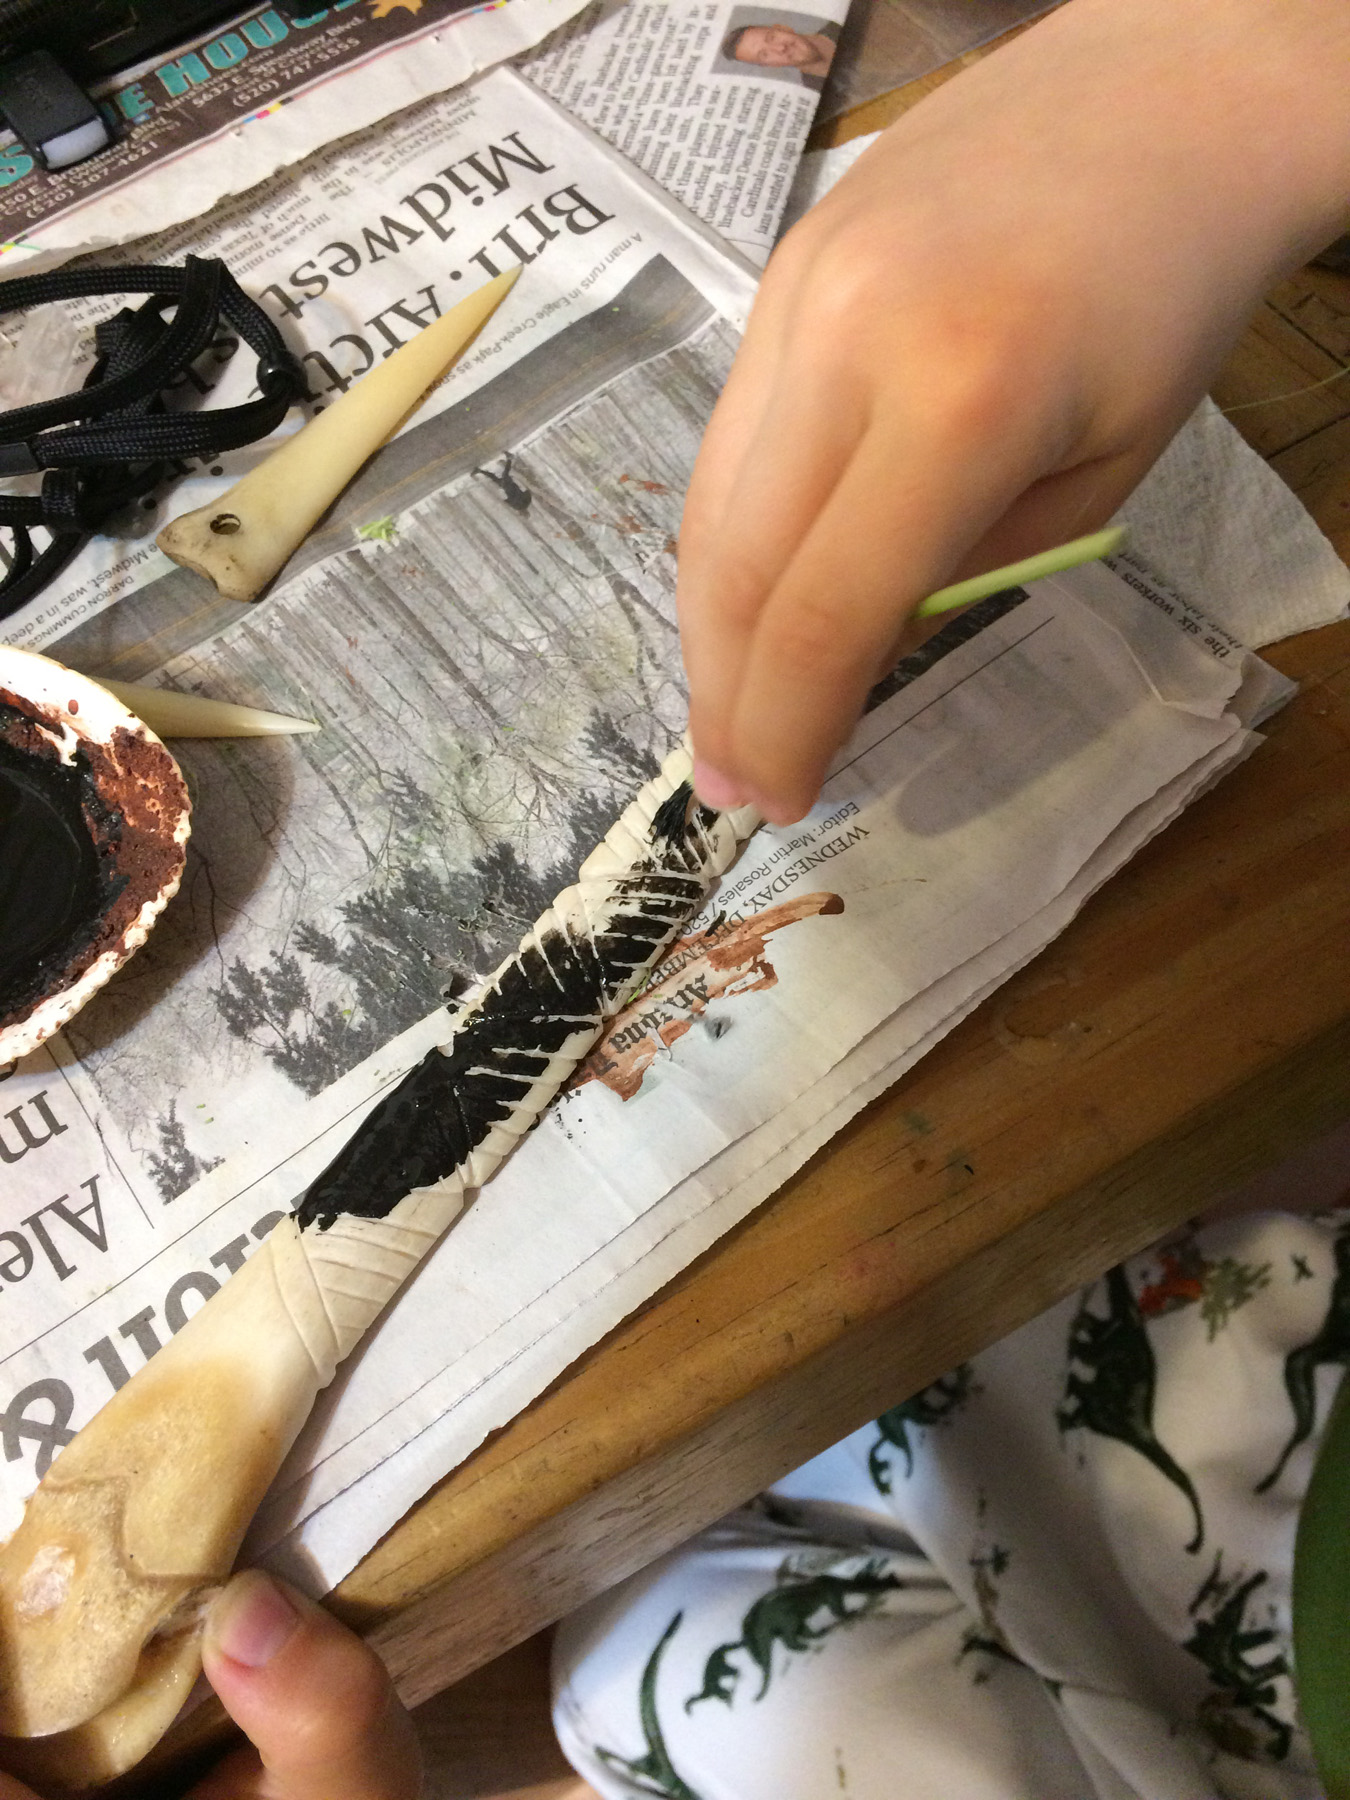
Using the yucca brush, I painted over the design area completely then let it completely dry out. I gave it 24 hours, but it seemed pretty dry in about 40 minutes.
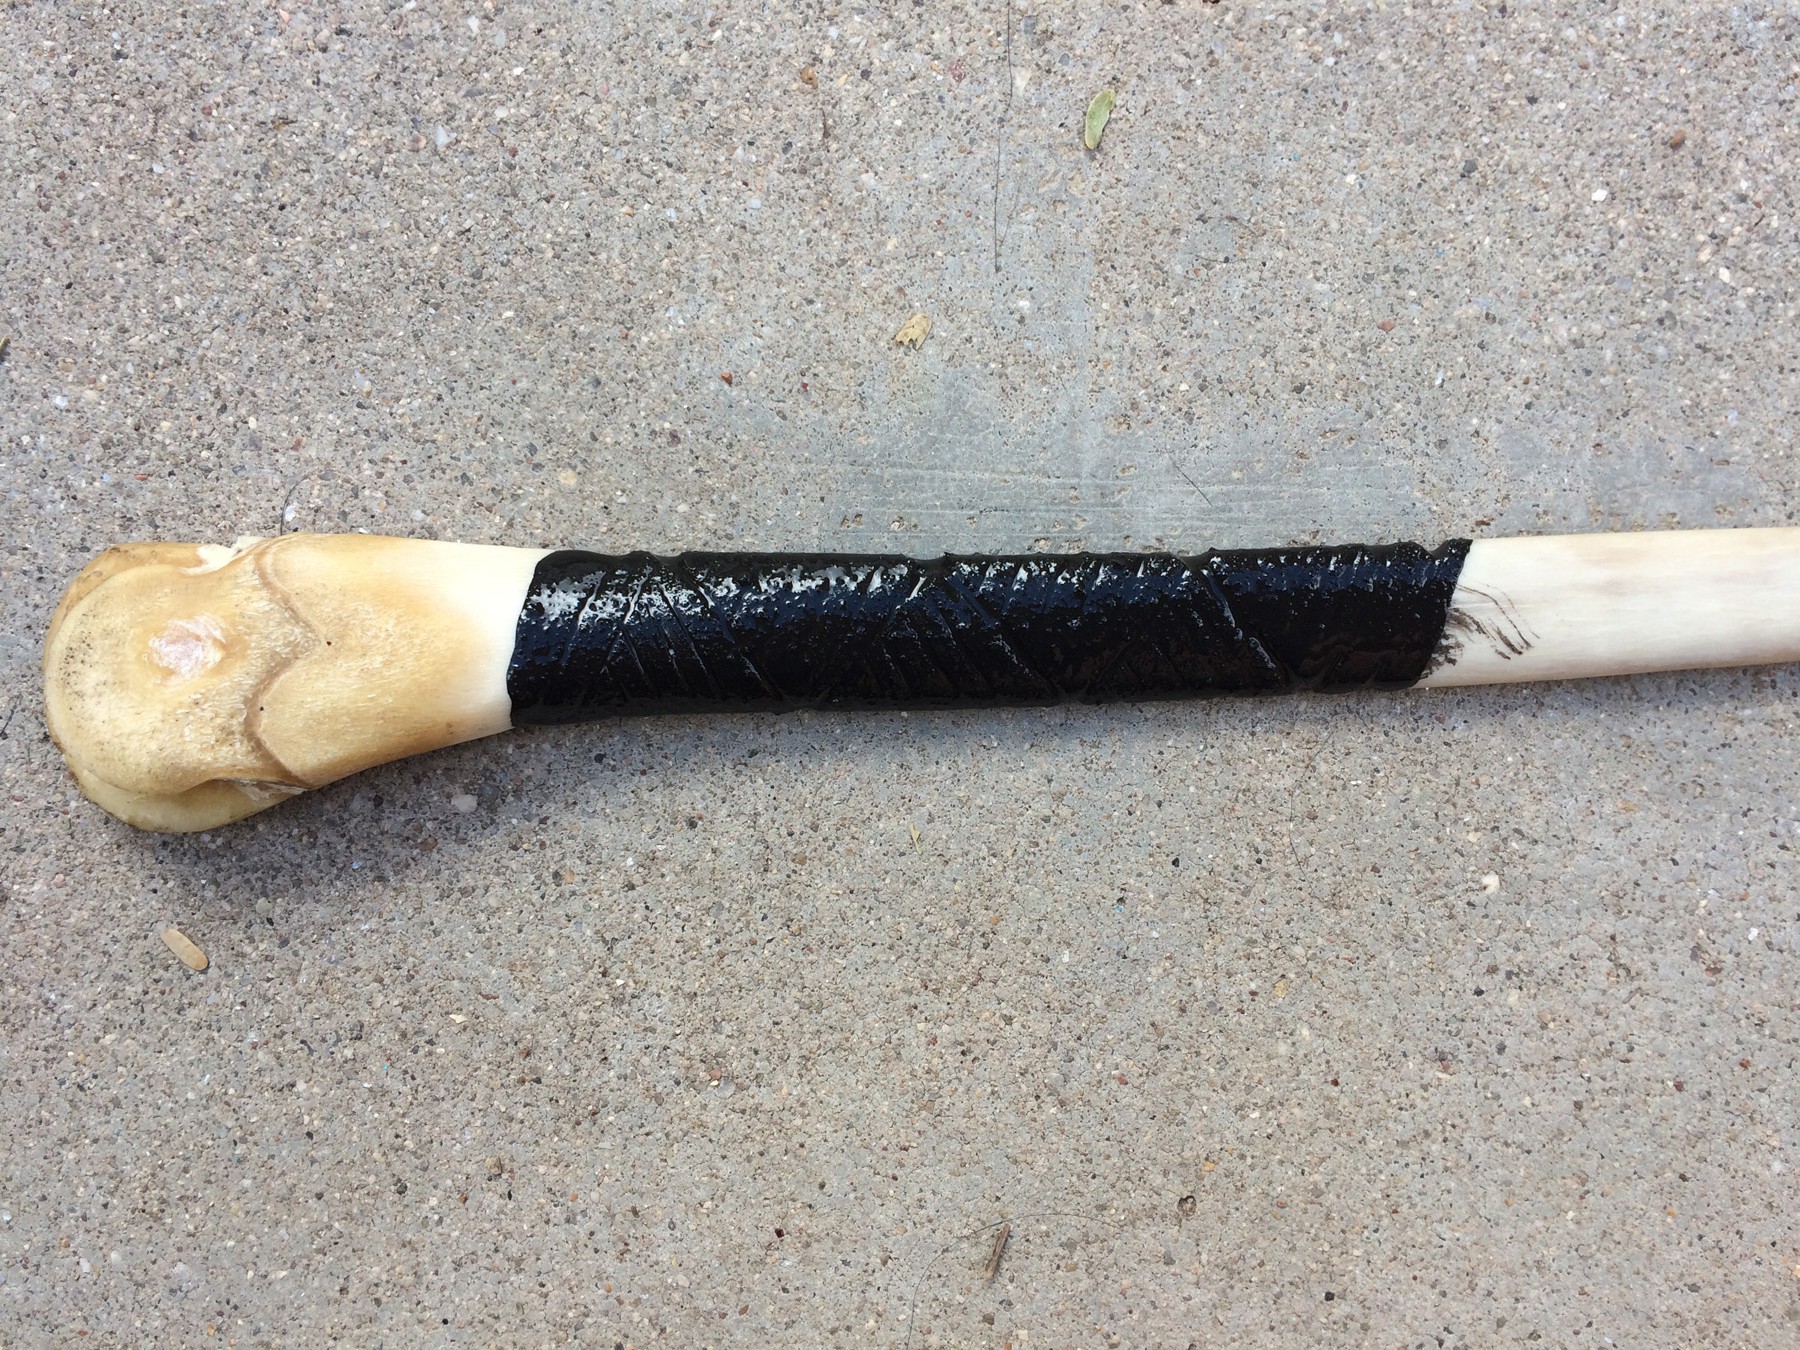
Make sure you have good coverage down into the incised lines.
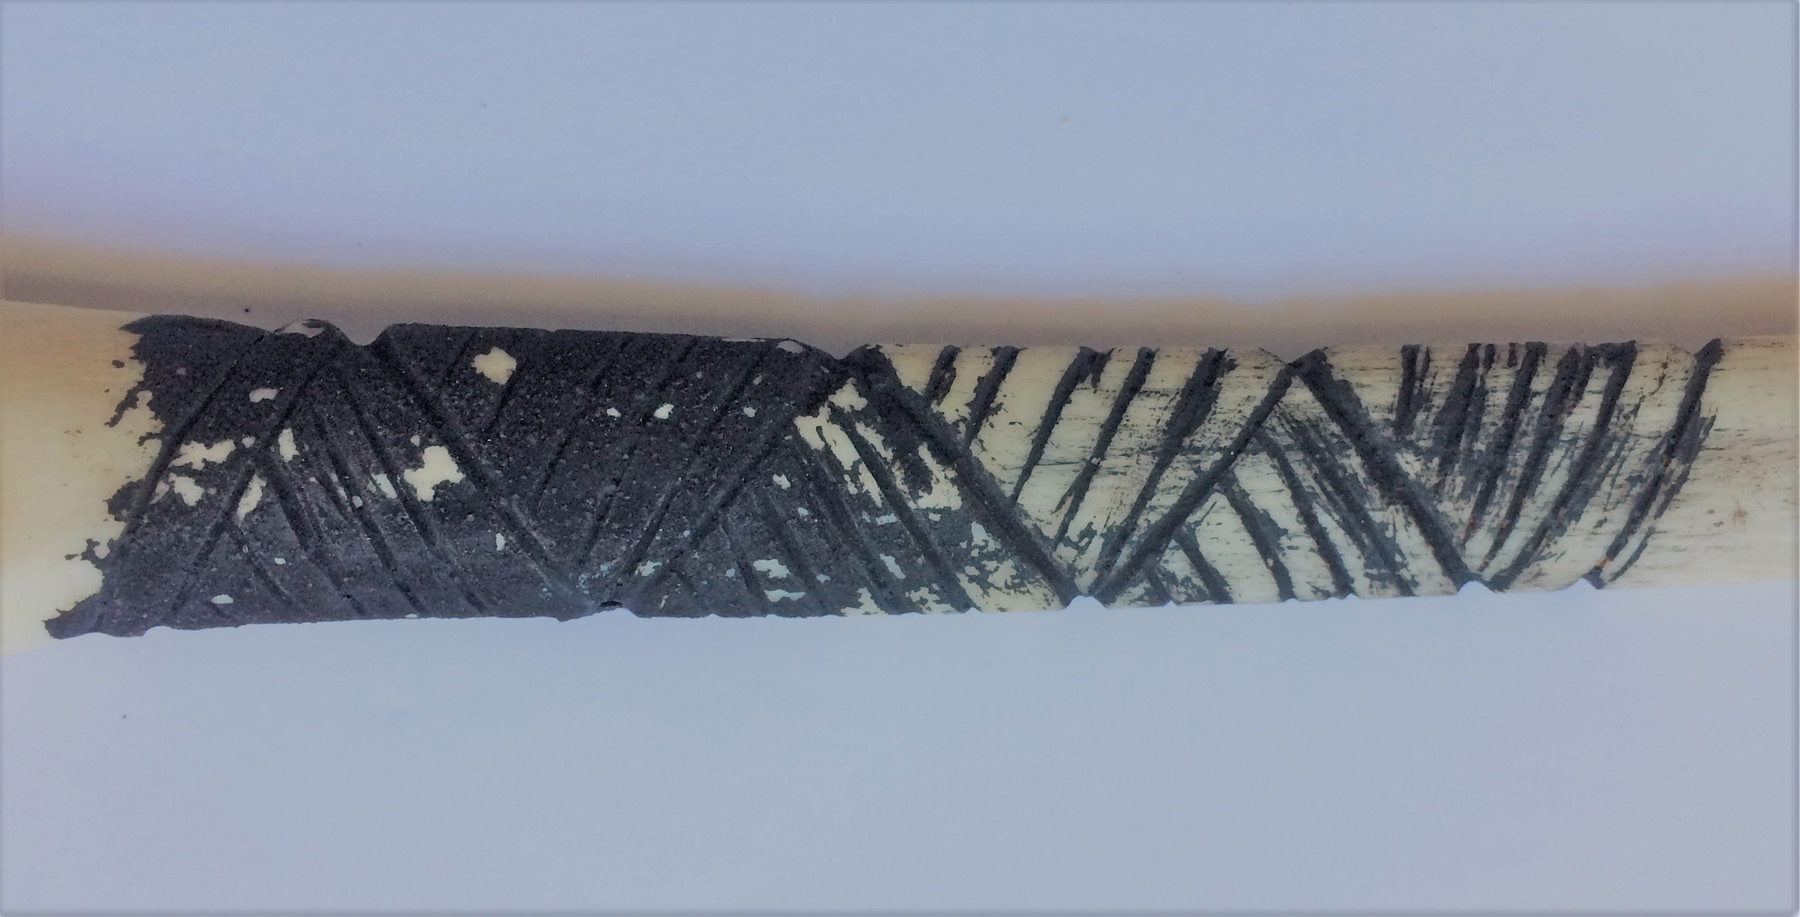
I used a small angular piece of sandstone to rub off the paint on the outer surface of the bone and sand off some of the shallower scratches holding paint.
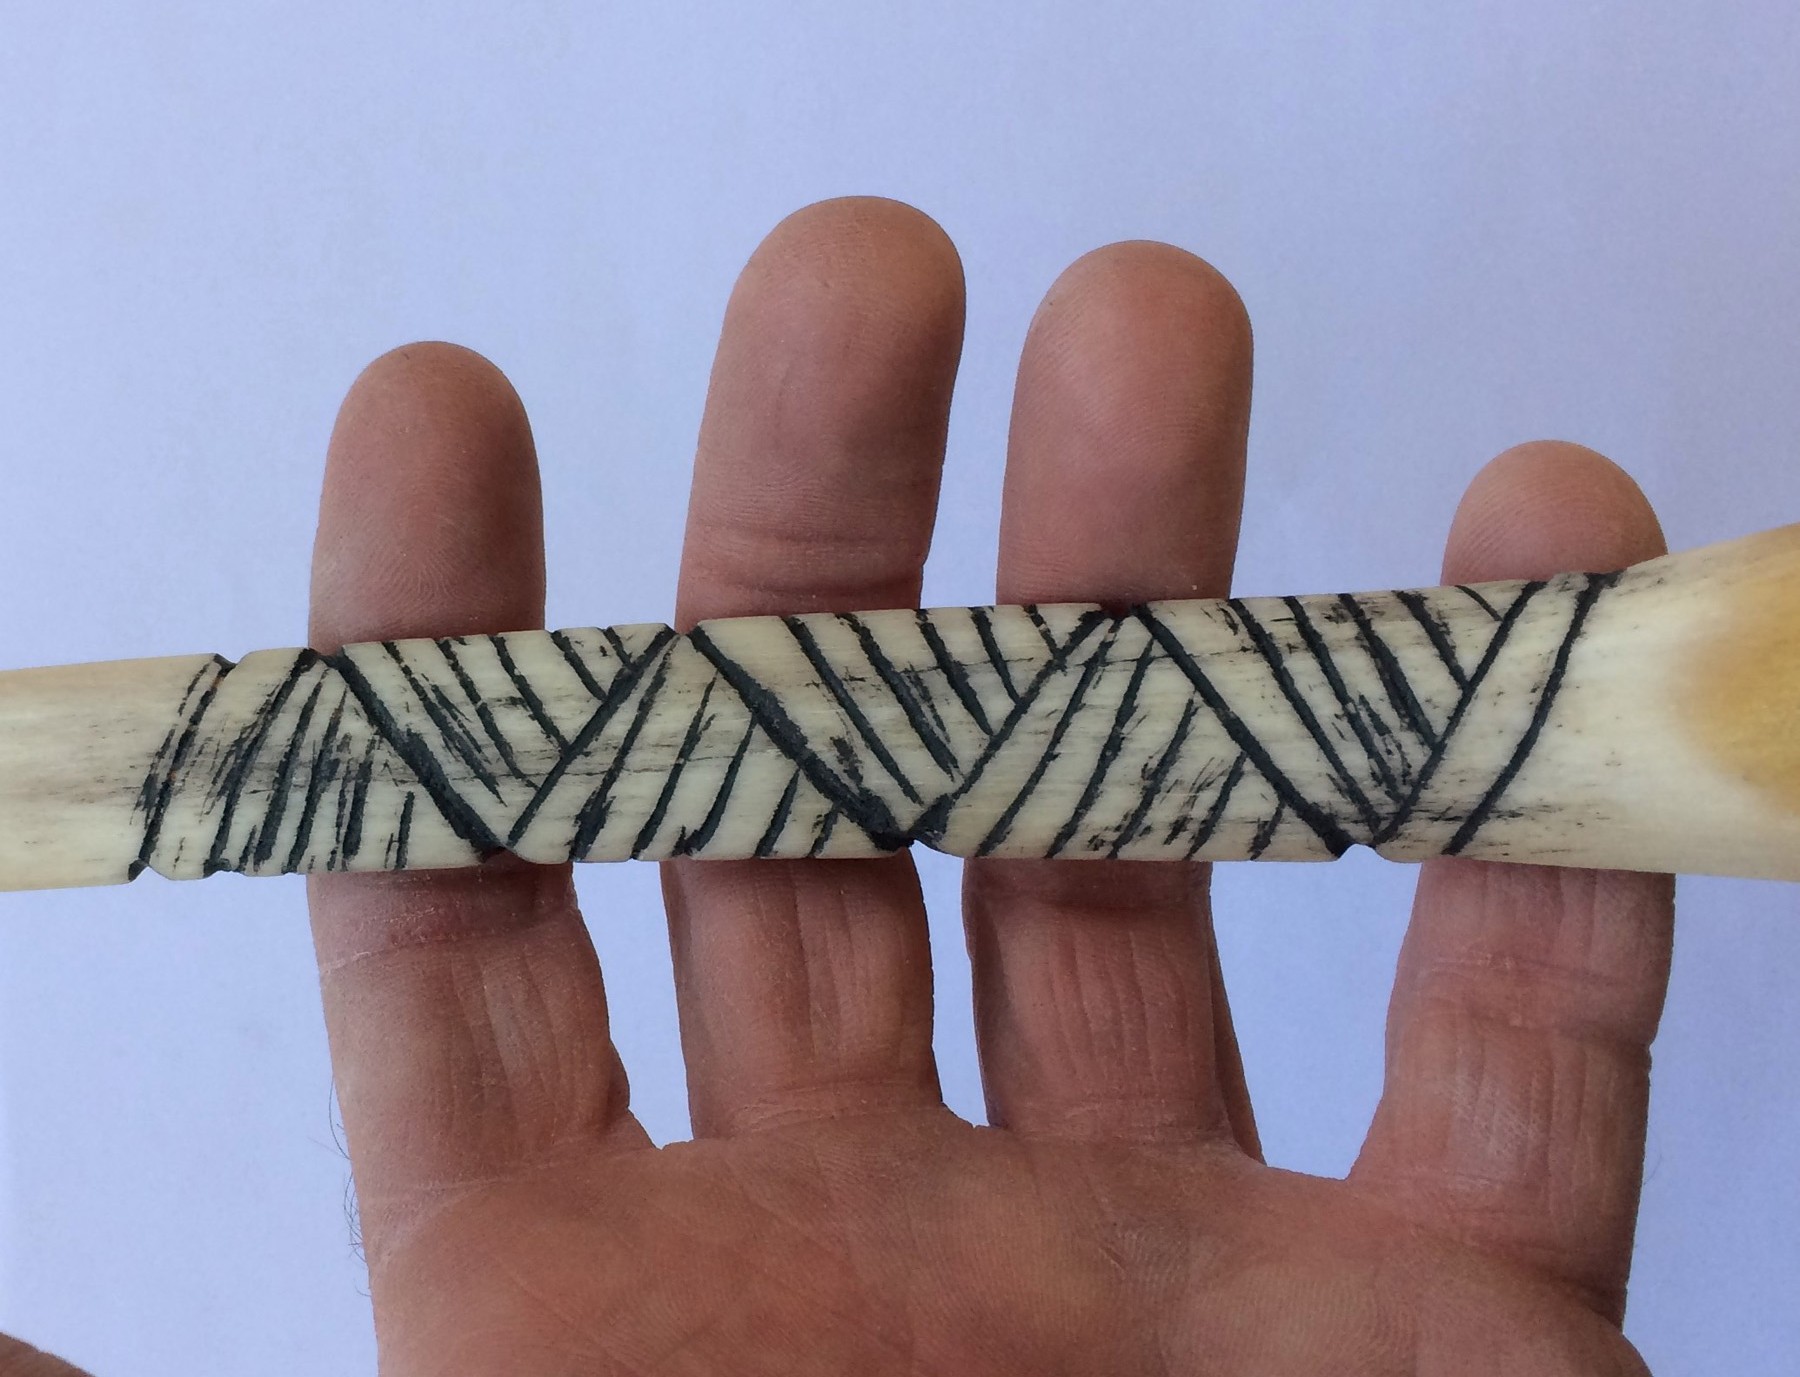
Here is the finished design. With even more sanding, more of the smaller scratches would be sanded off. I then used a polishing stone to rub the surface of the bone. Polish happens through use, as well.

This is a set of gaming pieces I made a few years ago. It is based on a set that was found in a rock shelter up near Navajo Mountain Utah. The flat sides all have the cross hatch pattern, and only one has the design with six dots on the rounded side. The round discs all have the dot in the middle on one side. This set took at least 30 hours to make. It took more than an hour to do the incising on each piece.
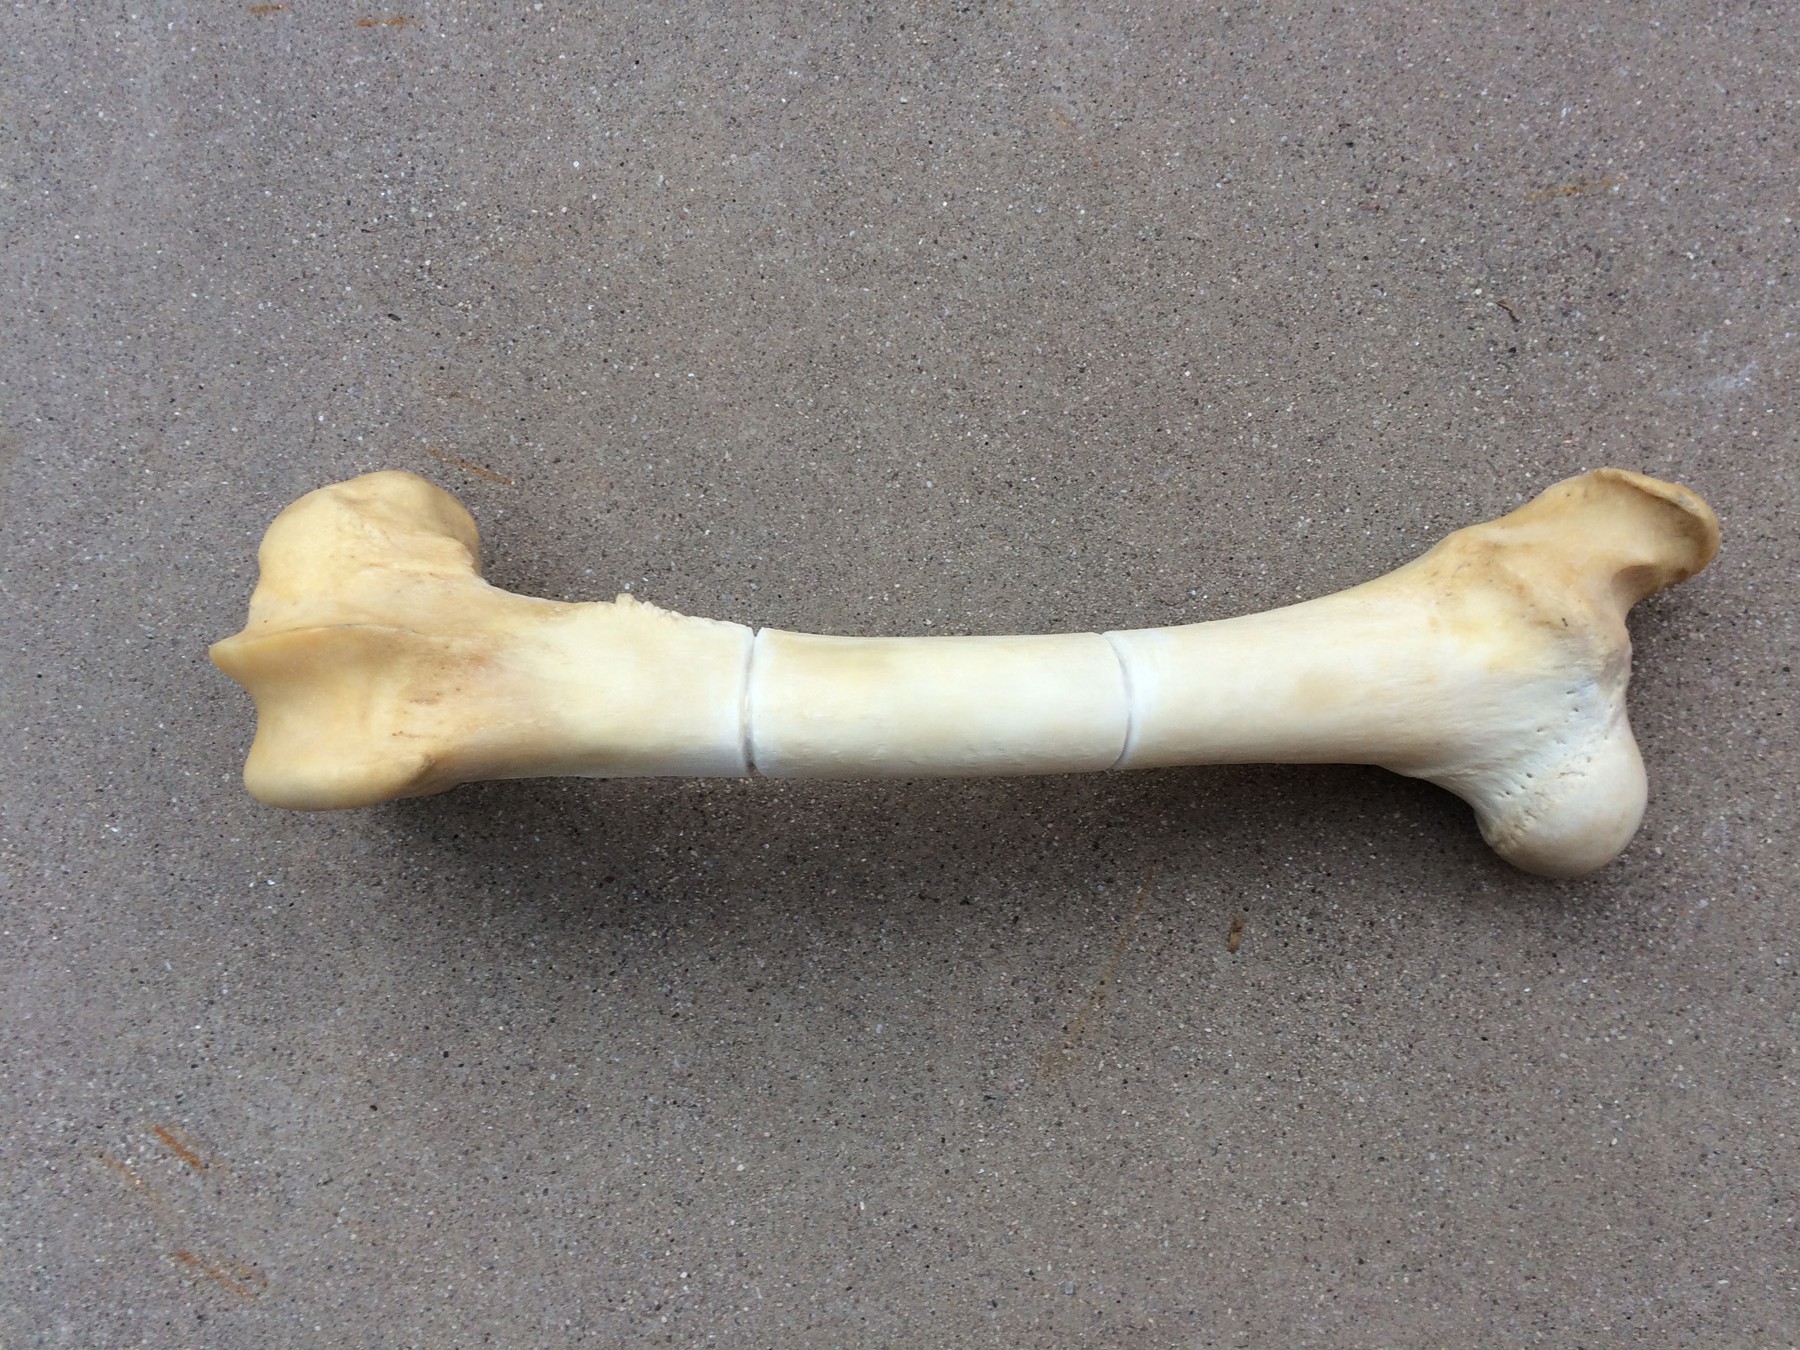
This is an elk femur that I got at the Tucson Gem show last year. My goal was to incise around it and cut a bone tube out of the middle. We occasionally find bone tubes with beautiful designs incised around them in archaeological sites. We are not sure what they were used for.
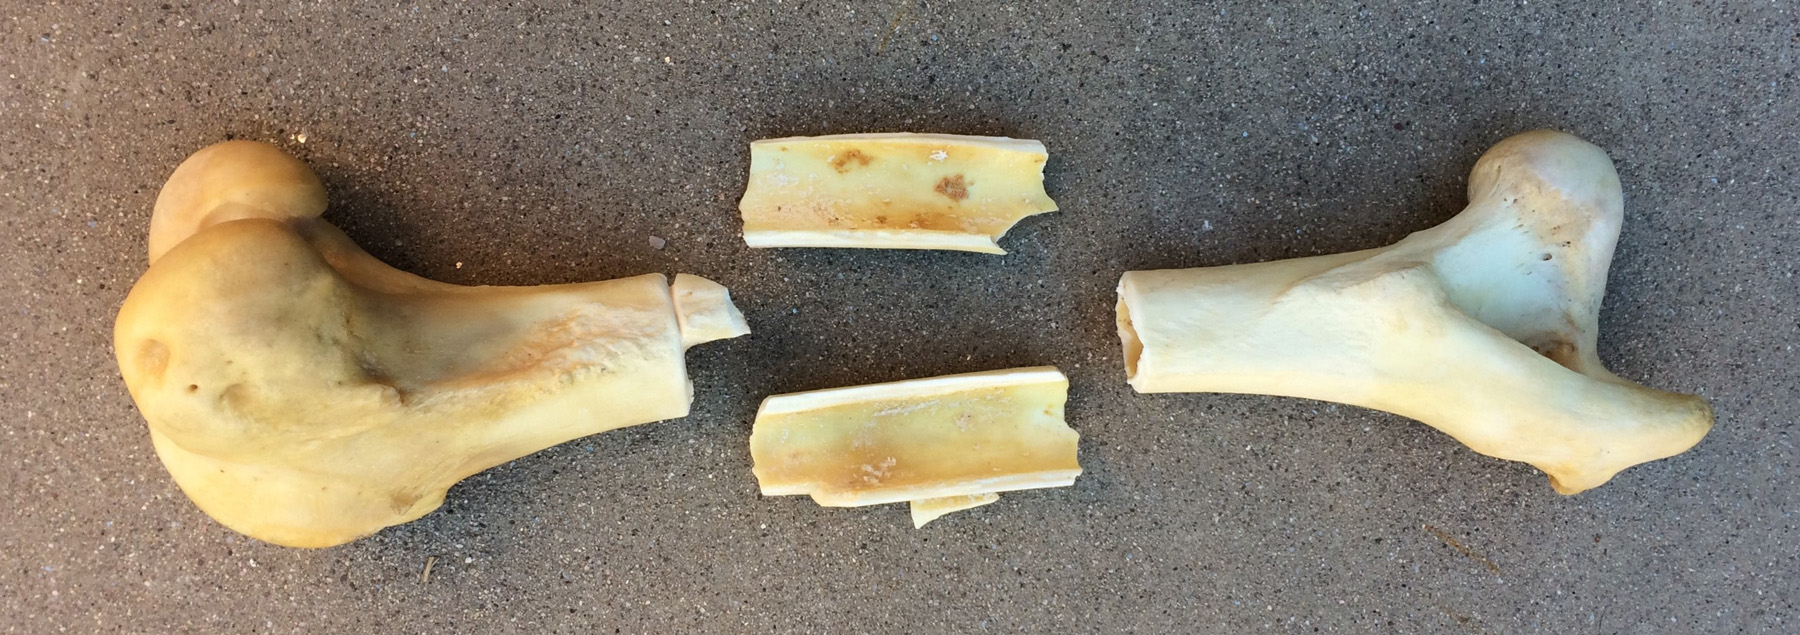
Oh, MAN! So here is a lesson learned: make sure you incise your lines most of the way through before attempting to snap off the ends. The bone was thicker than I realized and I snapped it too soon. I will make things out of the fragments, but I had already spent about two hours trying to cut out the tube. Archaeologically, we find things that broke during manufacture all the time. Sometimes it’s hard to tell whether what we find is purposeful or accidental.
One thought on “Hands-On Archaeology: How to Incise Bone”
Comments are closed.
This is a test comment.