- Home
- >
- Preservation Archaeology Blog
- >
- Hands-On Archaeology: How to Make a Bone Awl
(December 12, 2016)—You might have seen pictures on our Facebook page from a bone-tool making workshop I did recently. Here they are in case you missed them. And now here’s a post on how to make a bone awl. You can also sign up for my upcoming class here.
Step 1: Get the right bone
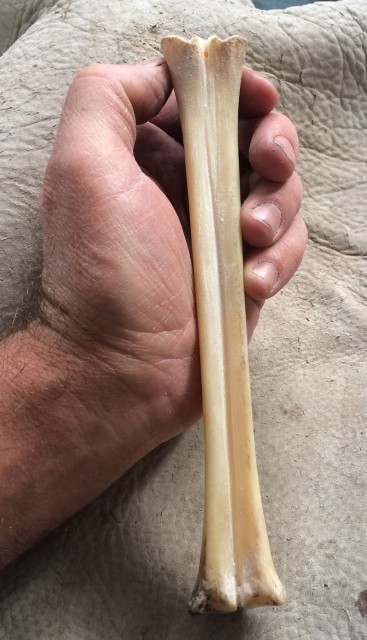
The process of making a bone awl is relatively simple. Nowadays, though, the hardest part might be finding a suitable bone to use. A suitable bone should still be pretty fresh—still yellow and somewhat greasy. If the bone is completely dry and white, it is brittle and will crack easily. An awl needs to be durable and able to withstand a lot of force. I’ll do a post on how to clean off a deer or elk leg to prepare it for bone tool manufacture, in the near future.

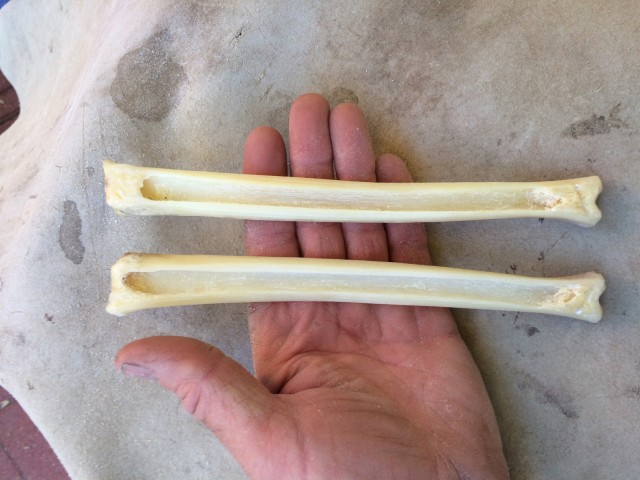
The two bones above were purchased at the Tucson Gem and Mineral show. If you are a hunter or know a hunter, that is a good source for fresh leg bones. You can also get cow bones from butchers sometimes. Keep your eye out for road kill (in places where it is legal to collect it!) as well—if the animal is not too decayed or crushed, you can harvest parts off of it.
Step 2: Cut the bone
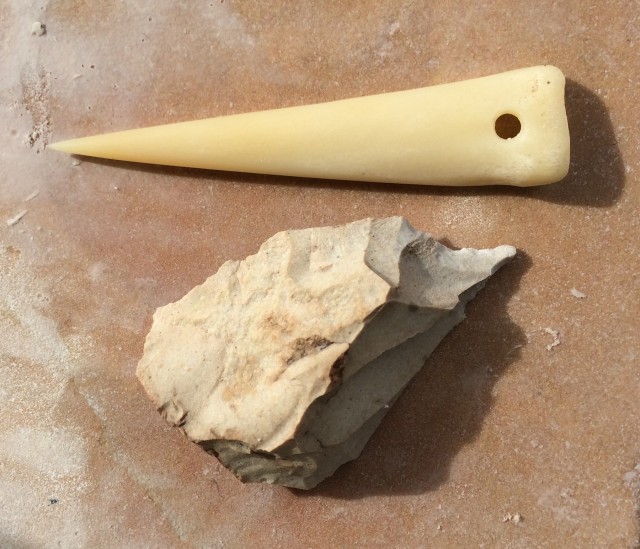
Now that you have a piece of bone, it is time to cut it up. There are a couple ways to split the bone apart. One way is to just smash it up with a rock, but you end up wasting a lot of bone. It is really difficult to control the shape you’ll get, as well. What we see a lot archaeologically is the use of flakes to cut out the shape of awl you want from the bone. Basically, you cut grooves and split the bone down the grooves.
|
|
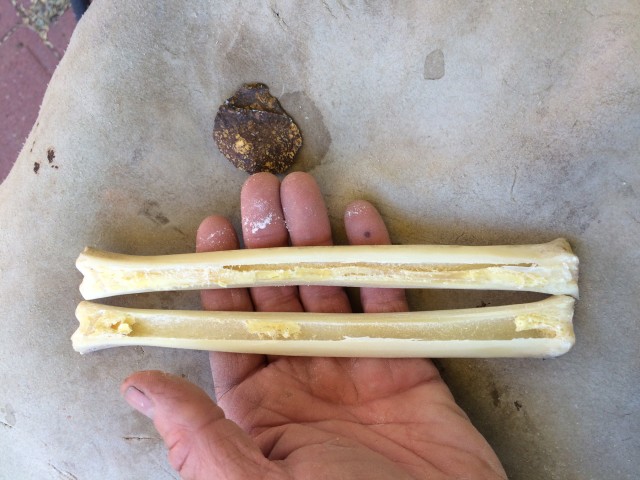
I used the flake in the picture as a wedge to split this bone in two. I made the cut all the way through the bone most of the way to the ends. This was a juvenile animal, so the ends were just cartilage. The bone of an adult will be thicker and take longer to cut.
Step 3: Clean the bone
In the picture, you can see the yellow butter-looking marrow in this bone. In fresher bone, the marrow is more jelly-like. This greasy marrow is what keeps the bone in workable shape. Needless to say, my dog is always nearby when I am scraping out that delicious marrow!
If you clean the bone by boiling, that speeds up the drying-out process. In my experience, awls made of fresh bone work better, as they are sort of greased and puncture more easily. So, I find that it is best to clean the bone without cooking it.
Step 4: Shape the cut pieces
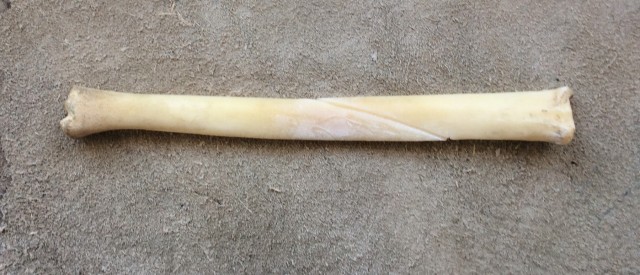
If you cut a notch at an angle across the bone, you can easily make two awls out of each side of the bone. This also cuts down on how much grinding you’ll need to do to sharpen the awls. In the process of making the awls in this article, I used quite a few flakes until they were dull. It is handy to have a good supply of flakes on hand for this project.
 |
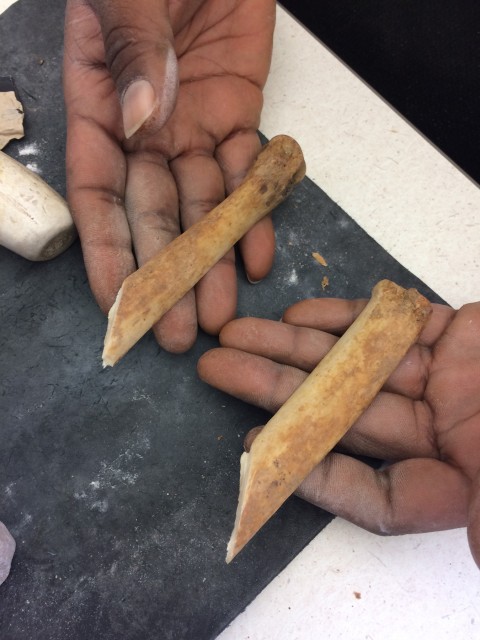 |
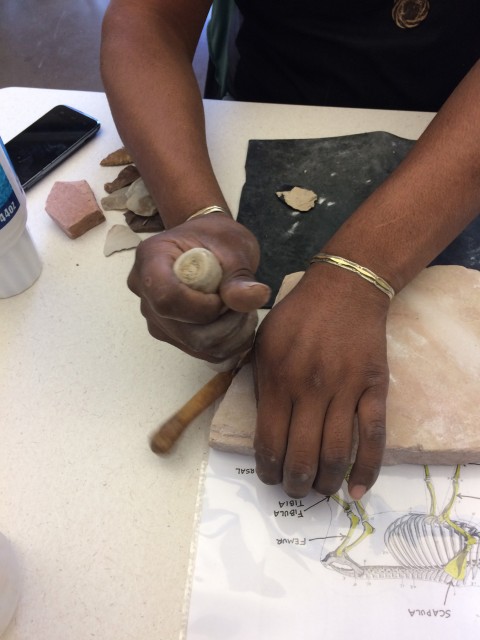
In these two photos you can see a method of splitting your bone when the notch is incised deep enough. Nacho, a participant in my recent bone awl manufacturing workshop, rested the bone on a flat slab and carefully hit the end hanging off, and it split like a charm. This bone had been in my compost for quite some time. It was still in good enough shape to use for tools.
Step 5: Grind to shape
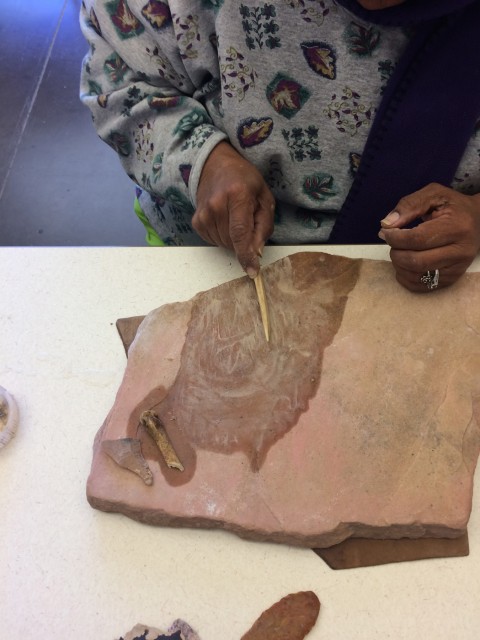
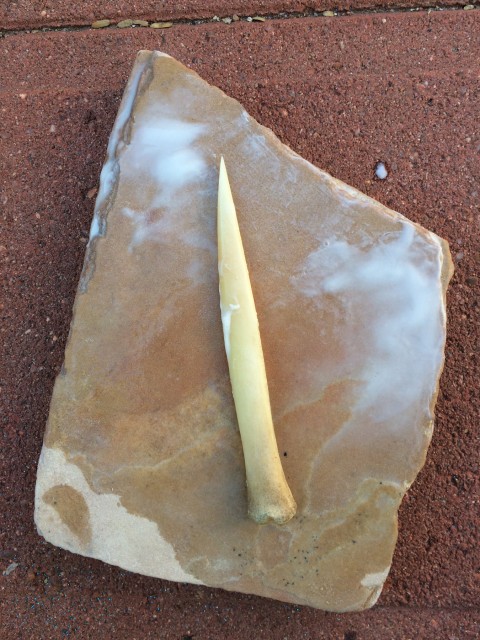
The final part of the process is grinding. I have sandstone slabs for this task, but any abrasive surface works. If you do not have access to sandstone, another good grinding surface is weathered concrete. When grinding, use a little water to keep the grinding surface from clogging up with ground bone. Water speeds up the process.
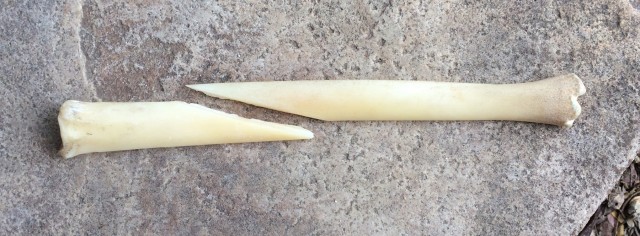
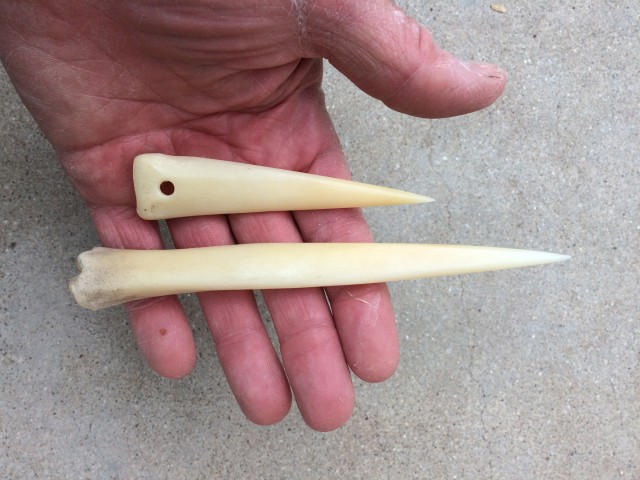
The larger awl took about 24 minutes to grind out, and the smaller one took about 30 minutes, as it was more extensively ground.

Step 6: Drill and polish
You can use a smooth, polished rock to put a nice polish on your awl, or polish will happen through use. It seems polished awls survive in the ground much longer than unworked bone, we commonly find polished examples in archaeological sites.
|
|
One thought on “Hands-On Archaeology: How to Make a Bone Awl”
Comments are closed.

The instructor I had missed many of your steps so my awl was awful. I’m unable to get a nice long bone, so I”ll use a chicken leg bone. Thankx for this!!