- Home
- >
- Preservation Archaeology Blog
- >
- Hands-On Archaeology: Making a Metate
Keenan Montoya, Pima Community College

(May 26, 2020)—Being given the opportunity to work during this challenging time is quite a privilege, for which I thank Archaeology Southwest and the Western Archeological and Conservation Center (WACC). I am a Pima Community College student with a work grant at the WACC, but my work is funded through Archaeology Southwest. Due to the quarantine, I have been unable to return to WACC until further notice. A short time afterward, I heard from Bill Doelle, Archaeology Southwest’s President and CEO, and Allen Denoyer, a Preservation Archaeologist with whom I have done much public outreach. They found a way to keep me employed.
I occasionally help Allen at Mission Garden and Steam Pump Ranch. There are a lot of fun hands-on activities at these events related to archaeology. Going to these ultimately inspired me to make my own metate. I had asked my colleagues and instructors about acquiring materials for this project, and I eventually communicated with Allen. He gave me a wonderful slab of rhyolite and an olivine cobble to serve as a hammerstone. It was quite comfortable in the hand and had many good edges for pecking.
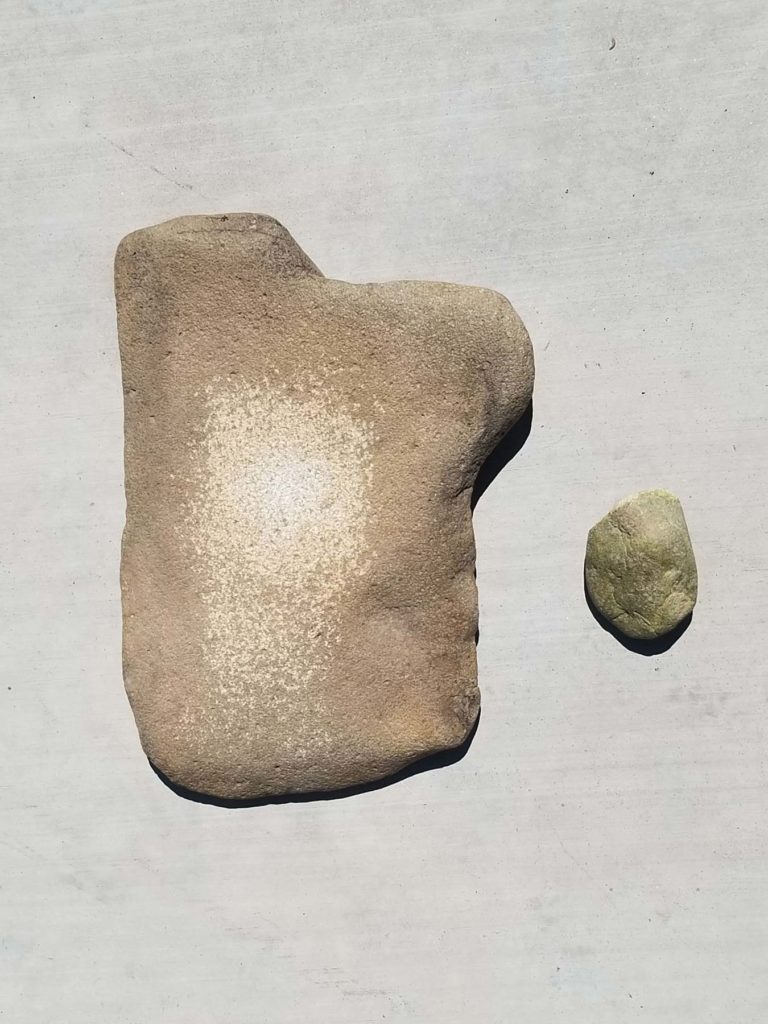
At that point, this was a personal project. I had not seen any of my friends in Pima’s Archaeology Club working on ground stone objects, though many have gained skill in making projectile points and throwing atlatl darts. I wanted to diversify our experimental creations. When Bill said he would like me to turn my project into paid work, I was quite thrilled!
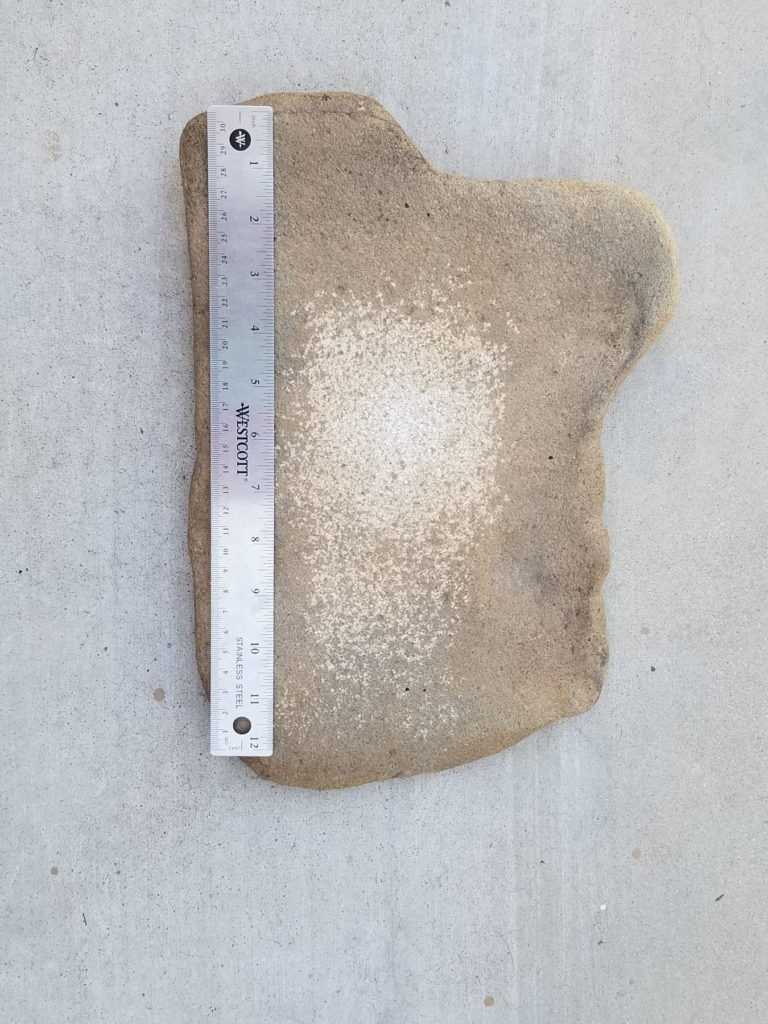
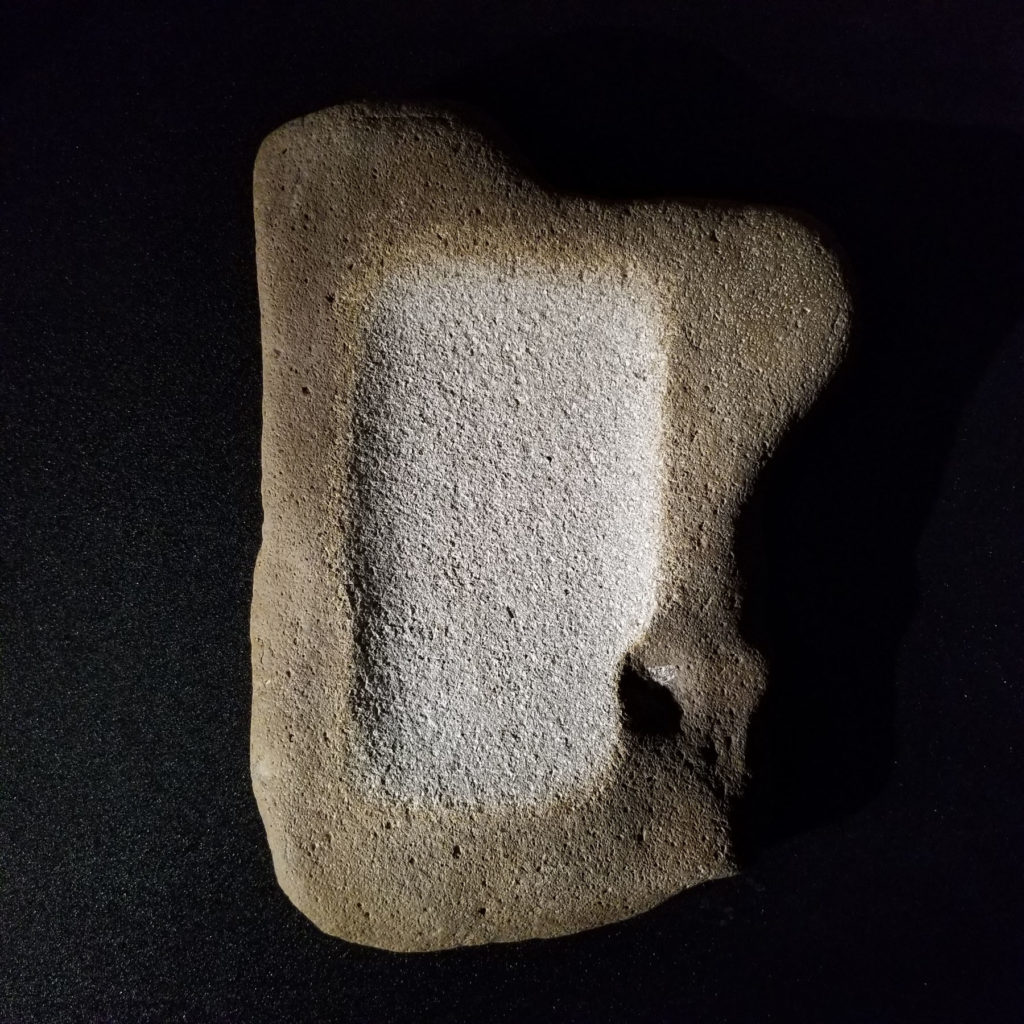
Throughout the process of making the metate, I recorded the depth every two hours along two axes (see abbreviated table below). The long axis, B – B’, is 23.2 cm, and the short axis, A – A’, is 15 cm. I took measurements every 3 centimeters. At the end, after 43.5 hours (the 0.5 was time spent testing a new hammerstone, not pecking), I achieved a maximum depth of 11.5 mm. The preexisting depth was 2 mm, so the central depth was pecked to a depth of 9.5 mm in that amount of time. The overall rate of pecking was 0.22 mm per hour.
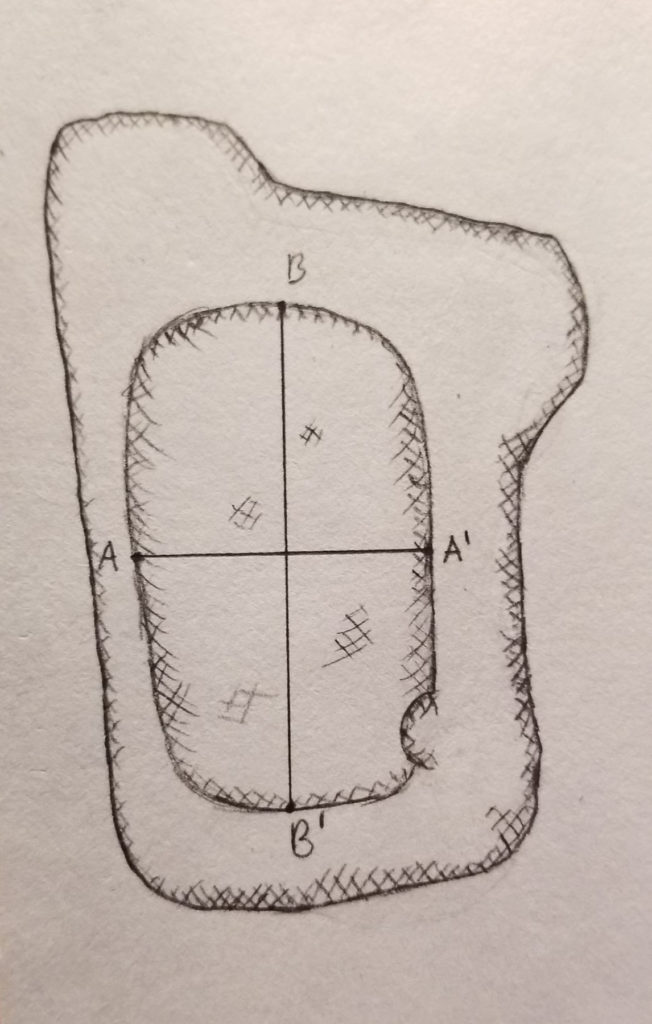
Results of pecking on May 7, 2020.
|
Axis |
Depth
2:45 to 4:45 p.m. |
Depth 4:55 to 6:55 p.m. |
| B—B’ | ||
| 0.0 cm | 0.0 mm | 0.0 mm |
| 3.0 cm | 5.0 mm | 6.0 mm |
| 6.0 cm | 8.0 mm | 9.0 mm |
| 9.0 cm | 10.0 mm | 10.5 mm |
| 12.0 cm | 11.0 mm | 11.5 mm |
| 15.0 cm | 11.0 mm | 11.0 mm |
| 18.0 cm | 9.0 mm | 9.5 mm |
| 21.0 cm | 5.0 mm | 5.0 mm |
| 23.2 cm | 0.0 mm | 0.0 mm |
| A—A’ | ||
| 0.0 cm | 0.0 mm | 0.0 mm |
| 3.0 cm | 7.0 mm | 7.0 mm |
| 6.0 cm | 9.0 mm | 9.0 mm |
| 9.0 cm | 9.0 mm | 9.5 mm |
| 12.0 cm | 7.0 mm | 7.0 mm |
| 15.0 cm | 0.0 mm | 0.0 mm |
Within the first few hours of this project, I gained some very valuable information. The first, and most obvious, observation was that it takes a long time to peck stone away with stone. I had predicted this, and Allen certainly made it clear, but this could not put it into perspective for me. It took pecking for that many hours for it to really sink in. “I have been pecking for two hours, and you’re telling me I only gained one millimeter?” I asked my ruler as I recorded the measurement.
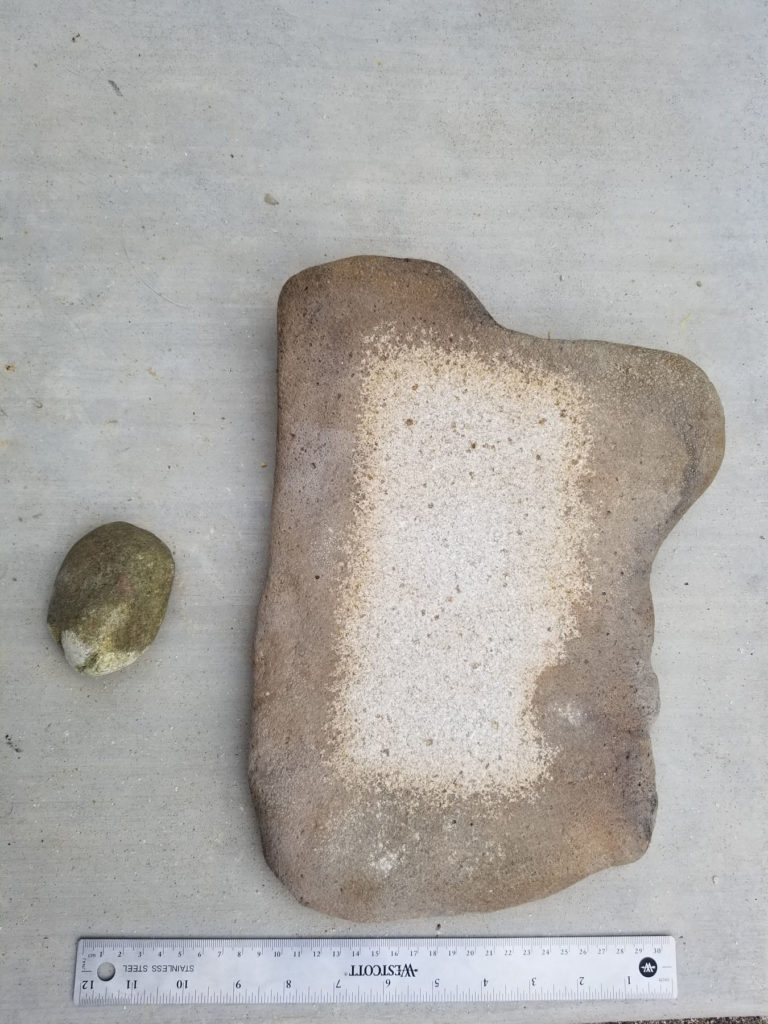
On my eleventh day of pecking, the olivine hammerstone shattered. I still was not finished with my metate. After this happened, I went to the wash to the south of my community to find another. I found one that felt very hard and dense, and thought it was perfect. After I walked back to my house, I tested the stone. Fail. It was quite dense and hard, but that is not the only quality one looks for in a hammerstone. This specimen was unfortunately high in silica content, and fine grained. Great for making flaked tools and projectile points—not so much for use as a hammerstone!
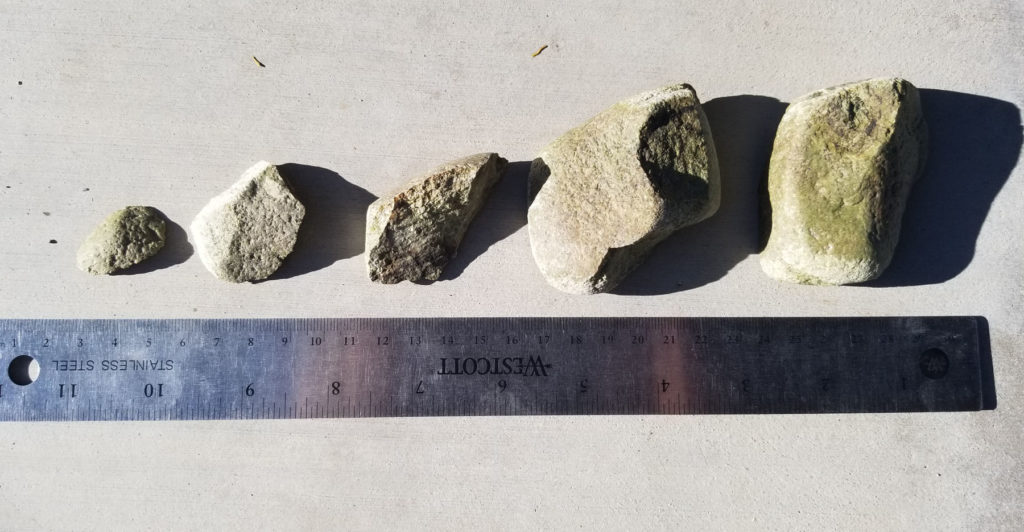
The search continued the following day. Eventually, I found an olivine cobble that was larger than 4 cm long and took it back home. It took me about two days to realize that it did not weigh enough to contribute much to pecking, leaving my hand and force to do most of the work. This was quite painful, so back to the wash it was. I decided to look up hammerstone materials on the web and found many sources. One had mentioned quartzite, which I had seen much of. I also knew not to waste my time grabbing smaller pieces.
Finally, I found a small group of cobbles tumbling down the southern side of the wash. And boom! There it was. A perfectly sized, perfectly shaped sedimentary quartzite cobble. I snatched it up, as well as some other cobbles of different materials just in case. I tested the stone when I returned home and found that it worked just as well as the first hammerstone Allen had given me. Success! Lessons definitely learned. I finished the metate shortly afterward and came up with a list of things to remember in the future.
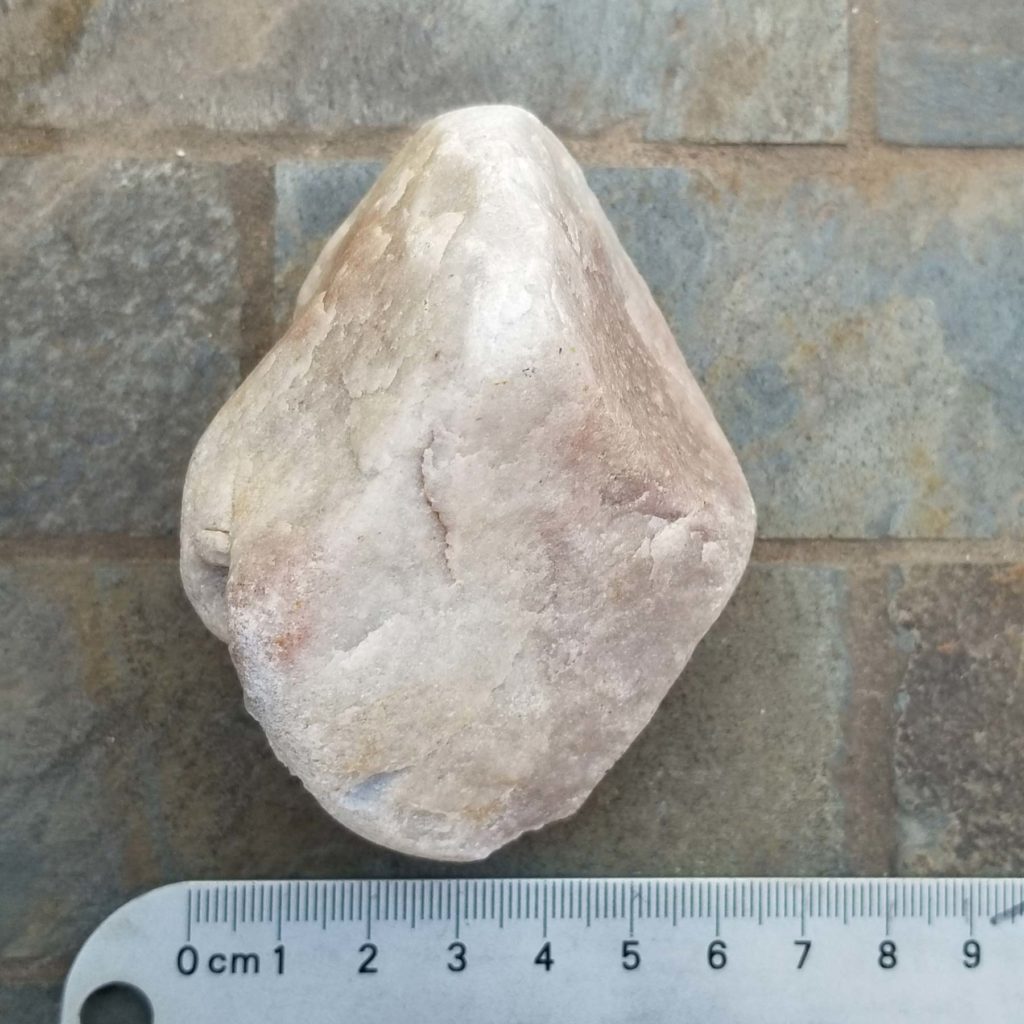
First and foremost, the hammerstone must obviously be harder than your metate. It must weigh enough to do part of the work, but too much weight could break your specimen. Also, having a few hammerstones available as a tool kit is very handy (not to mention you will not have to make multiple trips). Choosing a good hammerstone is key to creating any large ground stone piece and can make all the difference.
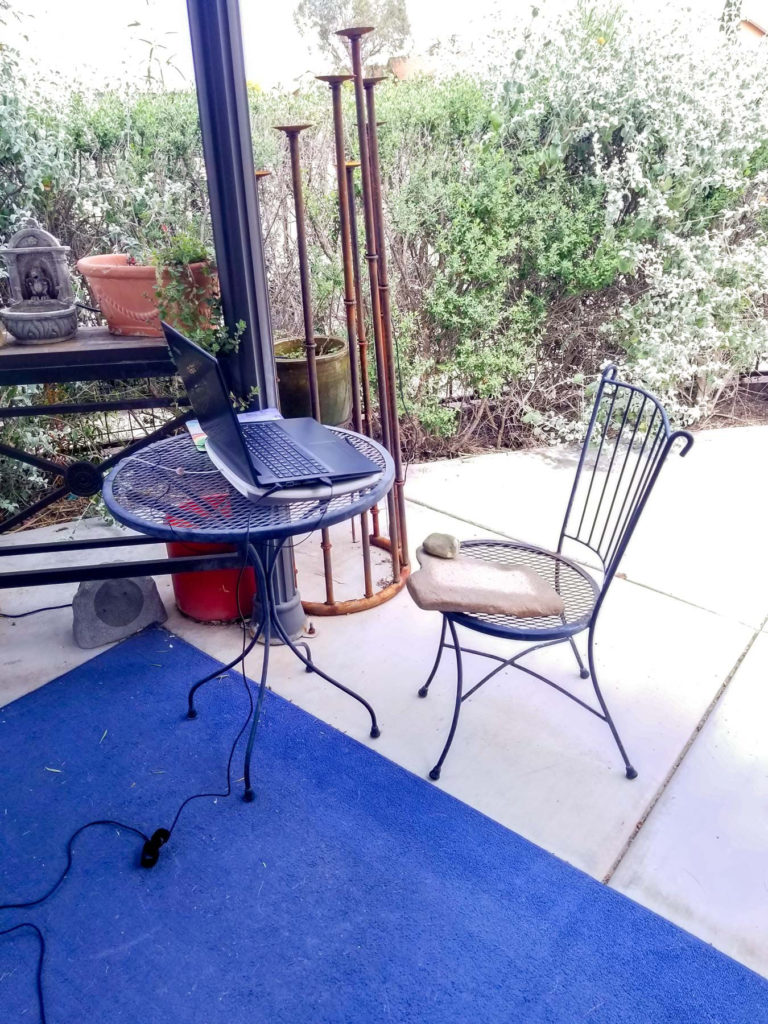
If I were to repeat this activity, I would have a much stronger start to it. It was a learning process, and overcoming the few obstacles was good experience through challenge. Being an archaeology student and working in a museum, I have held and looked at many metates and other ground stone artifacts. Going through the process of making one and looking at my progress in units really makes me admire the effort and time that goes into making any ground stone object, be it simple for material processing or very intricate and ceremonial.
Explore the News
Related to This
-
Project Hands-On Archaeology