• Donate
    • Donate
    • Member Circles and Benefits
    • Become a Member
    • Renew Today
    • Give a Gift Membership
    • Student Membership
  • Take Action
    • Volunteer Program
    • Make Your Voice Heard
  • About
    • Land Acknowledgment
    • What We Do
    • Position Papers
    • Team & People
    • Job Openings
    • Partners & Friends
    • Annual Reports
    • Policies & Financials
  • Things to Do
    • Events
    • Archaeology Café
    • Exhibits
    • Classes
    • Field School
  • Explore
    • Free Resources
    • Introduction to Southwestern Archaeology
    • Projects
    • Protection Efforts
    • Ancient Cultures
    • Videos
    • Places to Visit
  • Store
    • Archaeology Southwest Magazine
    • All Products
  • News
    • Blog
    • Press Releases/Announcements
    • Preservation Archaeology Today
    • Sign up for E-News
  • Donate
    • Donate
    • Member Circles and Benefits
    • Become a Member
    • Renew Today
    • Give a Gift Membership
    • Student Membership
  • Take Action
    • Volunteer Program
    • Make Your Voice Heard
X
  • About
    • Land Acknowledgment
    • What We Do
    • Position Papers
    • Team & People
    • Job Openings
    • Partners & Friends
    • Annual Reports
    • Policies & Financials
  • Things to Do
    • Events
    • Archaeology Café
    • Speakers Bureau
    • Exhibits
    • Classes
    • Field School
  • Explore
    • Free Resources
    • SW Archaeology 101
    • Projects
    • Protection Efforts
    • Ancient Cultures
    • Videos
    • Places to Visit
  • Store
    • Archaeology Southwest Magazine
    • All Products
  • News
    • Blog
    • Press Releases/Announcements
    • Preservation Archaeology Today
    • Sign up for E-News

Hands-On Archaeology: How to Make Adobe Bricks

Preservation Archaeology Blog
  • Home
  • >
  • Preservation Archaeology Blog
  • >
  • Hands-On Archaeology: How to Make Adobe Bricks
Allen Denoyer, Preservation Archaeologist and Ancient Technologies Expert
Allen Denoyer - blog

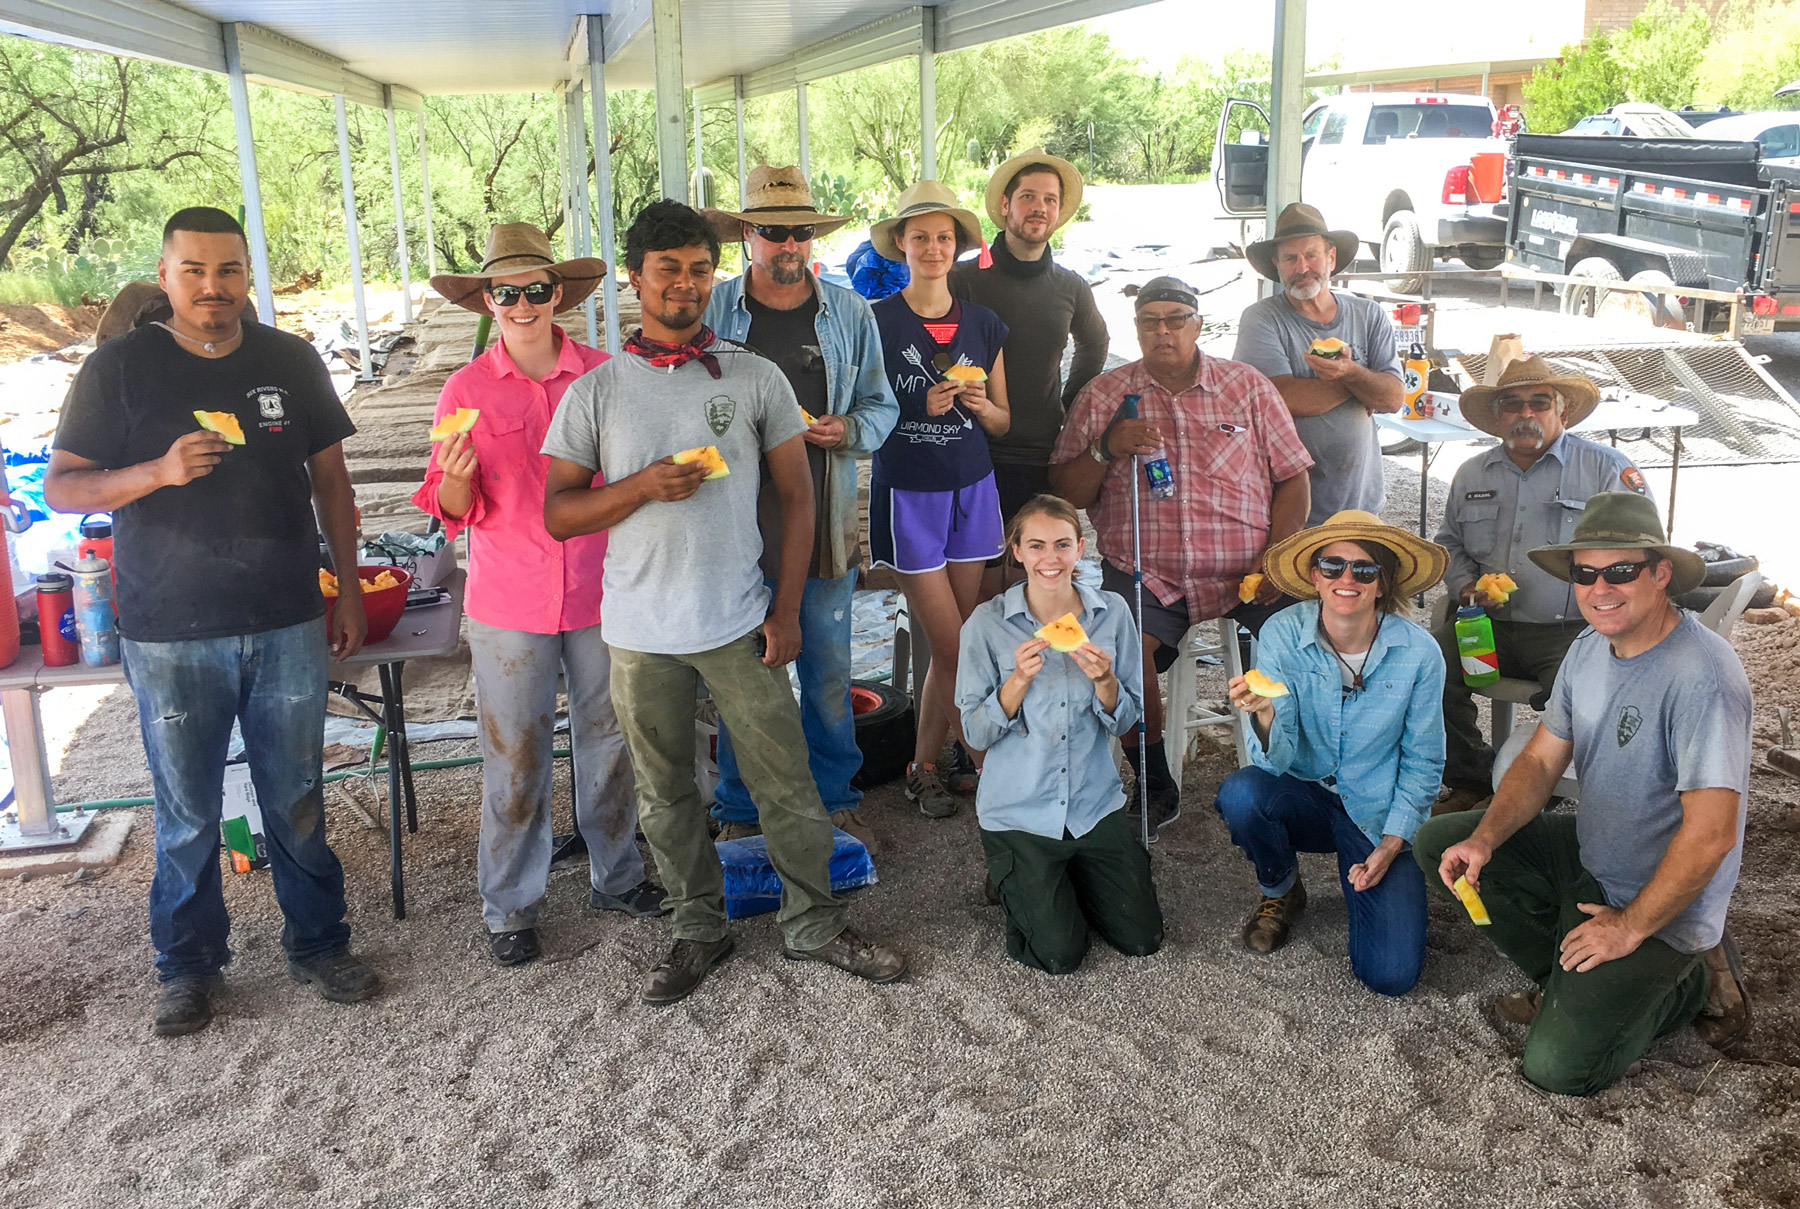
(November 4, 2018)—In August, I was invited to participate in an adobe-brick manufacturing workshop hosted by the National Park Service at its Desert Research Learning Center on Tucson’s east side. The instructors were local adobe experts with extensive restoration and stabilization experience.

The Masters: Ray Madril, David Yubeta, and Chris Schrager.

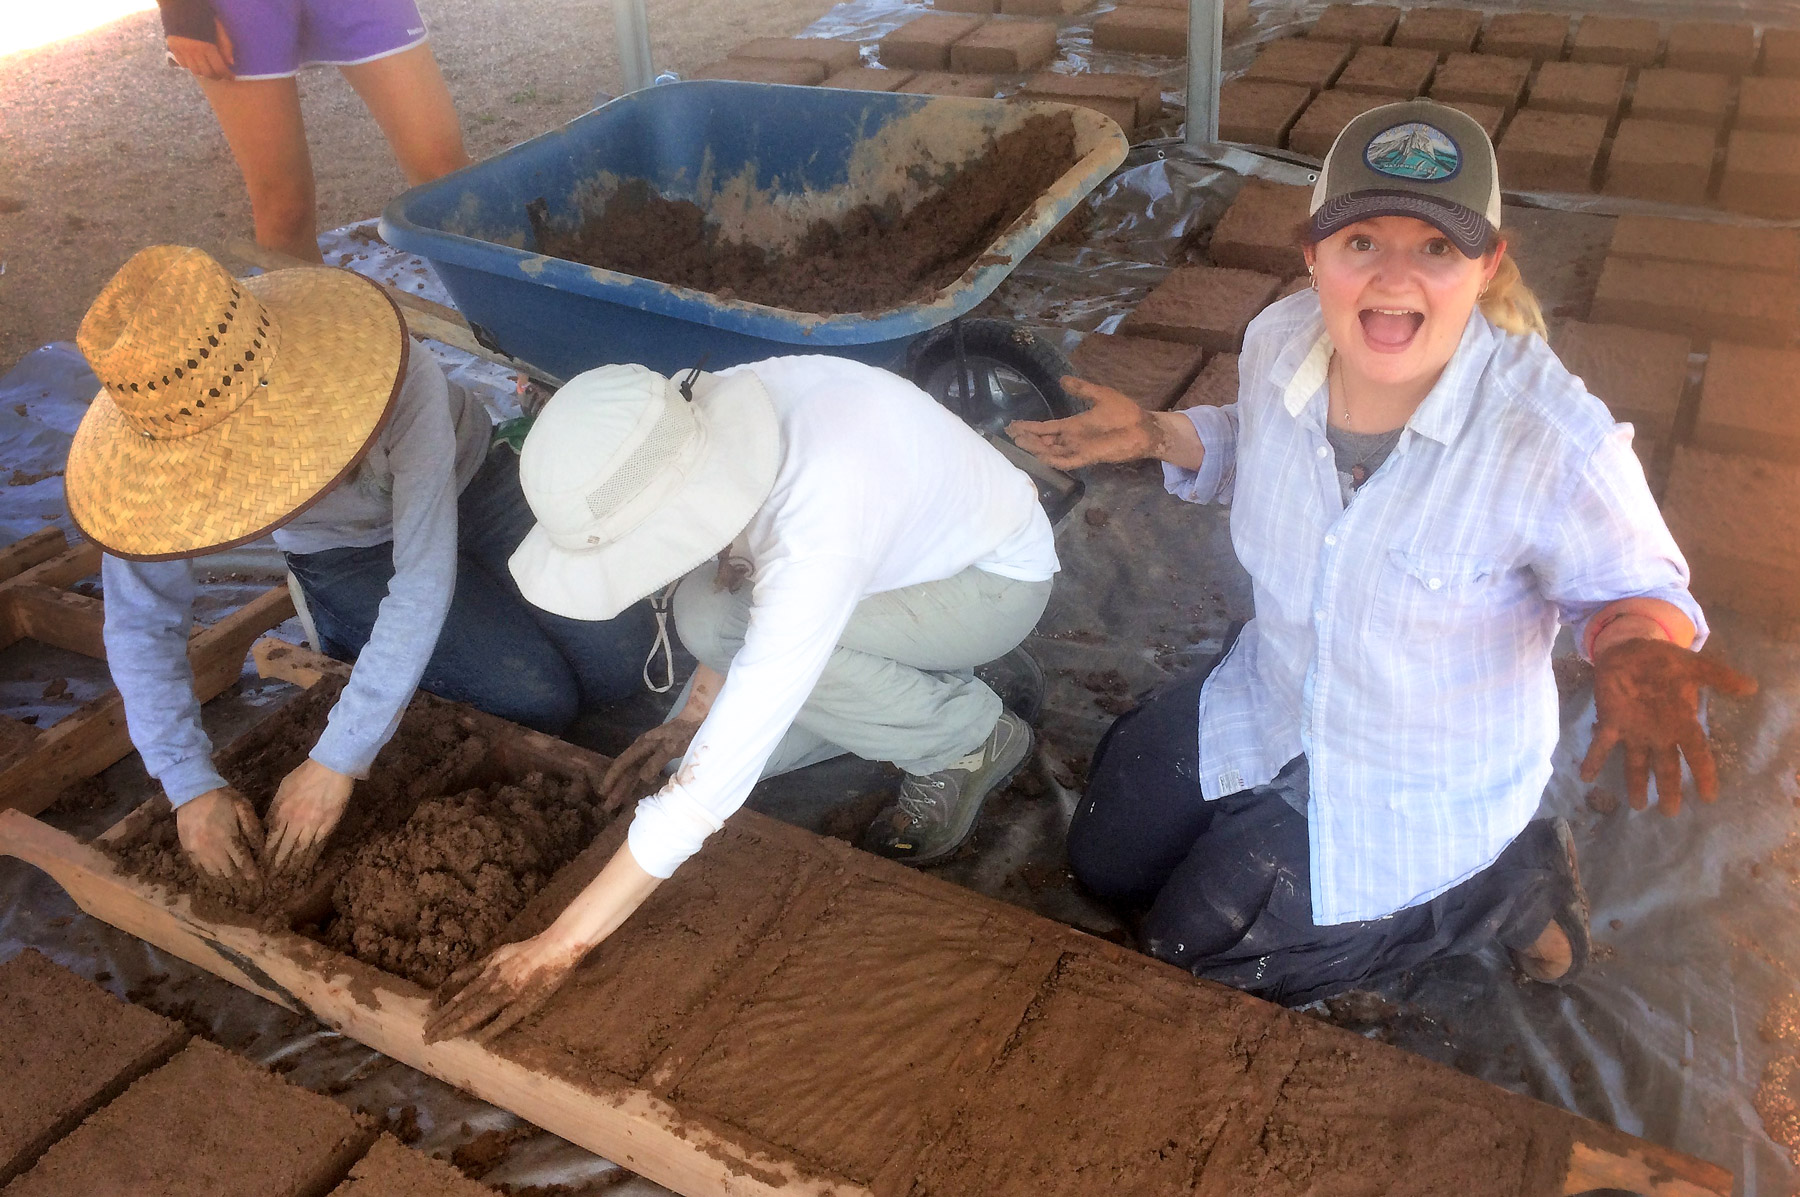
The goal of this workshop was to teach park service employees and interested folks like me how to make the kind of adobe bricks that may be used to repair historic structures suffering from weathering and neglect. Over the course of three days, participants made almost 700 bricks. The bricks will be built into 20 short wall segments that will be used to test weathering on adobe walls and ways to prevent it.

Batch of adobe.
Batch of adobe.

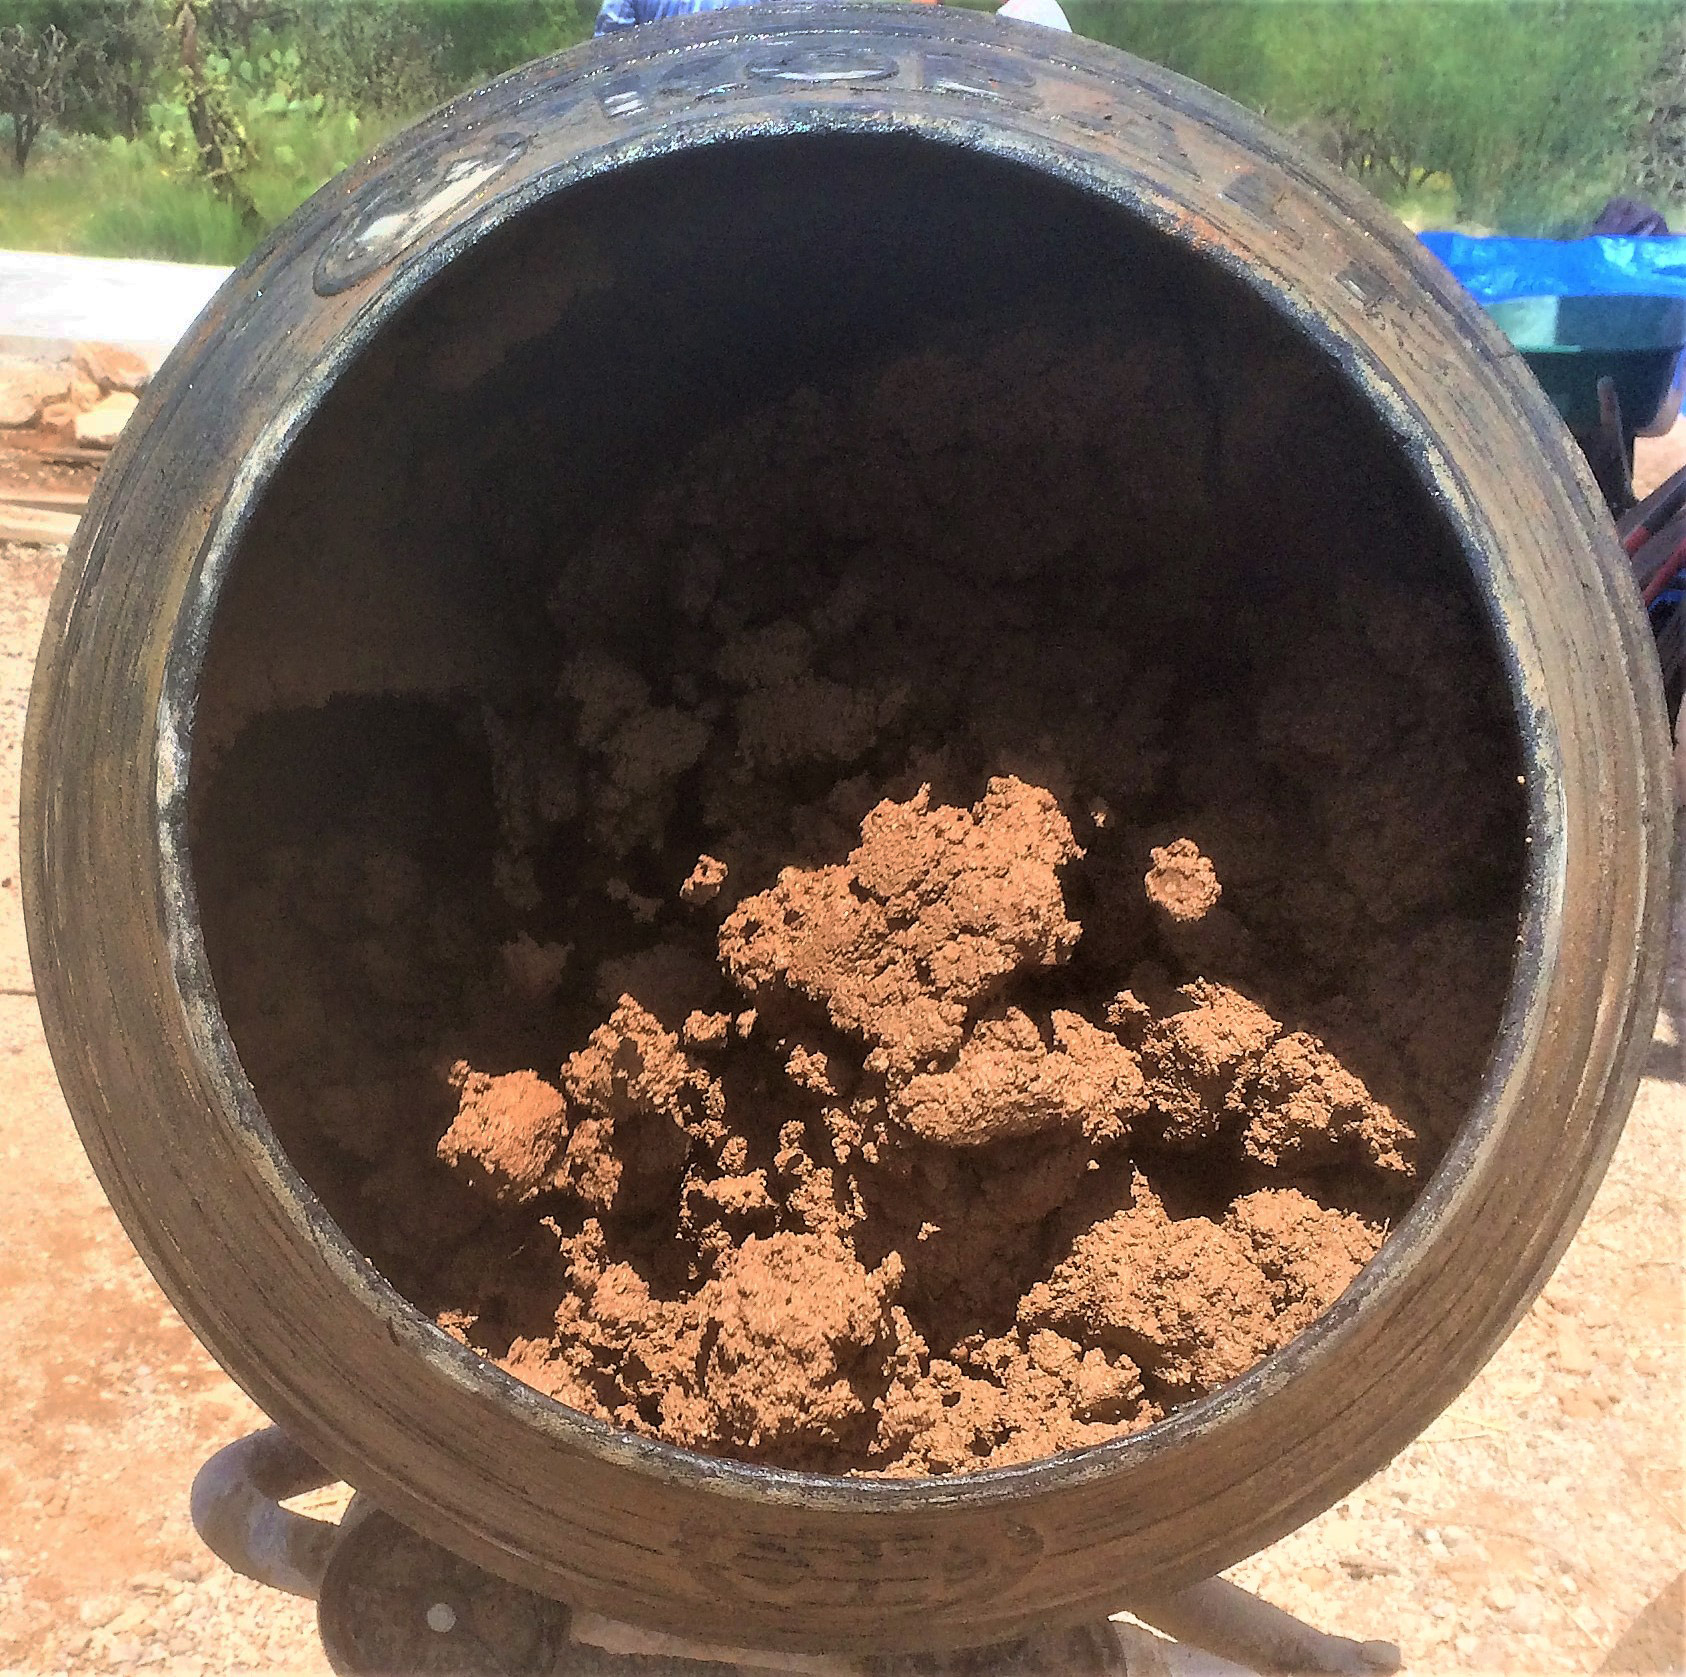
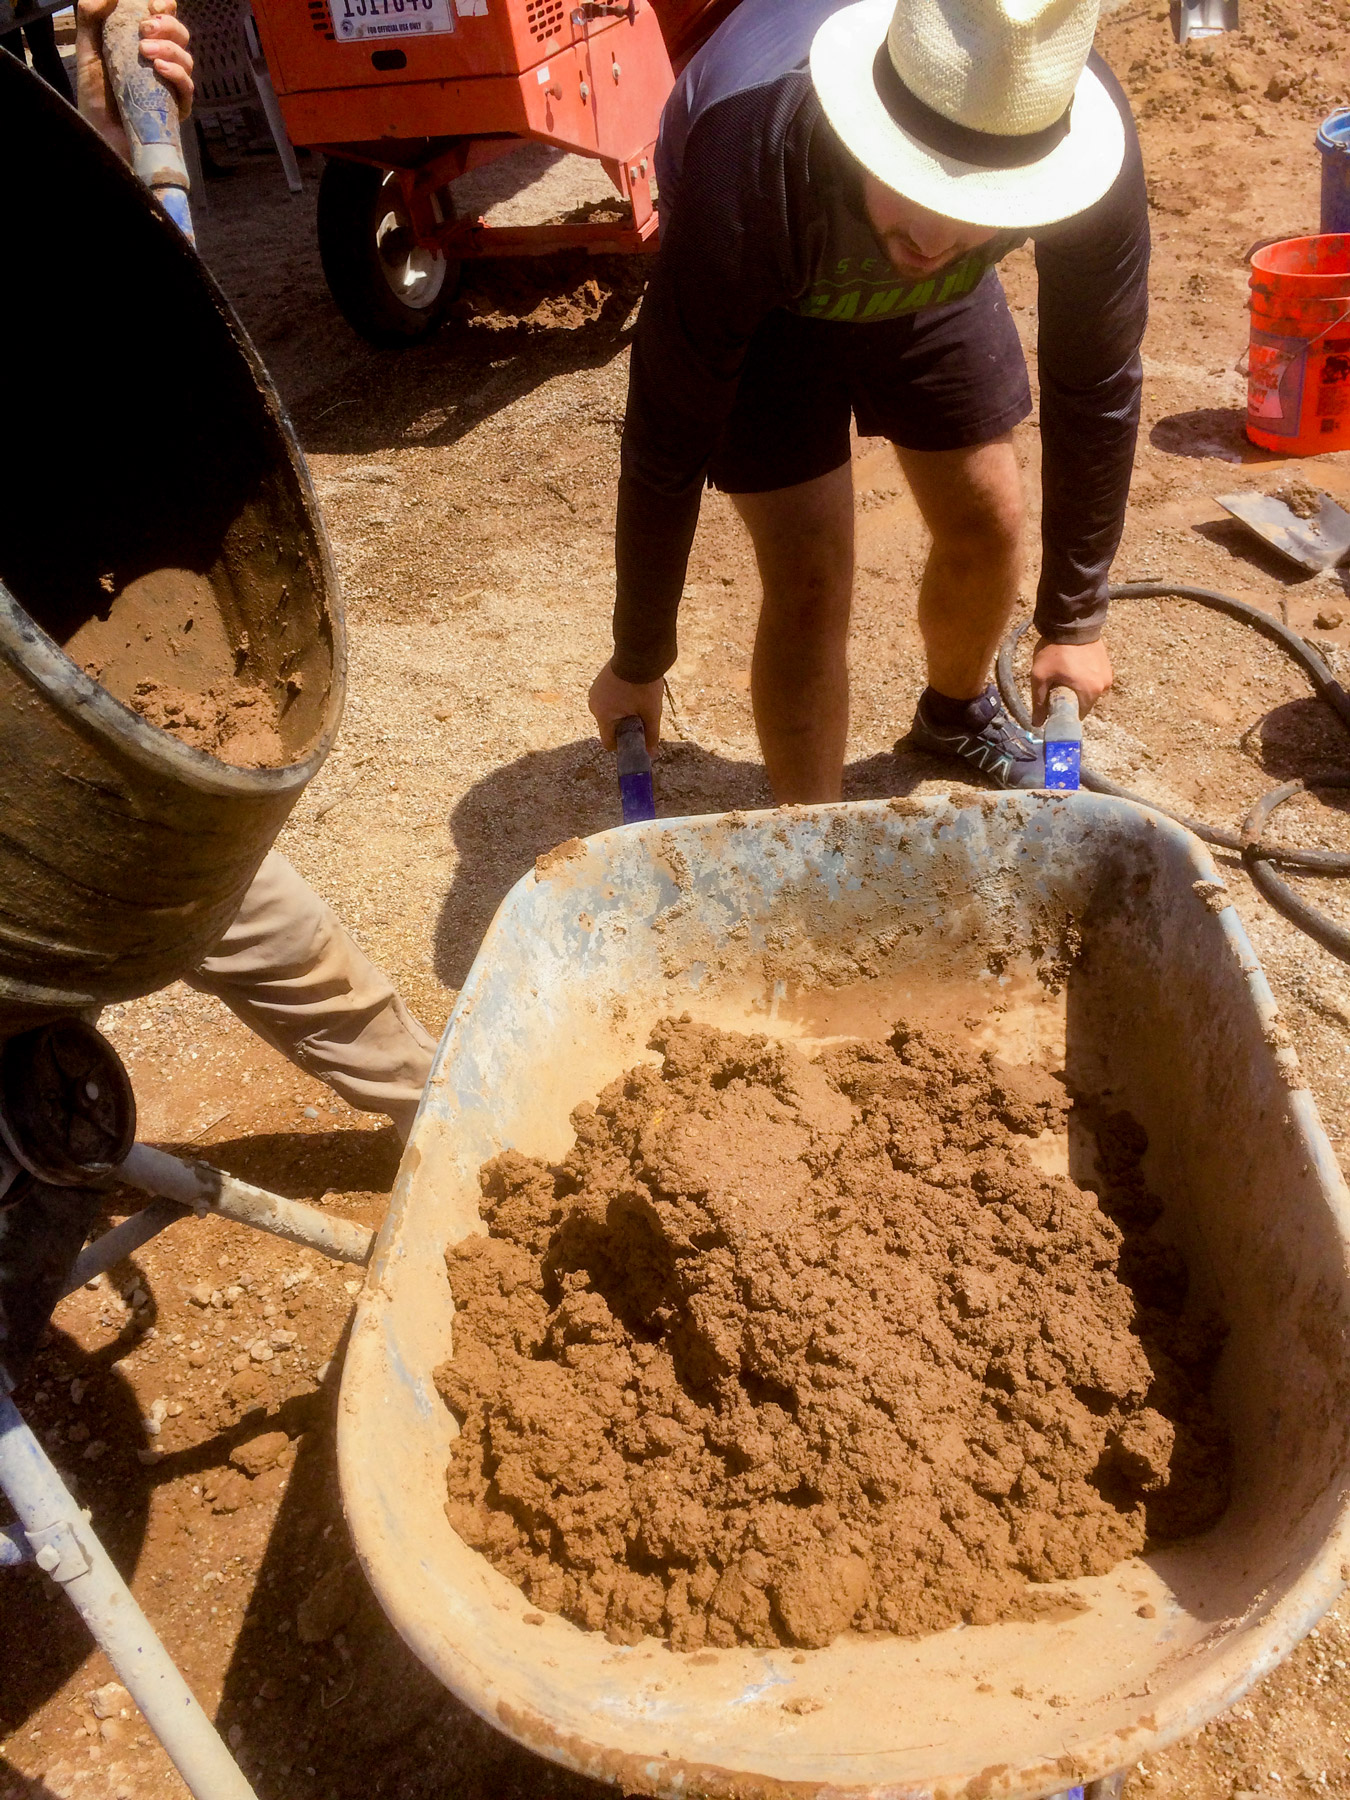
This is a batch of adobe, ready for use. The soil we used was from a local sand-and-gravel company. It had fairly high clay content, so we added sand to keep it from cracking. The best mix for bricks has a lot more sand than what I like for my ancient house replications—I’ve found that when my mix for puddle adobe and wattle-and-daub (jacal) is too sandy, it won’t adhere well.

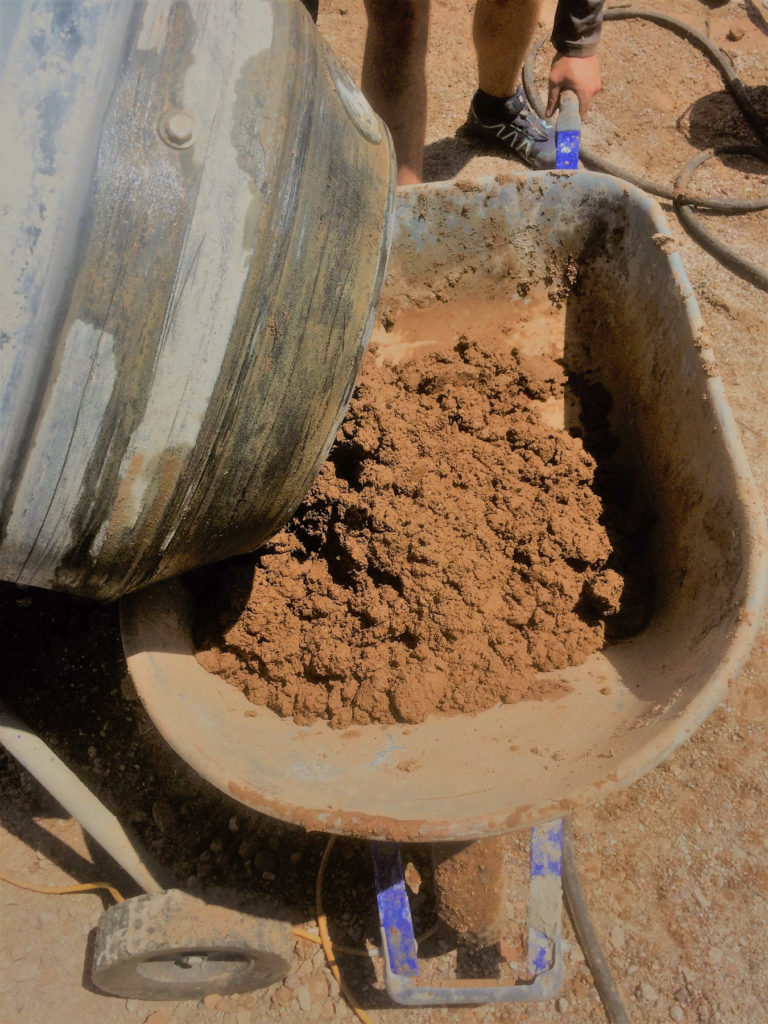
We used two cement mixers to mix the adobe. We poured the sand and clay into the mixer with 15 gallon buckets. We mixed roughly 1 part soil to 2 parts sand; the formula varied bit from day to day, because different sands had different moisture contents and therefore worked differently. We added water with a hose as the mud and sand were mixed together. When the right mixture was achieved, we poured the adobe into a wheelbarrow and took it to the brick-making area.

Dumping Mud into Wheelbarrow Hauling Mud
Brick molds.
Brick molds.

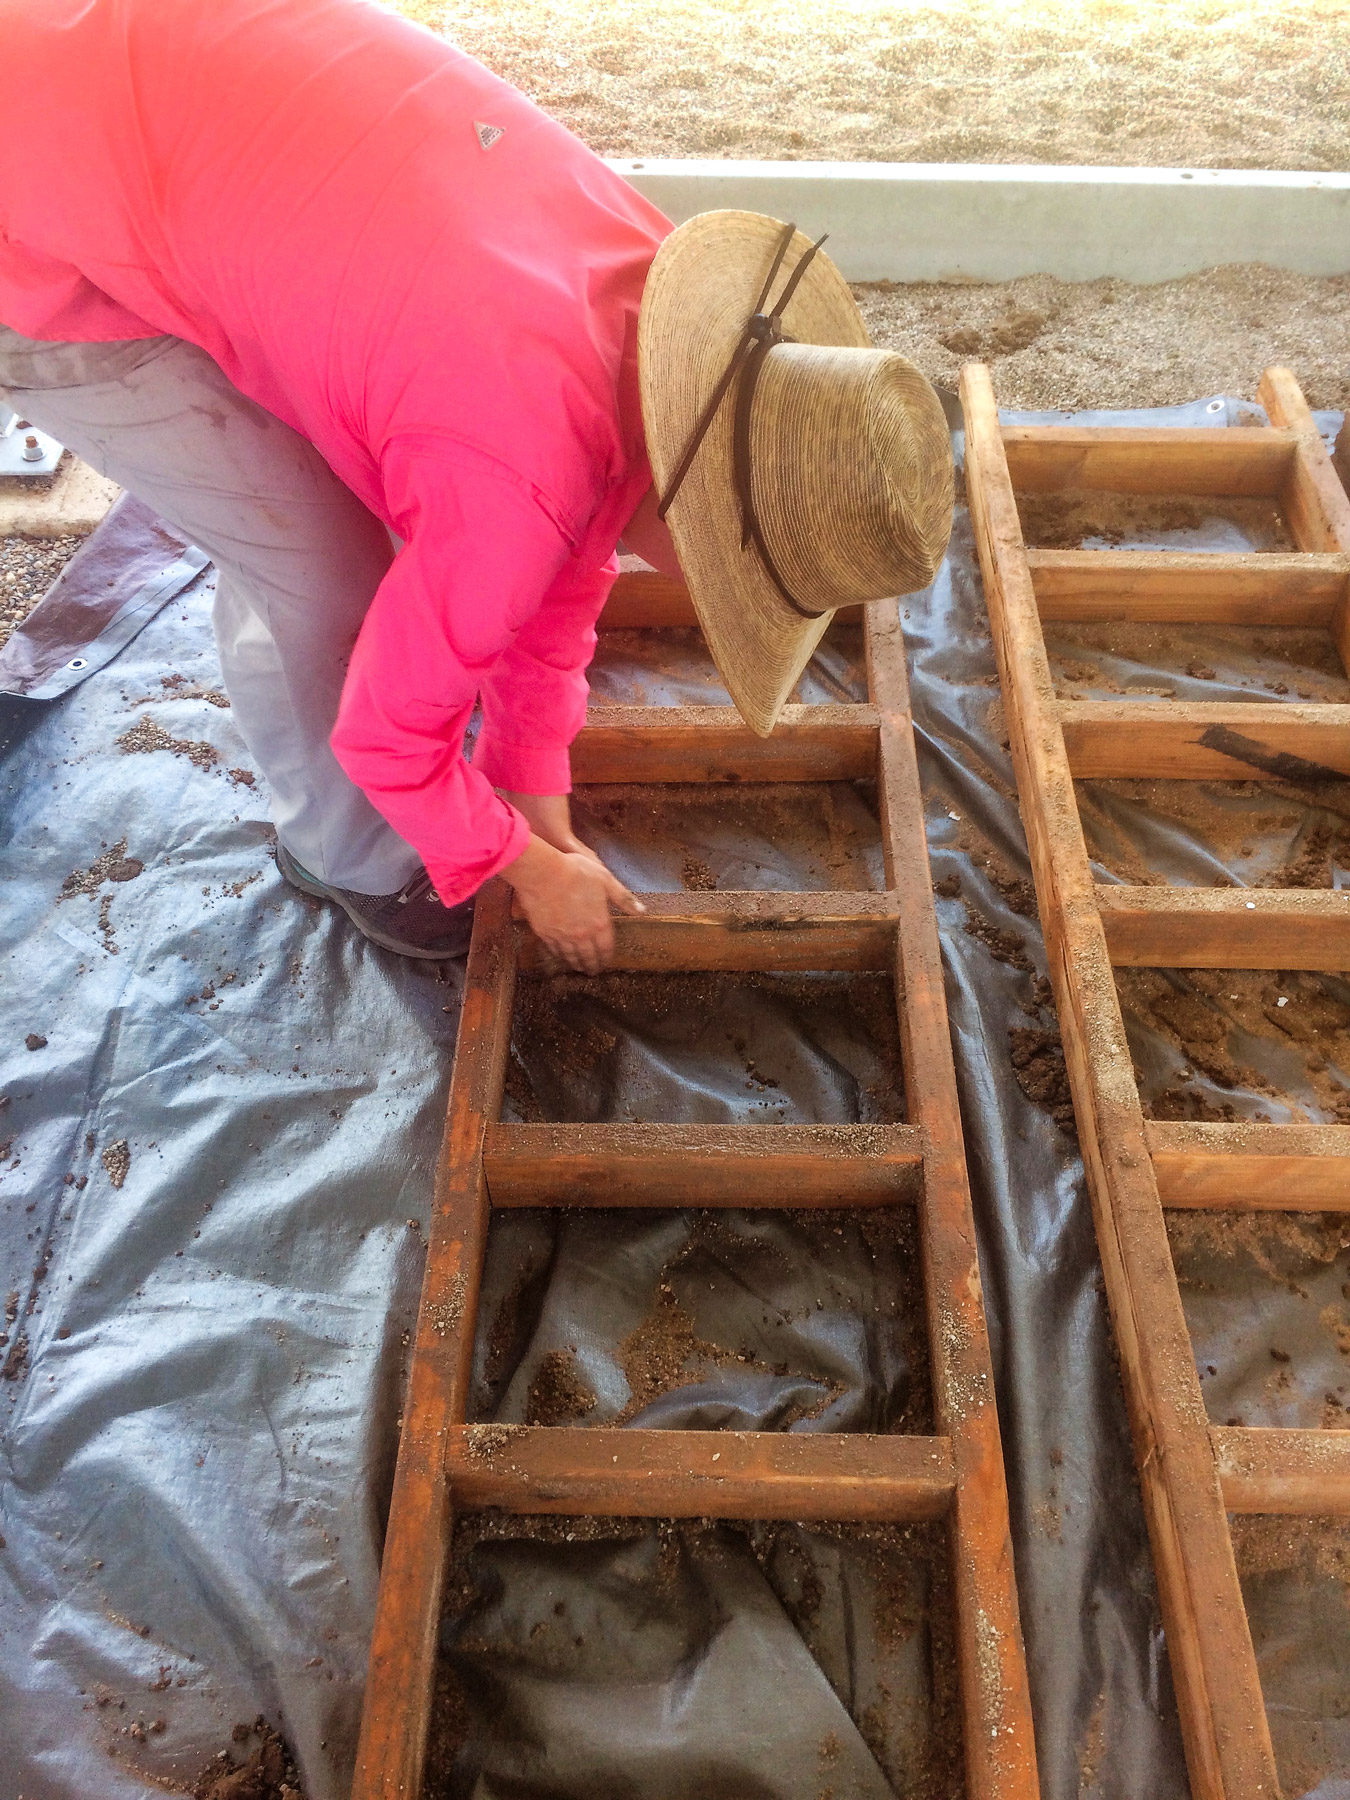
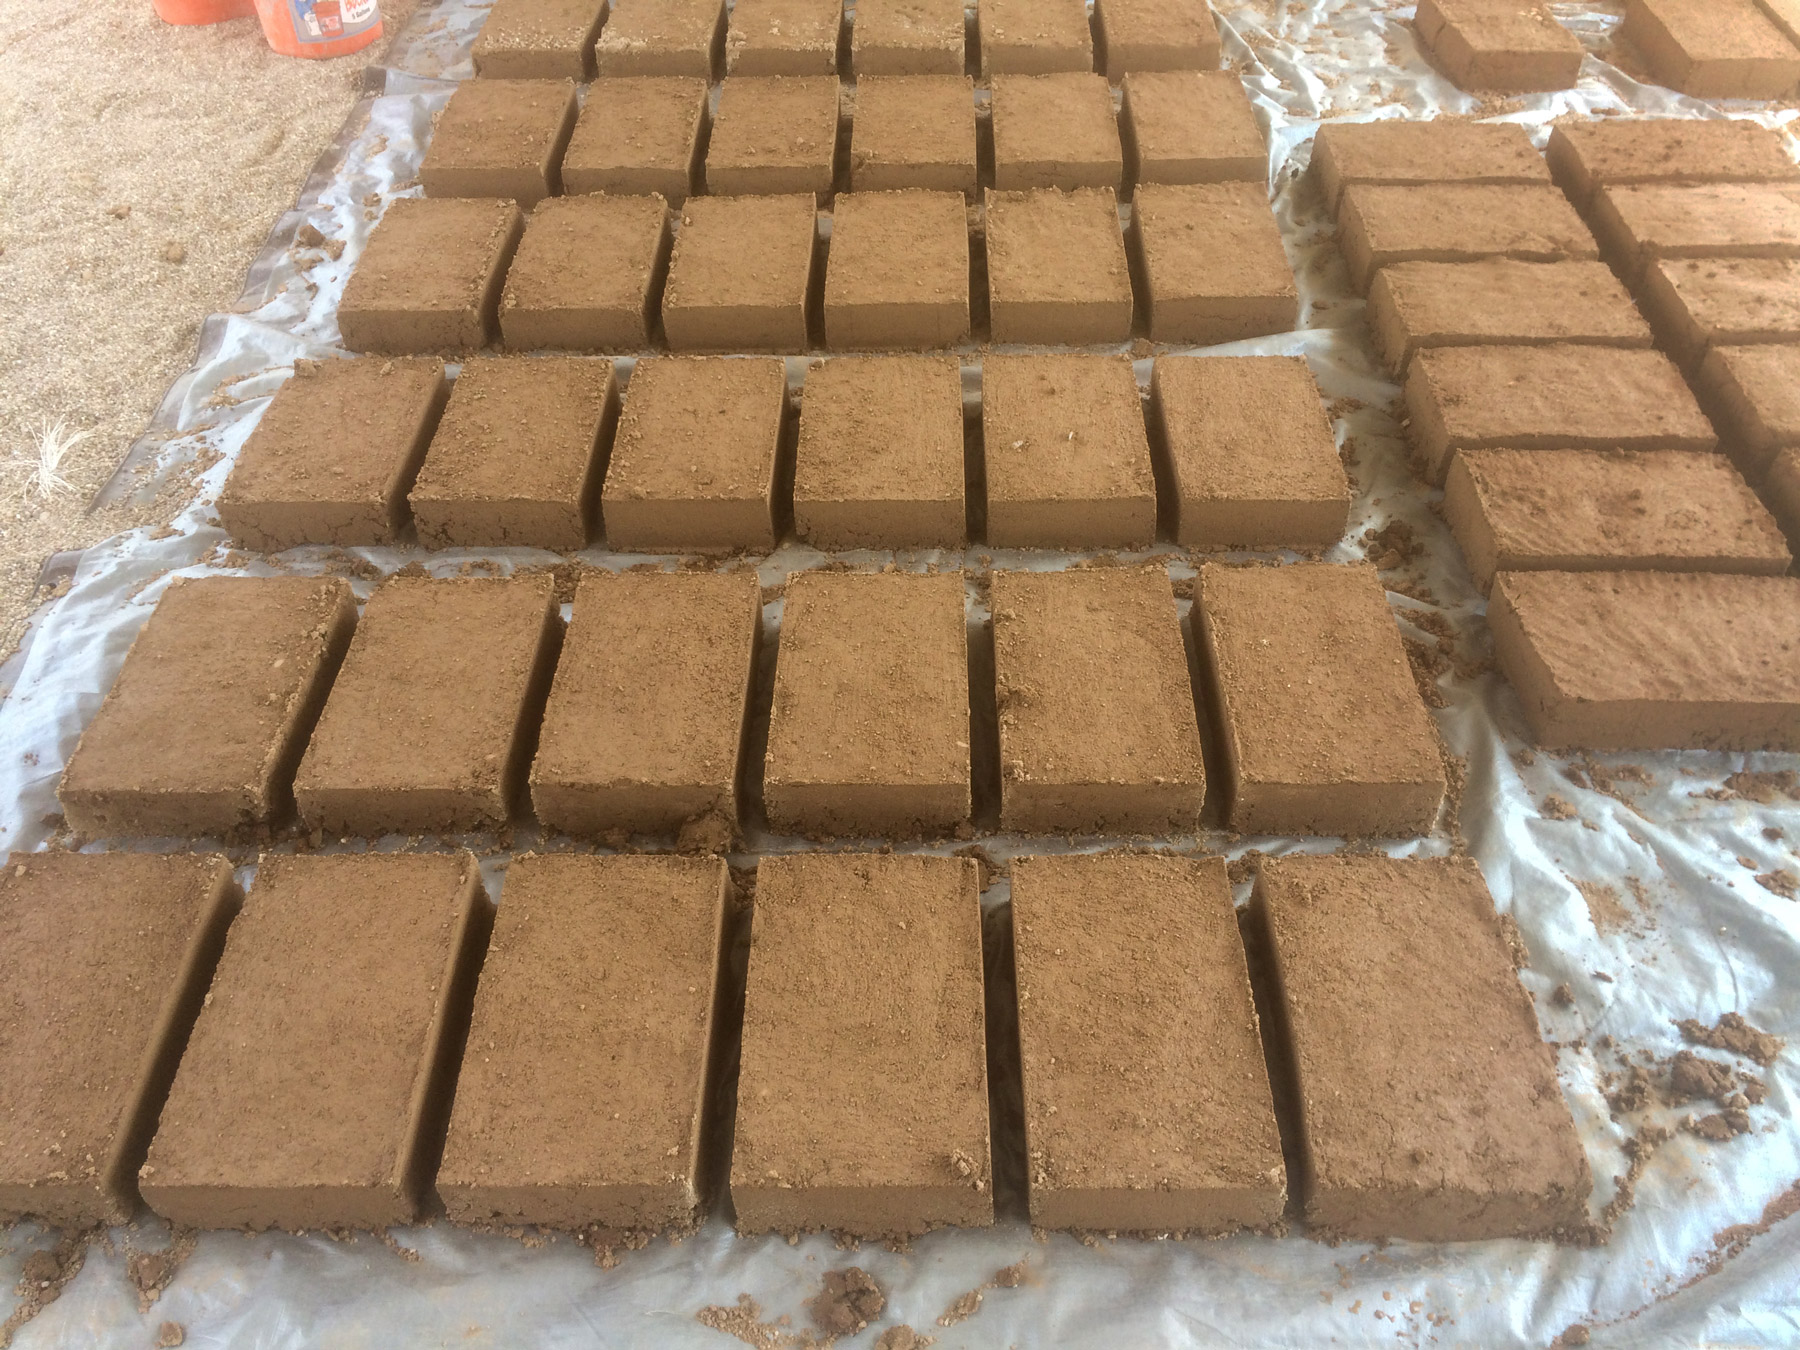
The molds made bricks that were 15 5/8” x 9 5/8”, the typical size for Spanish colonial bricks. We had 6-brick and 2-brick molds made of 2 x 4s. As production progressed, it was clear the 6-brick molds were much more efficient than the 2-brick molds. The molds were washed and coated with sand or soil between uses so the adobe would not stick.

Brick Molds

Bridge Mold

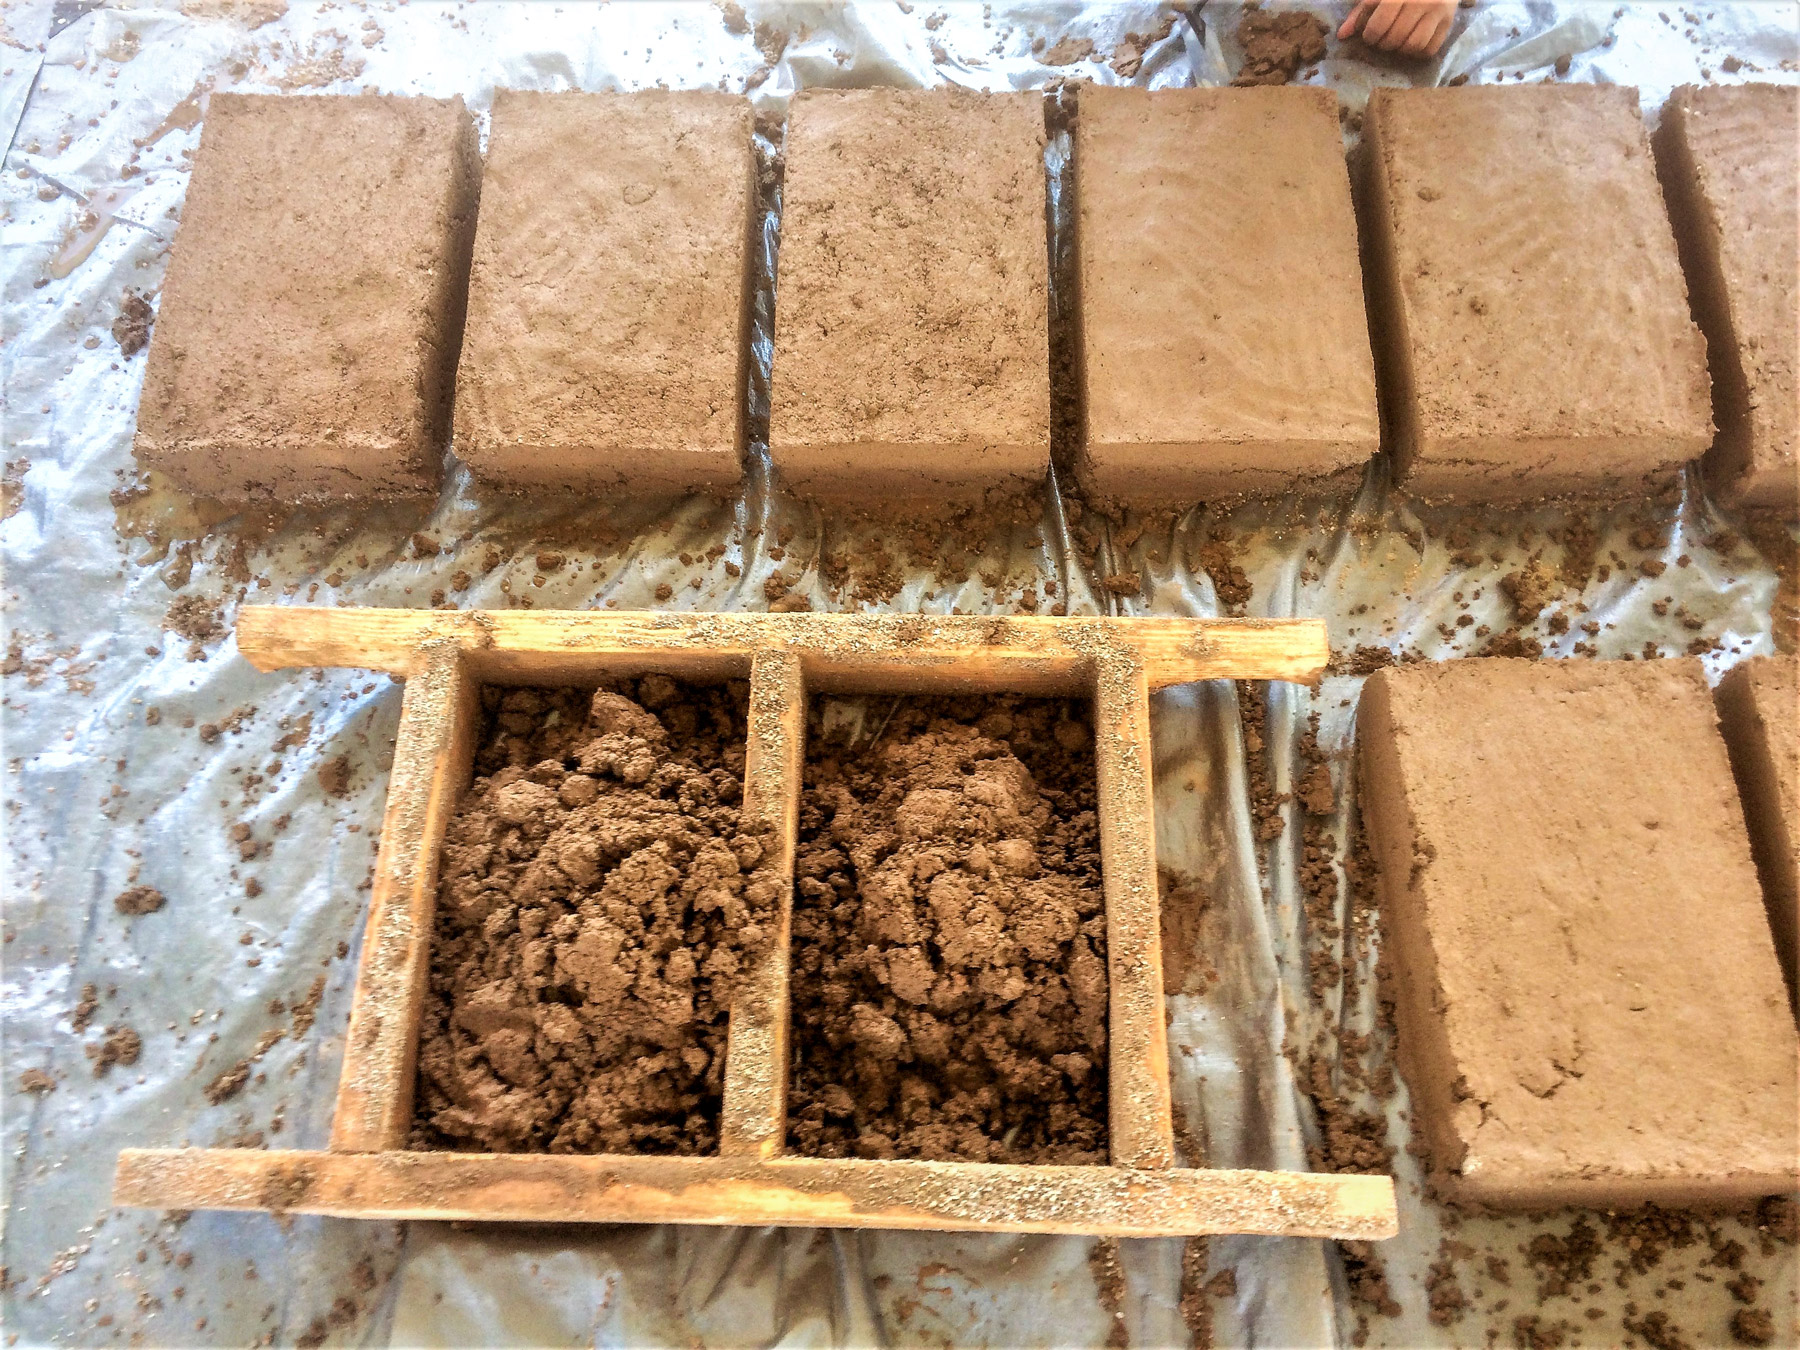
We threw or scooped mud into the molds and compressed it by hand to ensure it was compacted down and filled in the corners nicely. We then smoothed the tops so the bricks would be flat and have a consistent thickness.

Carly Stewart couldn’t get enough mudding. More mud!
Finished bricks laid out for drying. In a few days they will be flipped over so their bottoms can finish drying.
Jessica McGarey, a mud-mixing, brick-making monster!

In a couple of weeks we will come back and build the footers for the test walls. I will show this process and wall construction in my next post.

Some of the participants and the instructors at the end of the last day: Unknown, Elise Dillingham, Jared Renaud, Allen Denoyer, Tereza Mach, David Mach, David Yubeta, Chris Schrager. Kneeling: Jessica McGarey, Lauren Kingston, Ray Madril, and Andy Hubbard.

Explore the News

  • Preservation Archaeology Blog
  • Press Releases/Announcements
  • Preservation Archaeology Today

Related to This

  • Post Hands-On Archaeology: How to M...
  • Post Mud and Rocks—What More Do Y...

Want to help us? Make a donation

or take action

Cyber SouthwestRespect Great BendHands-On ArchaeologySave History

© 2025 Archaeology Southwest

520.882.6946
Contact
  • My Store Account
  • Contact Us
  • Terms of Use
  • Privacy Policy
  • Press Room