
(September 25, 2017)—In this post, I’ll share some insights into how much work goes into making shell bracelets. I suspect my time estimates are high, compared to experienced craftspeople in the past. Shell is not easy to work, and it requires a lot of patience. I think these are some reasons why people valued shell ornaments.
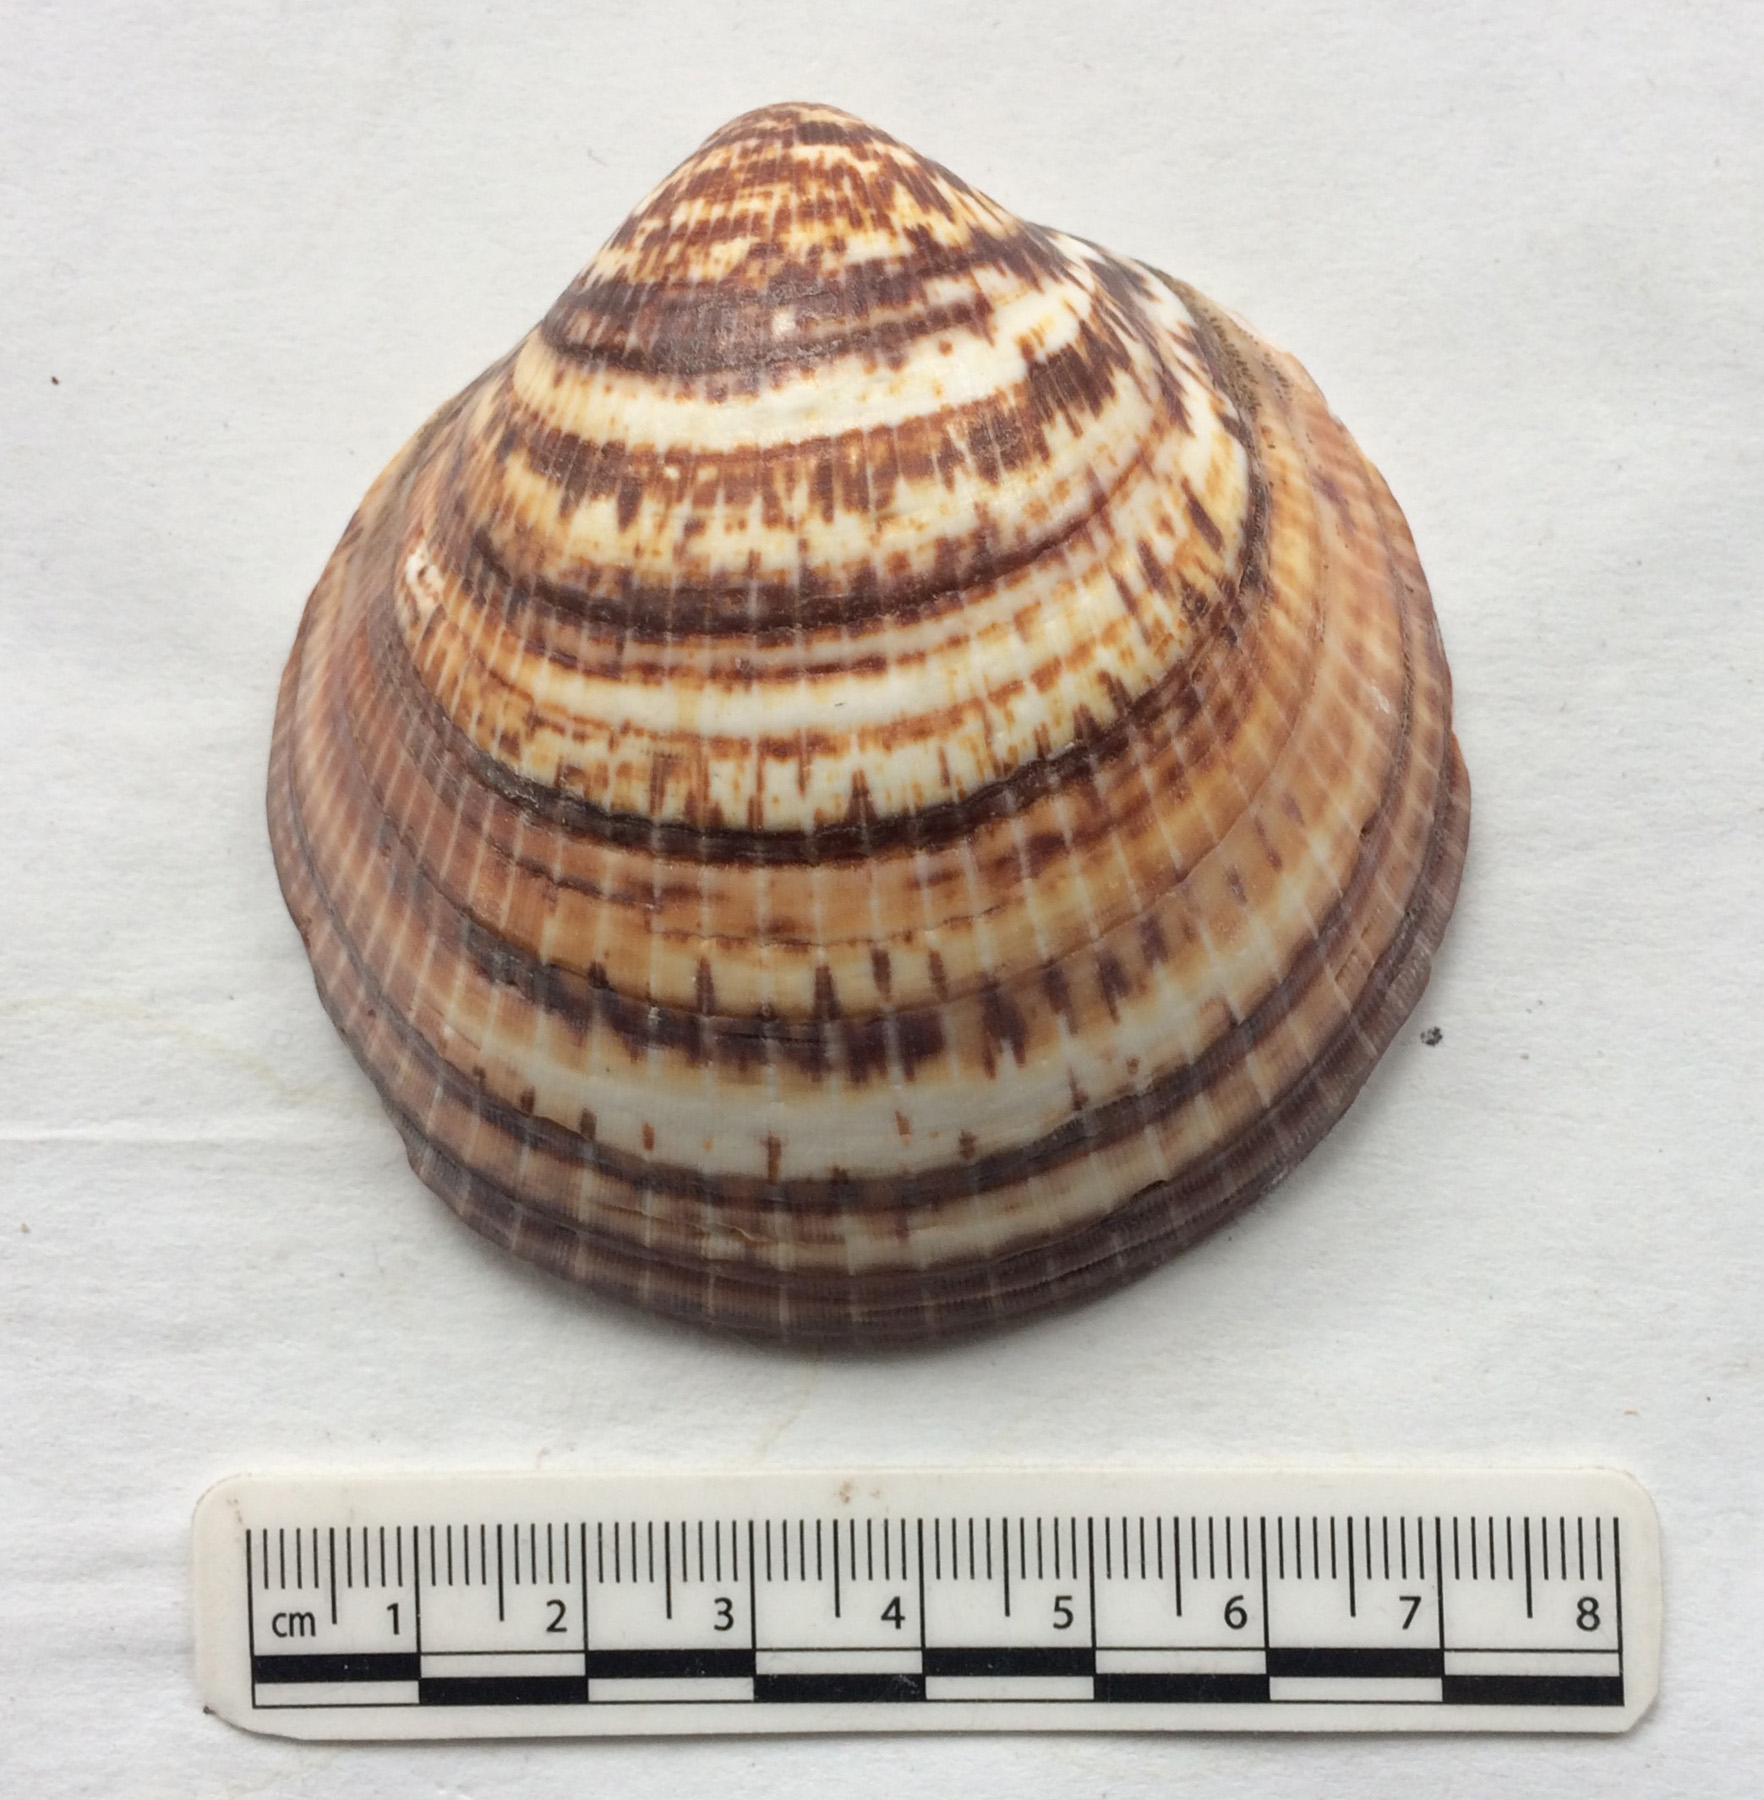
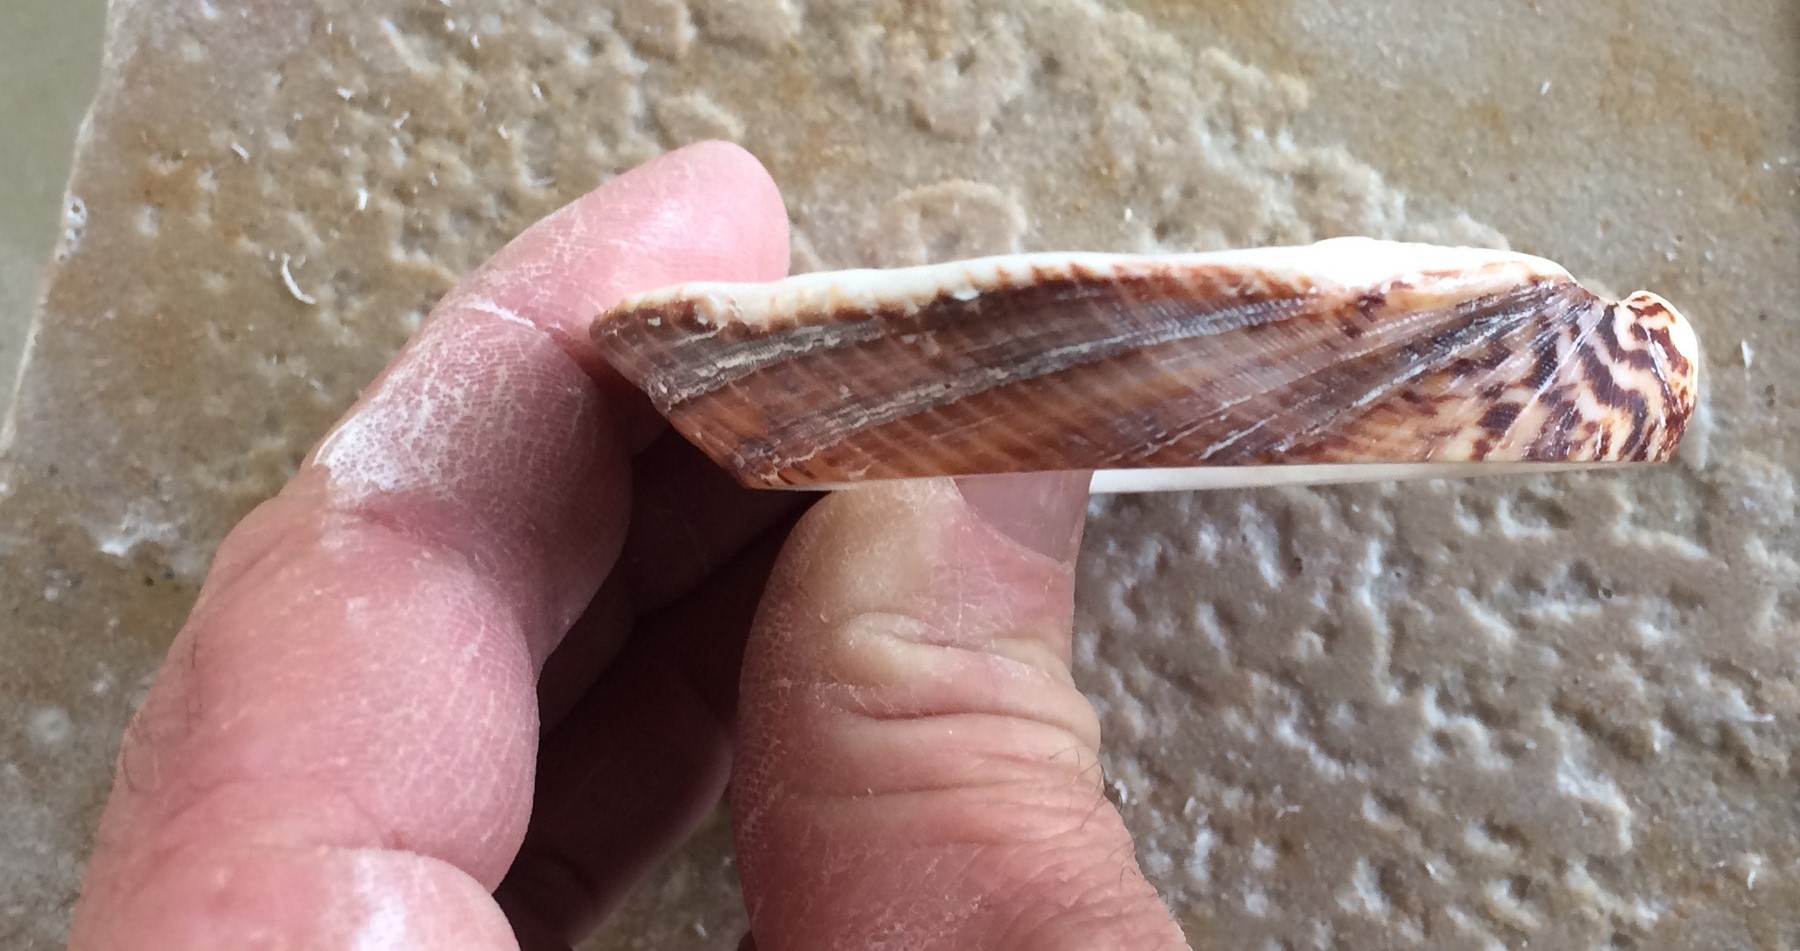
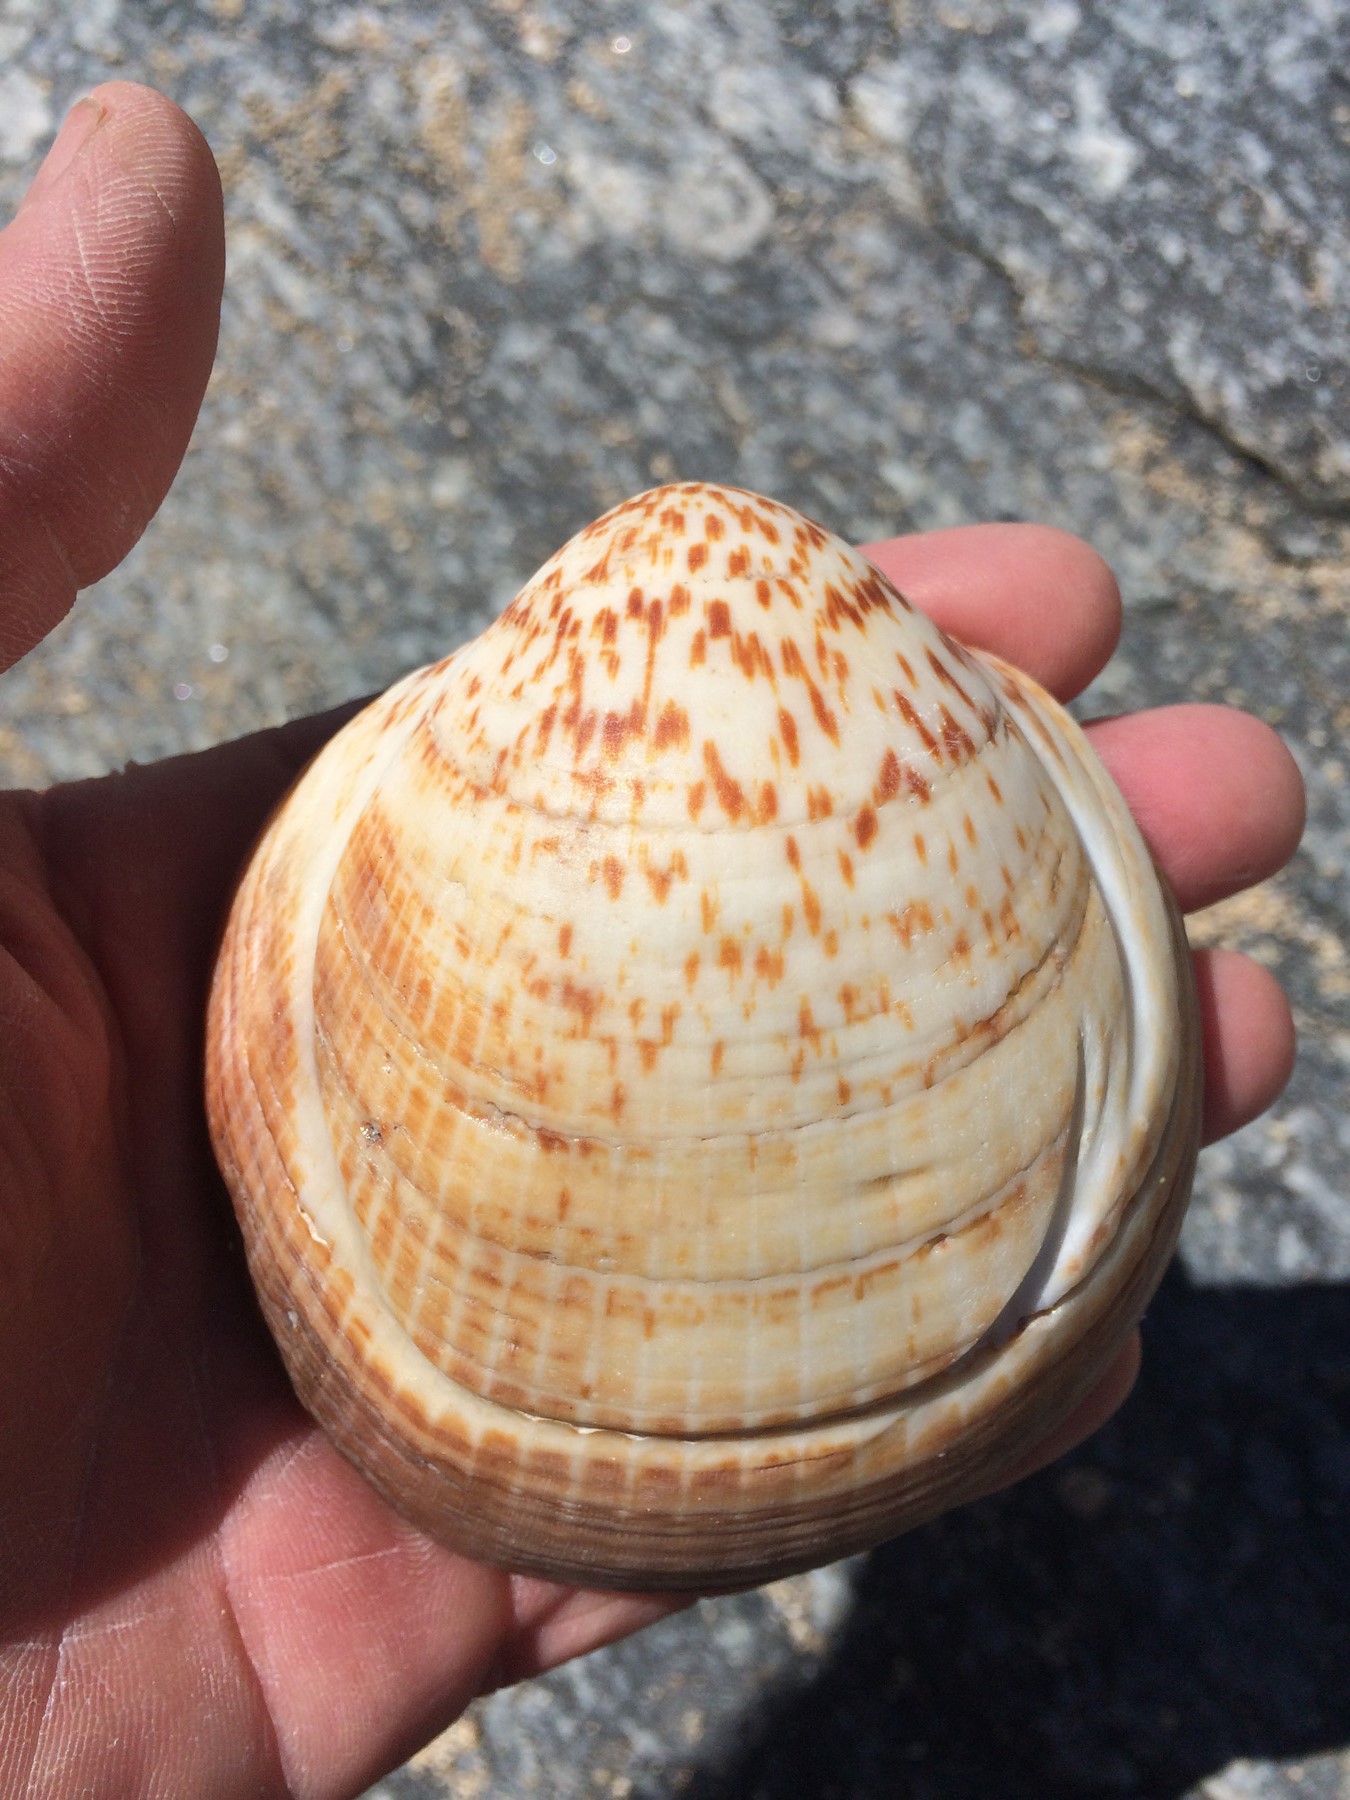
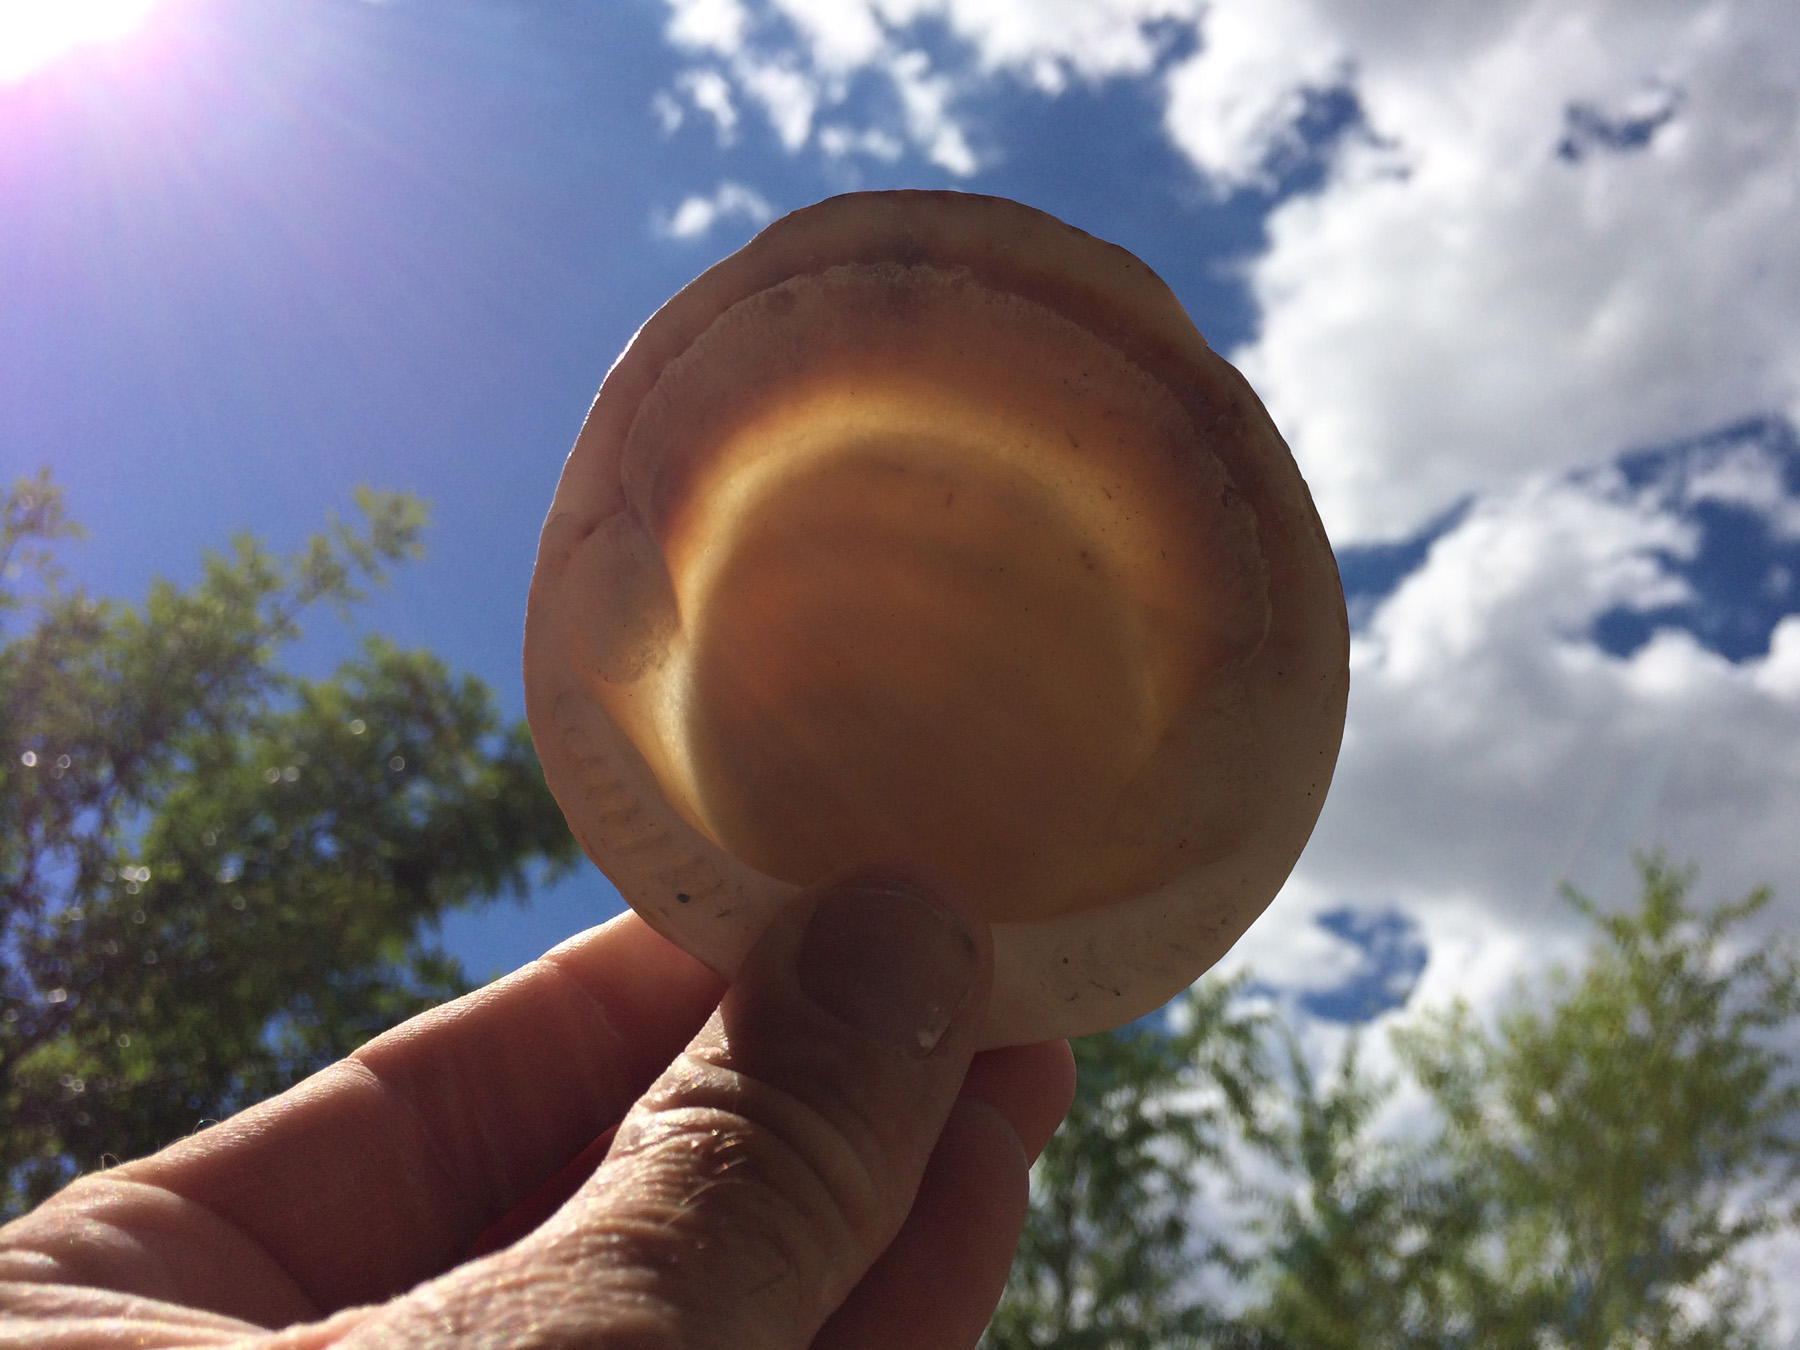
This is a Glycymeris shell from the Gulf of California. Most of the shell bracelets we find in archaeological sites are made from these shells. This shell is 5.6 mm thick and weighs 18 grams. I chose this shell because it is in pretty good shape with just a little damage along the left edge.
 |
 |
After grinding on a sandstone slab for 24 minutes, I finally broke through to the inside of the shell.
I wanted to grind this bracelet out completely to get an idea of how much time this takes, and to compare with how much time might be saved by the shortcut processes we have evidence people used in the past.
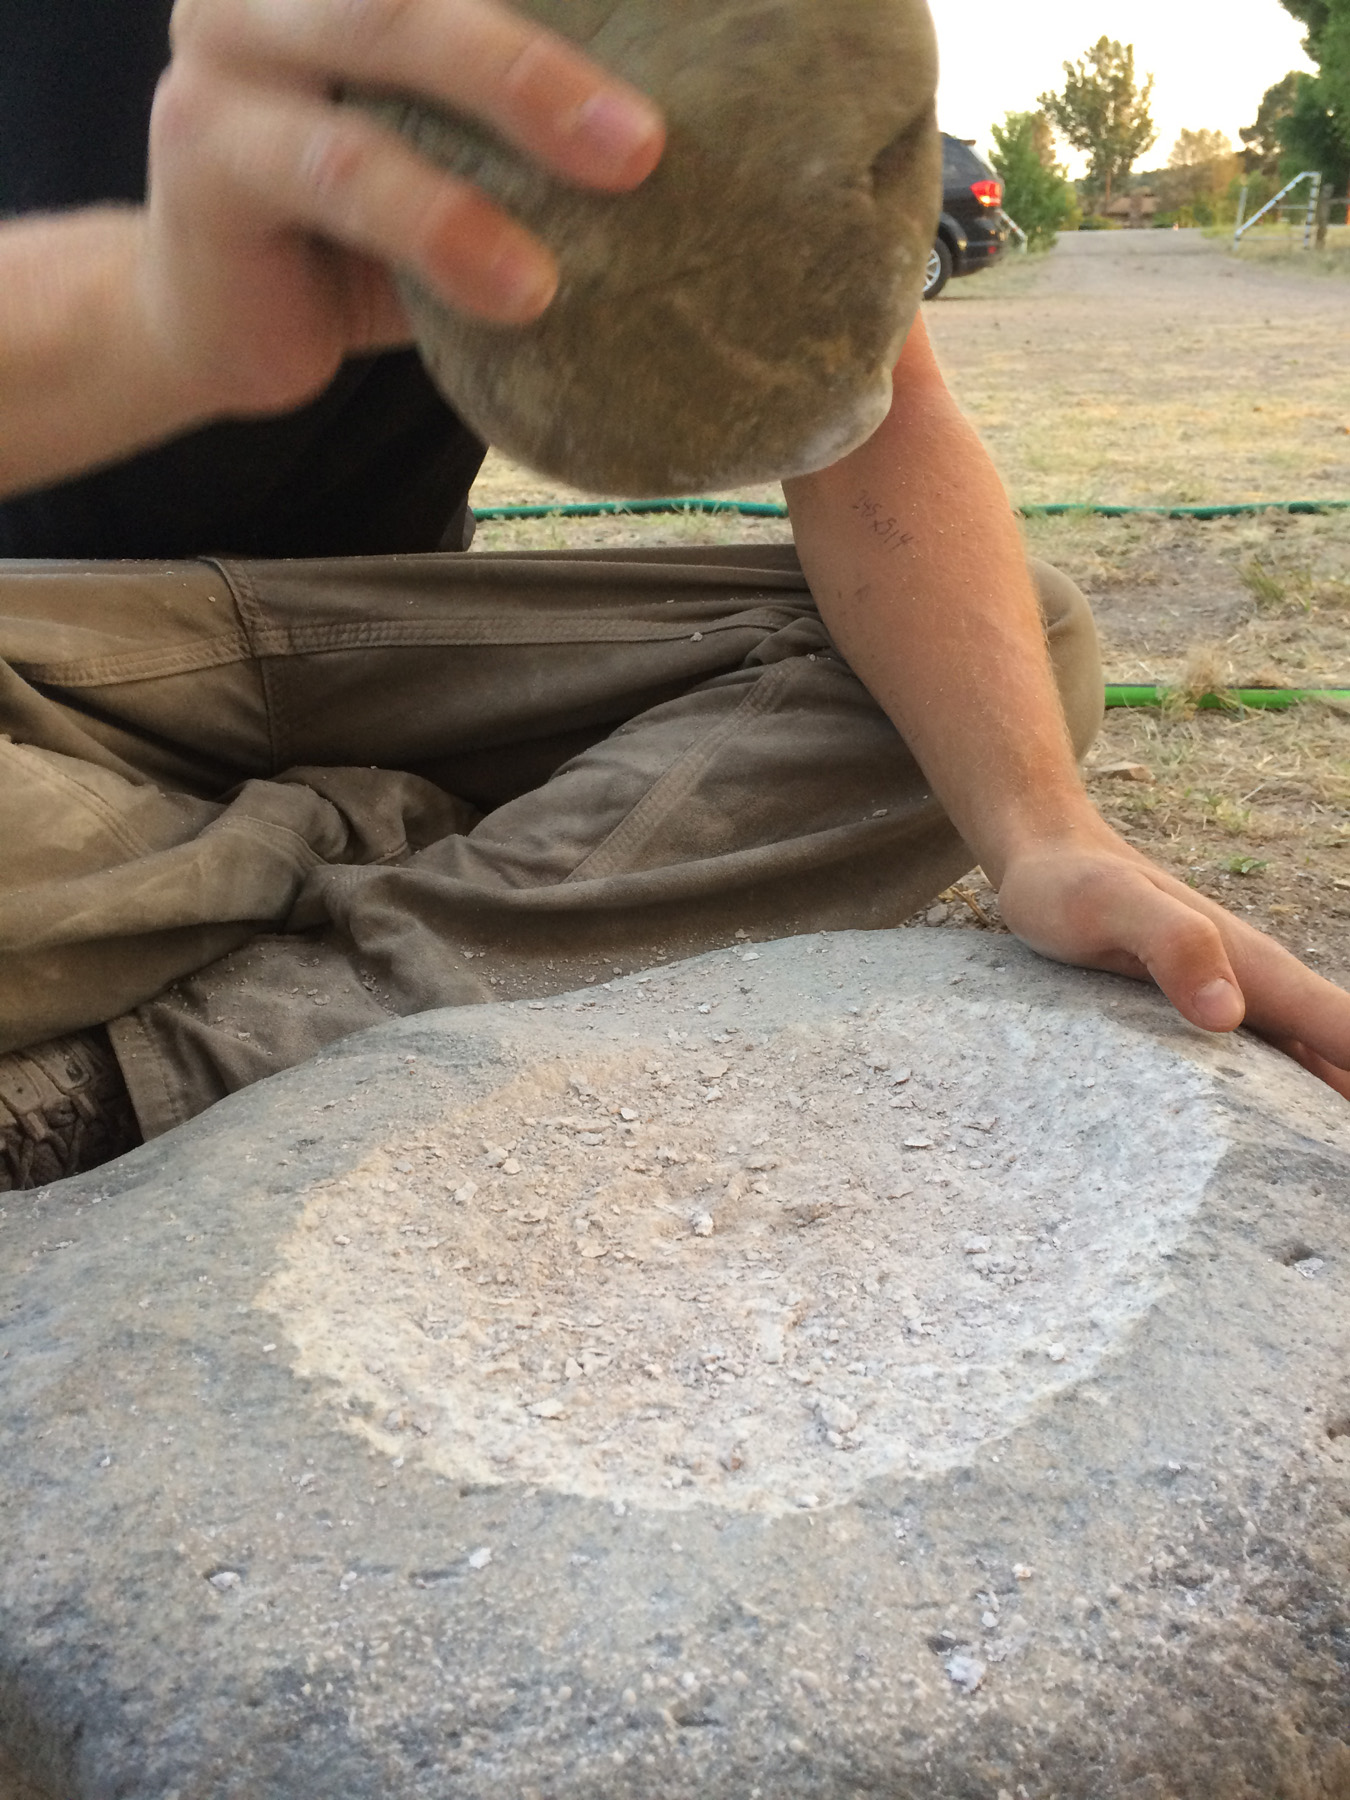
I kept the grinding surface wet as I ground. This keeps the pores from clogging with shell, and it keeps the shell dust down. I pressed the shell to the grinding slab with a fair amount of pressure.
This photo was taken after 41 minutes of grinding. The shell is sitting on the sandstone slab I used. The surface of the slab was starting to get pretty smooth at this point.
When my grinding slabs started to become too smooth, I took a harder stone and lightly pecked the surface. That roughened it enough to continue.
After 1 hour of grinding:

These two pictures show the process after 2 hours of grinding:
You can see the pecking marks on the sandstone slab below the bracelet. I actually pecked the slab twice between hour 1 and 2 to sharpen it. It really felt like it ground much easier after each time I pecked it. We have archaeological evidence that people continually re-pecked their grinding equipment to keep it sharp. People probably wore out mutates much faster than you might expect. Having different grits would have been important, as well.
After 3 hours of grinding:
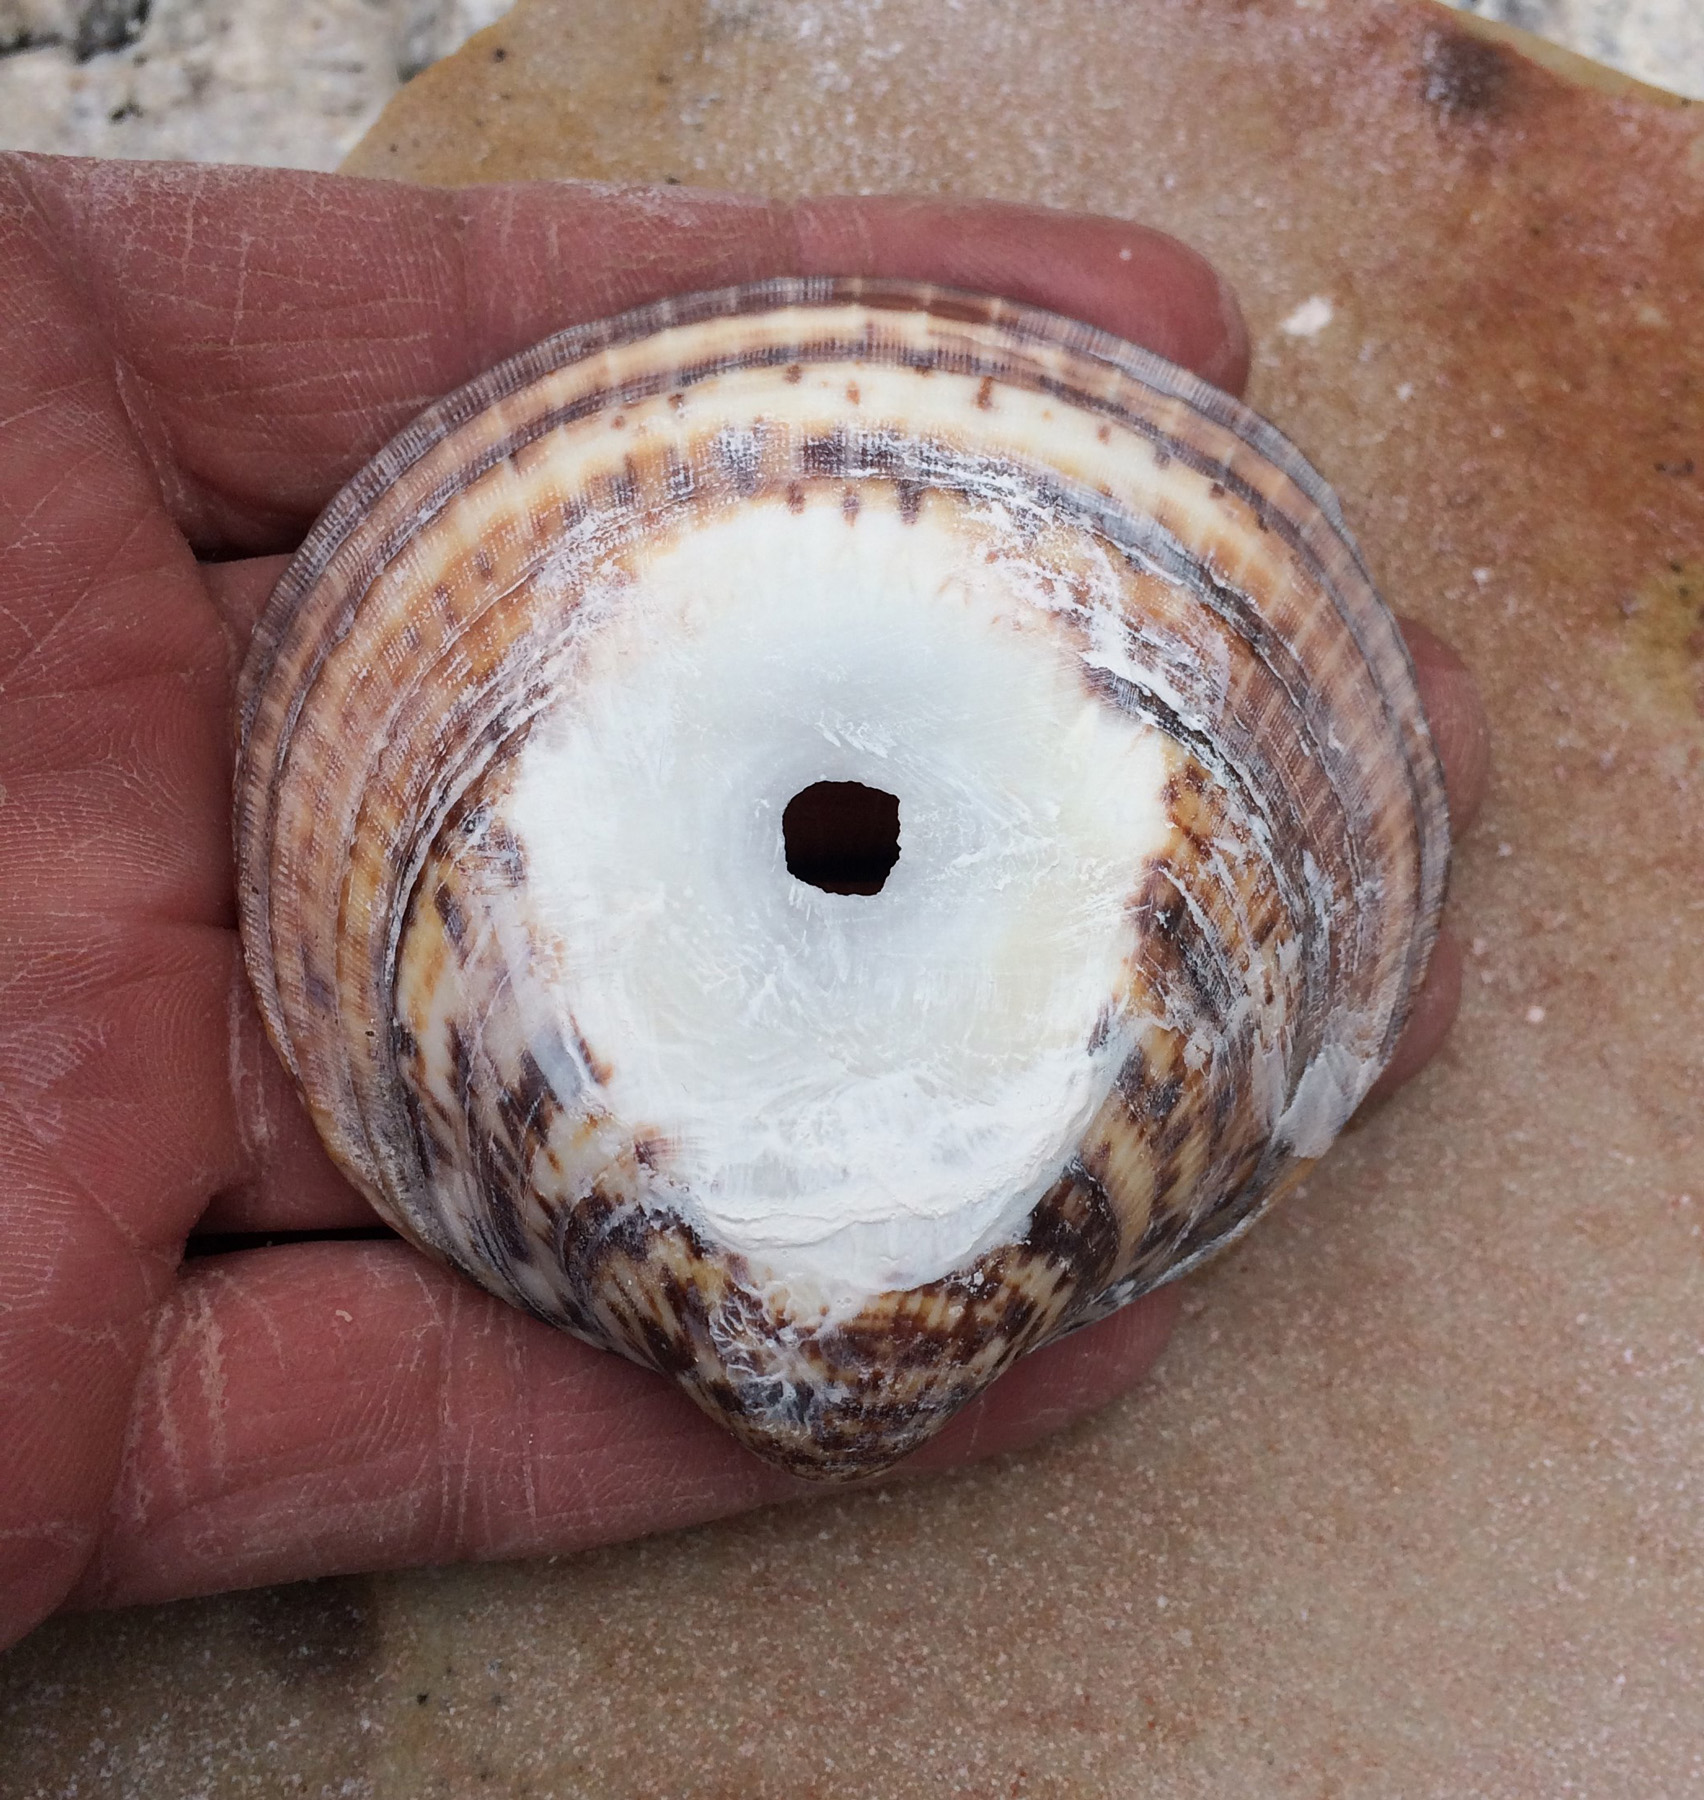
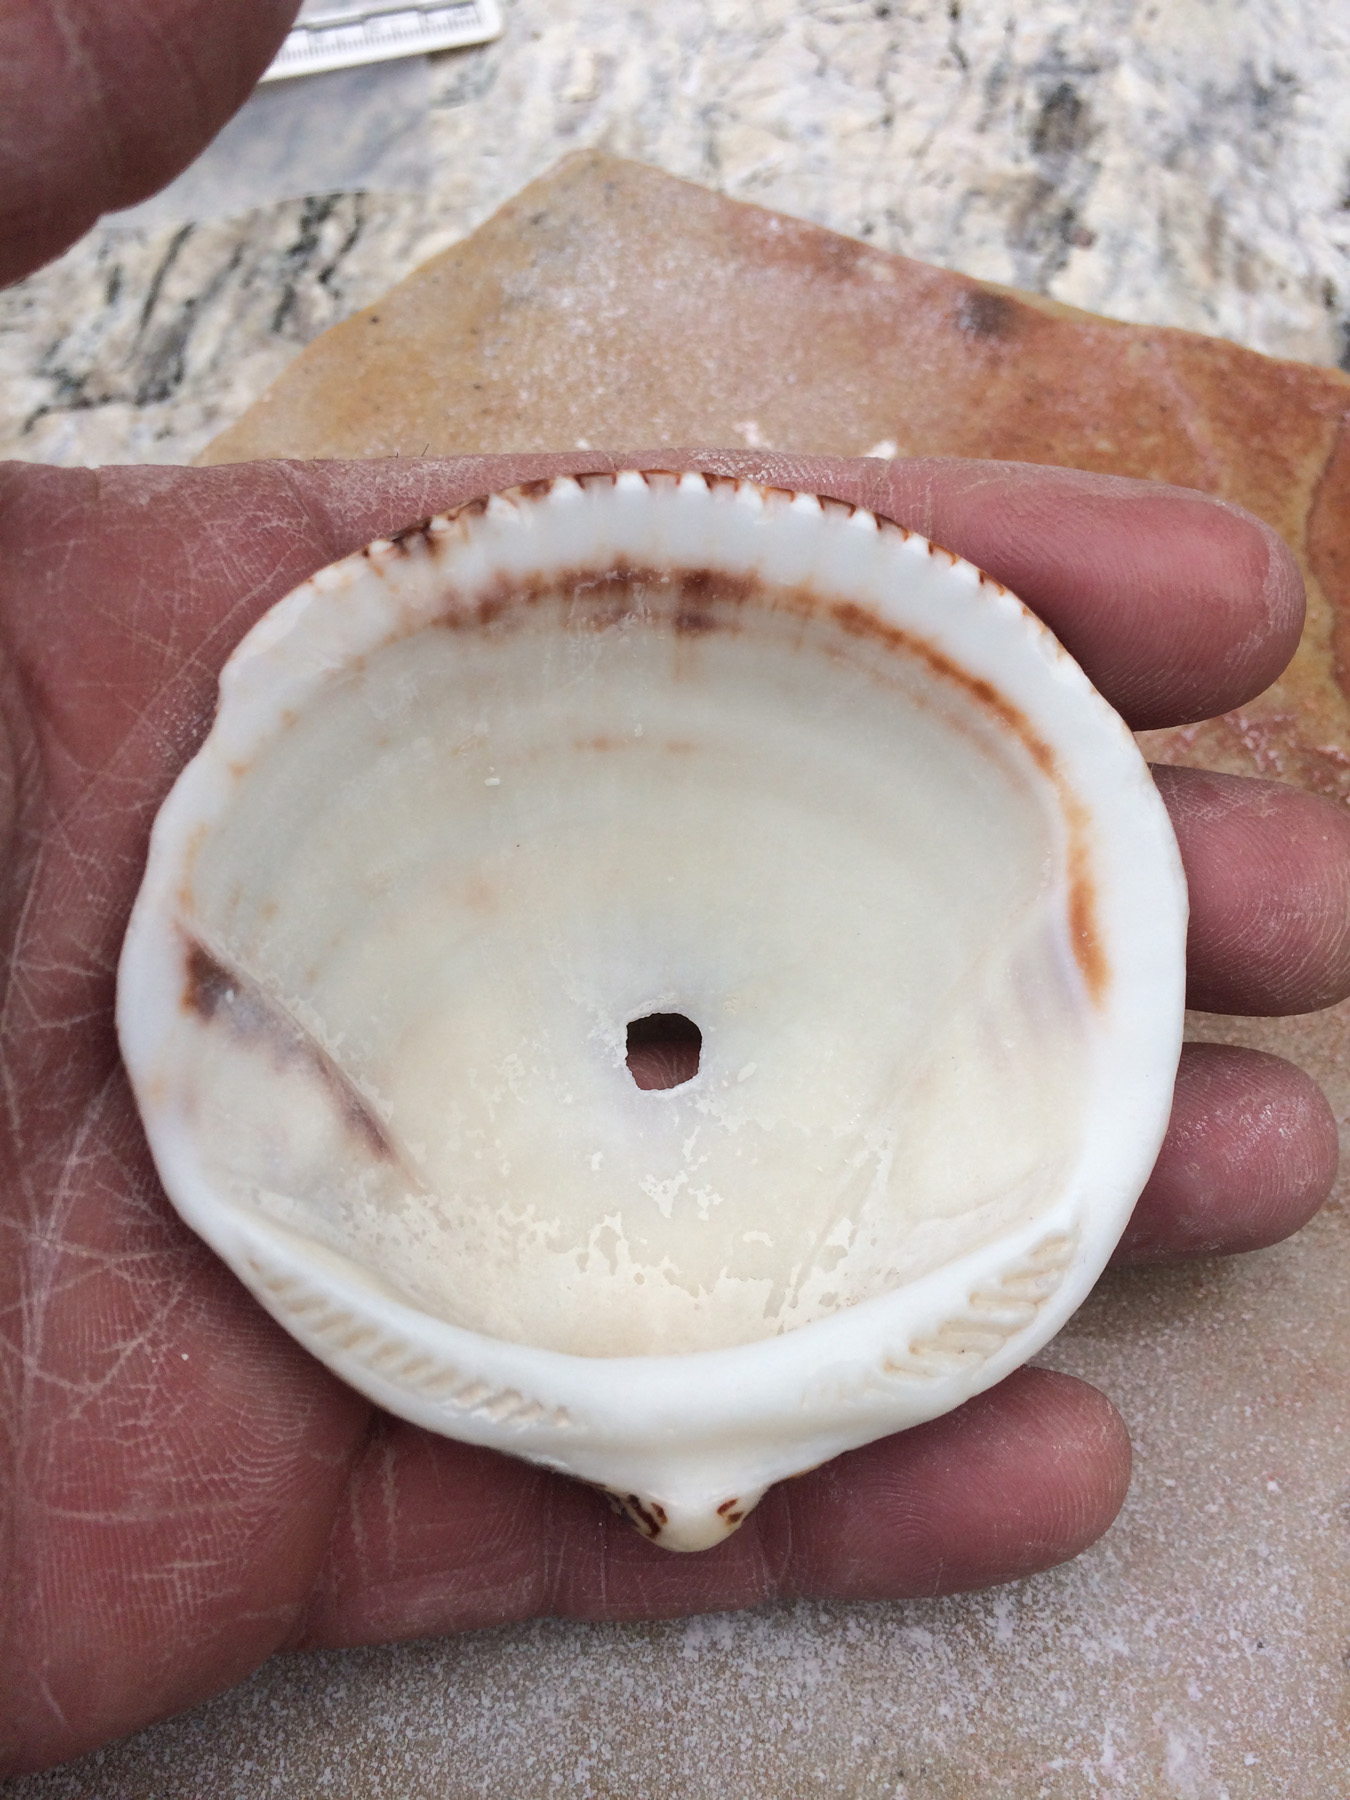
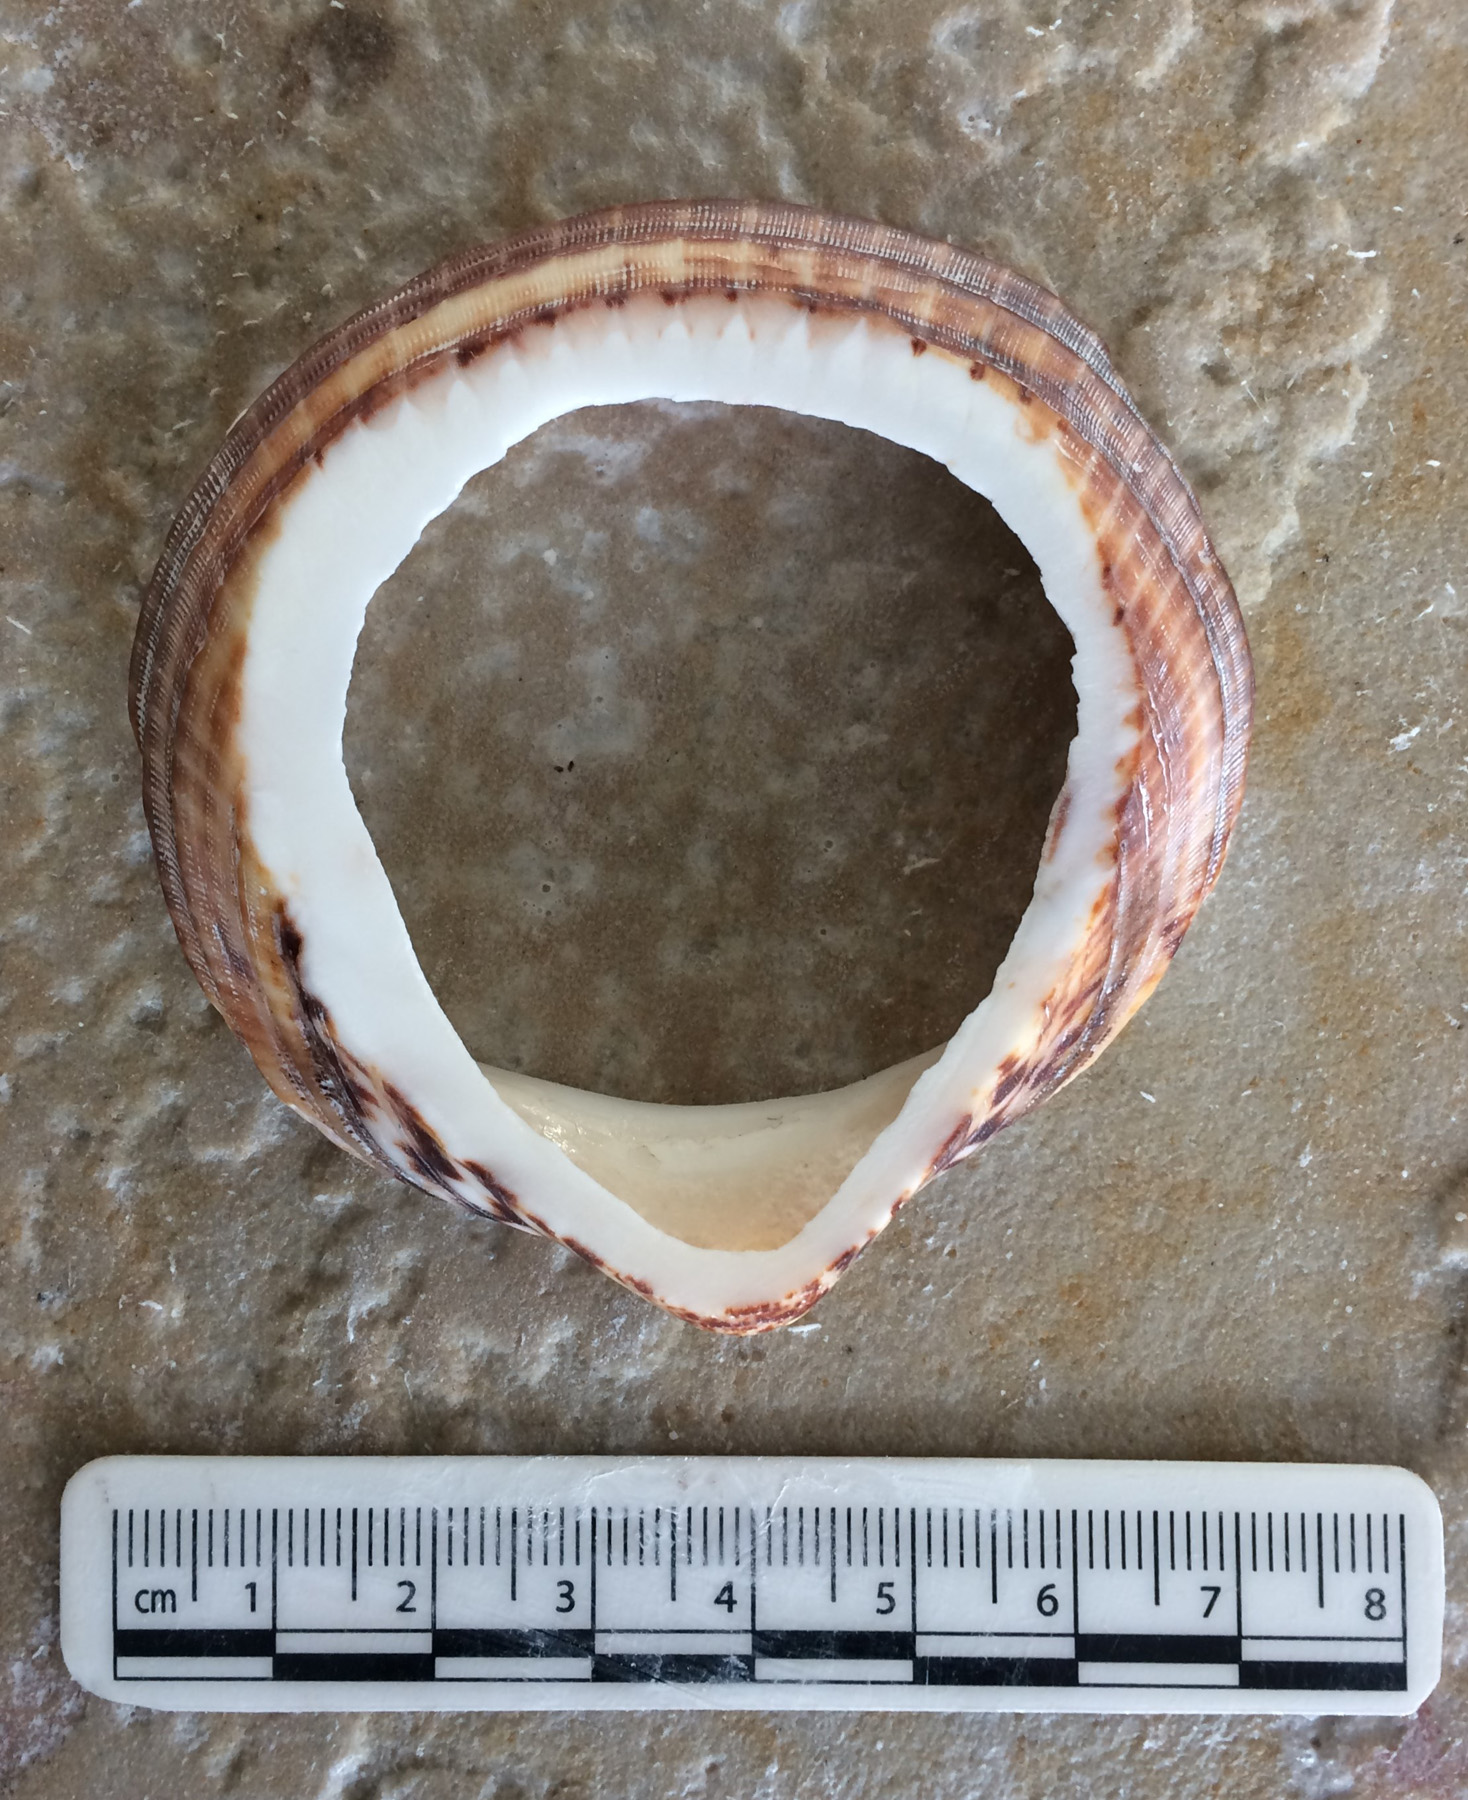
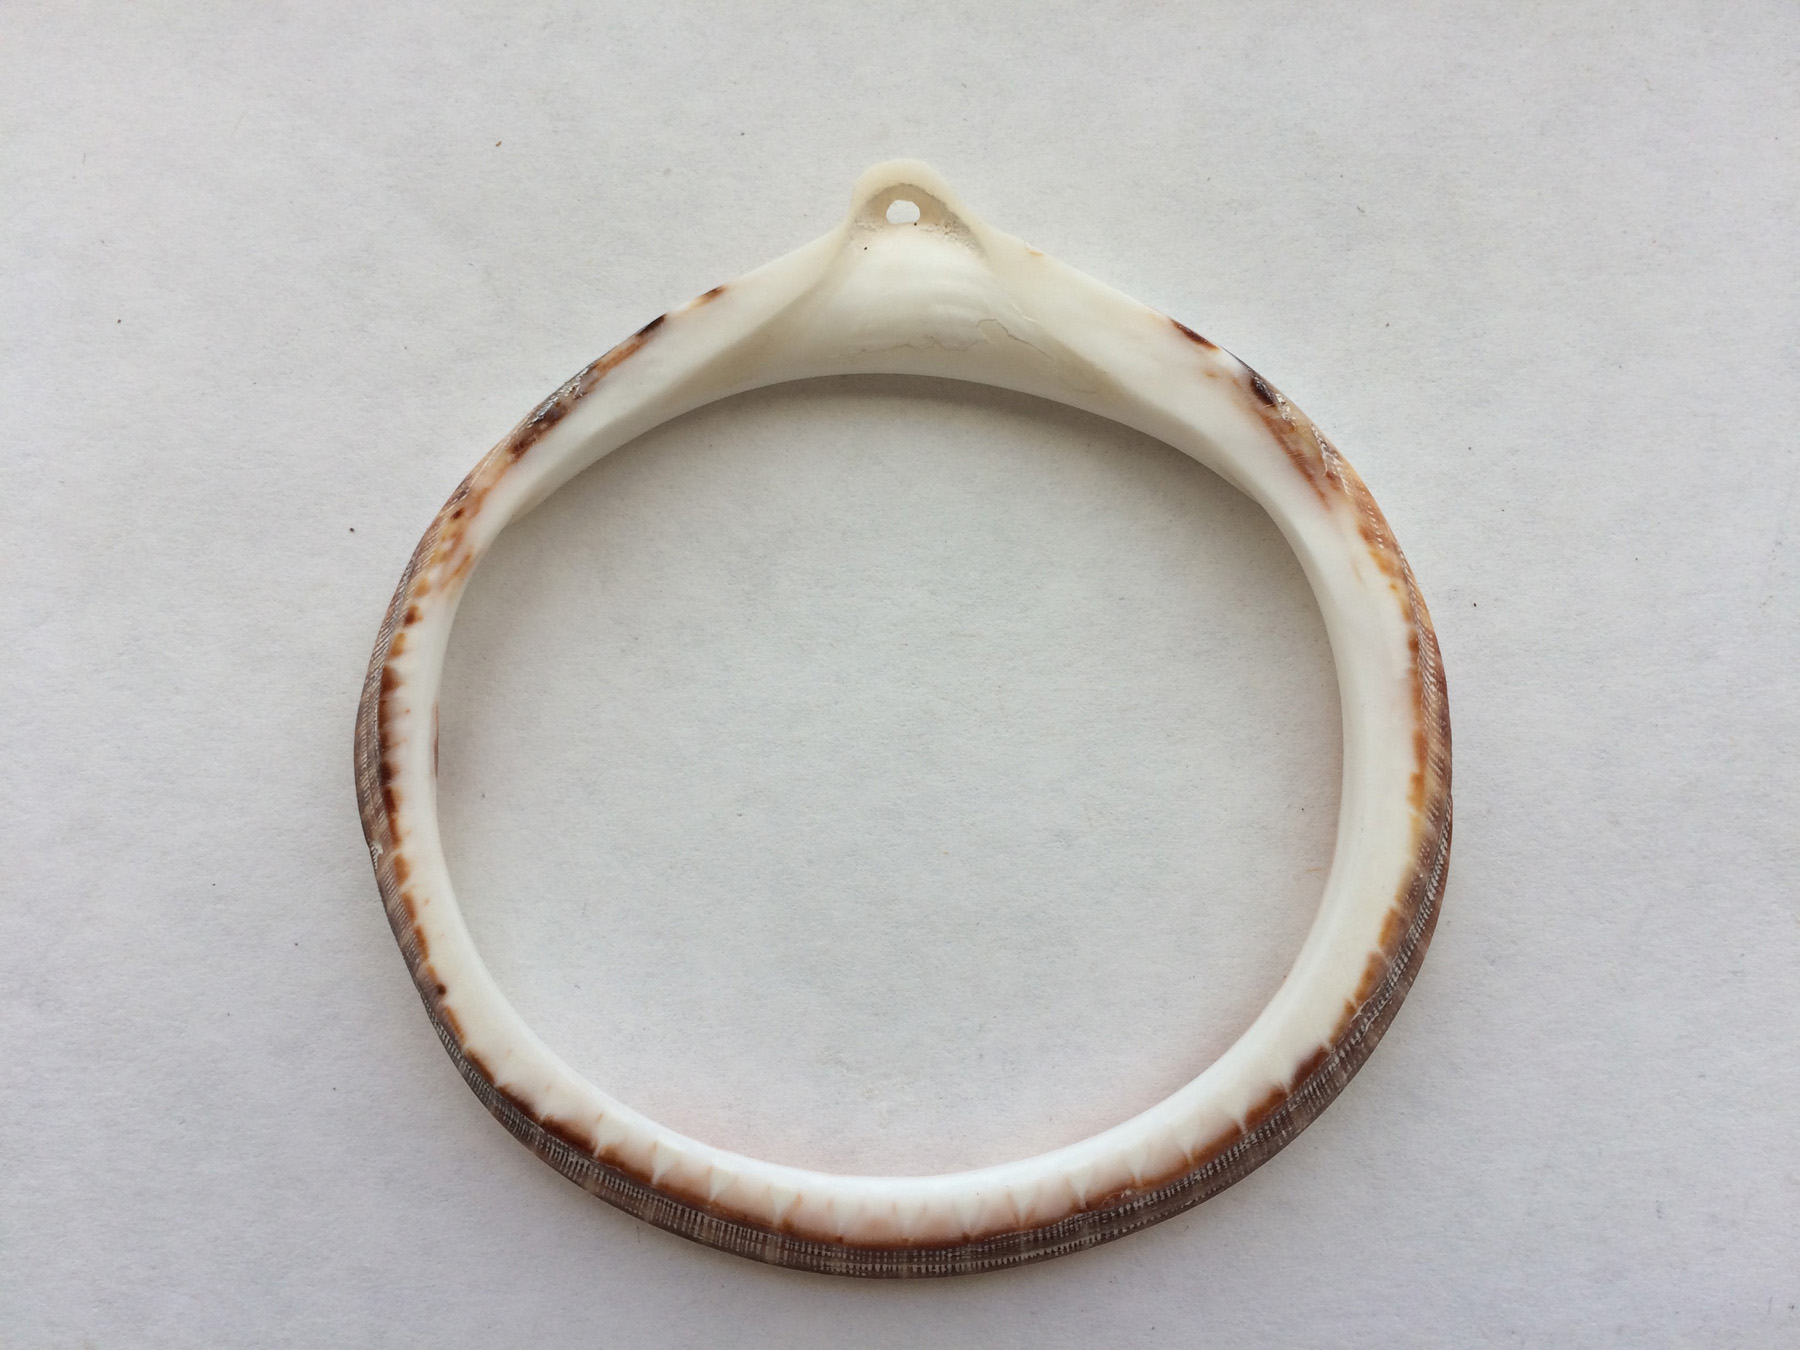
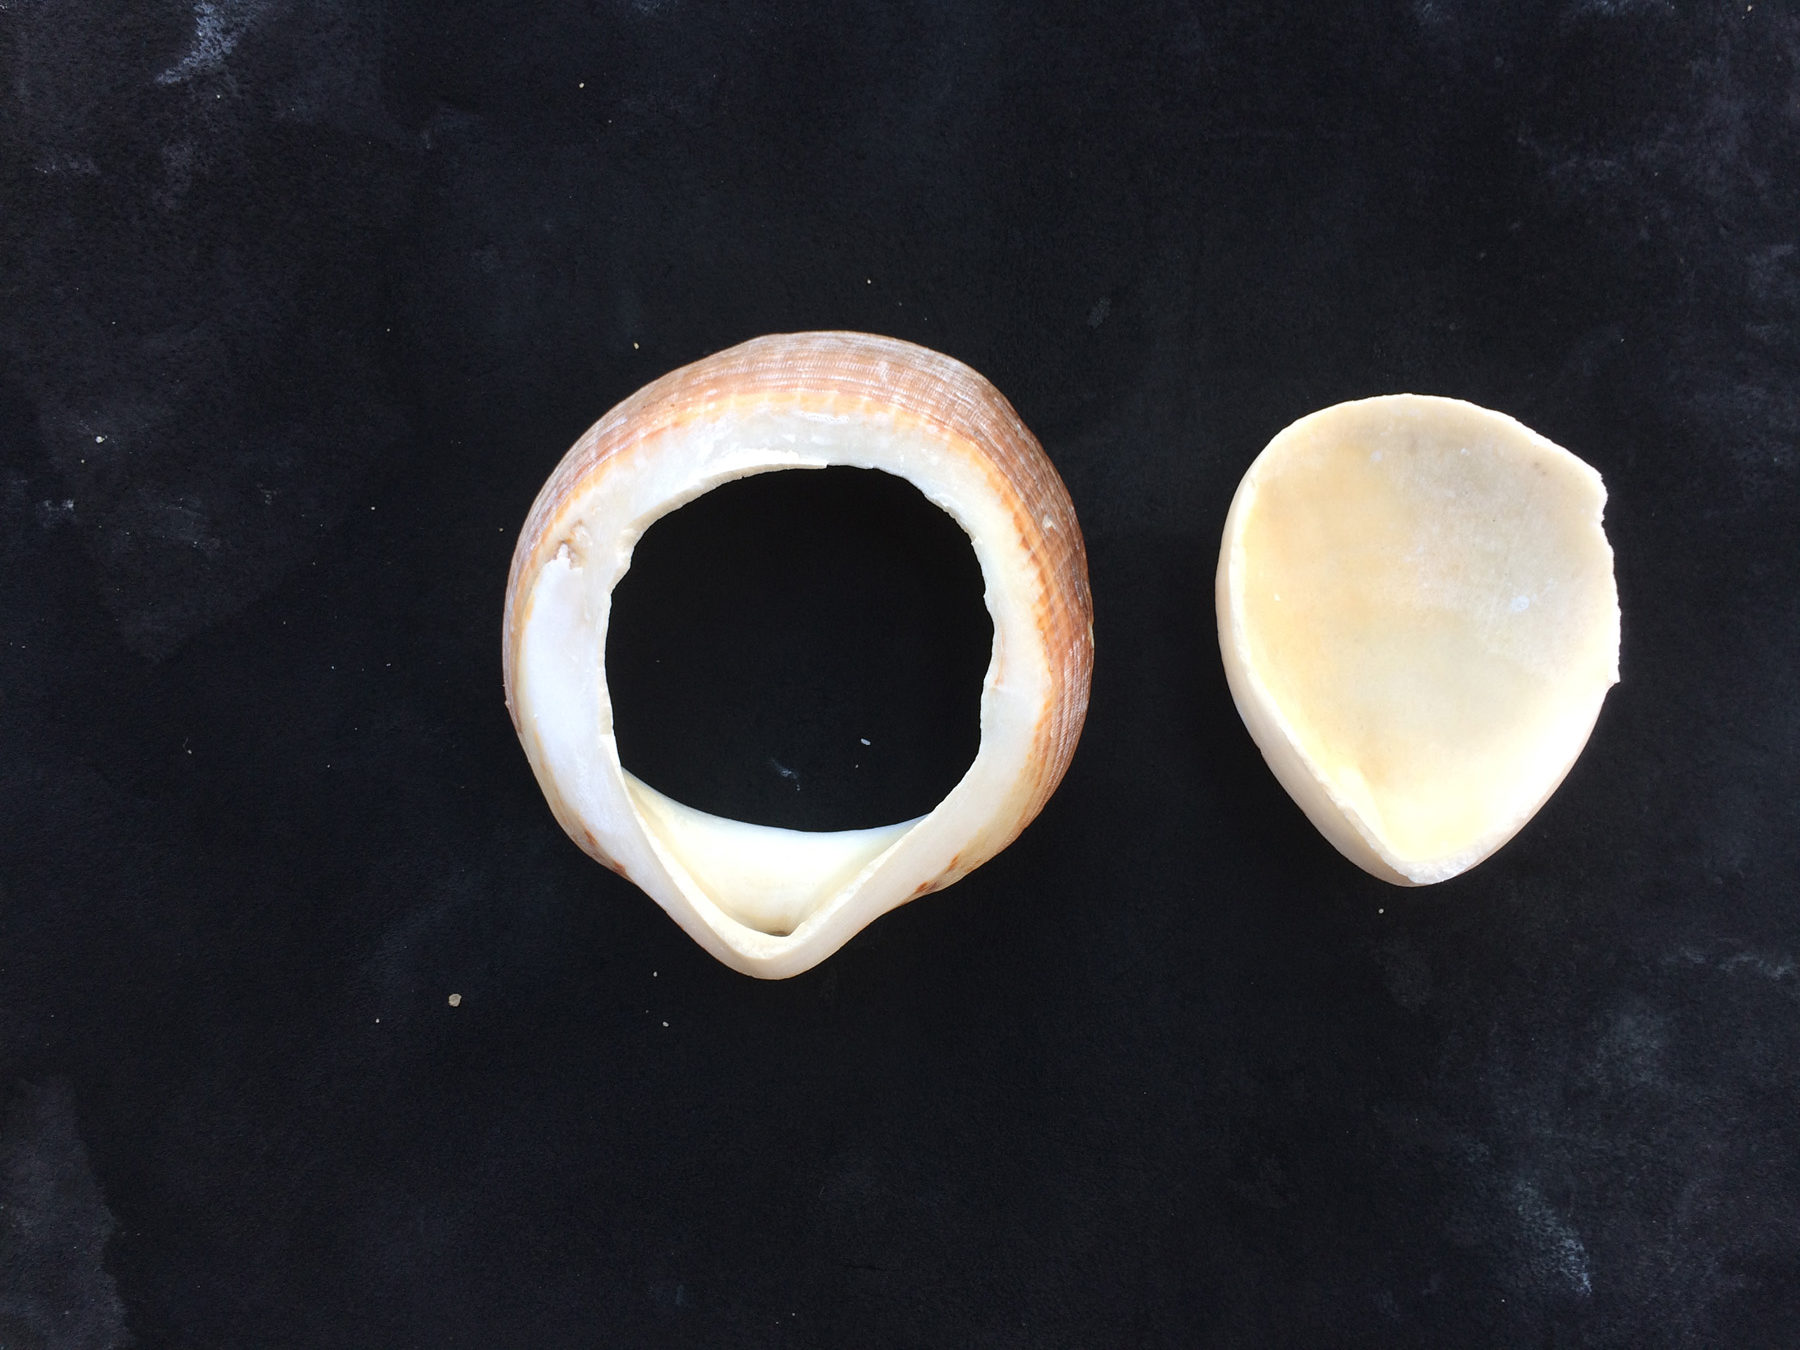
Now all that is left is grinding the inside flat and some smoothing on the outside of the shell. Now the bracelet only weighs 8 grams. In the photo below I am using a sandstone cobble I gathered out of the Santa Cruz River to flatten and smooth out the bracelet’s interior. This shell is not particularly thick, so I did not grind it to a square cross section that experts have documented in some bracelets.

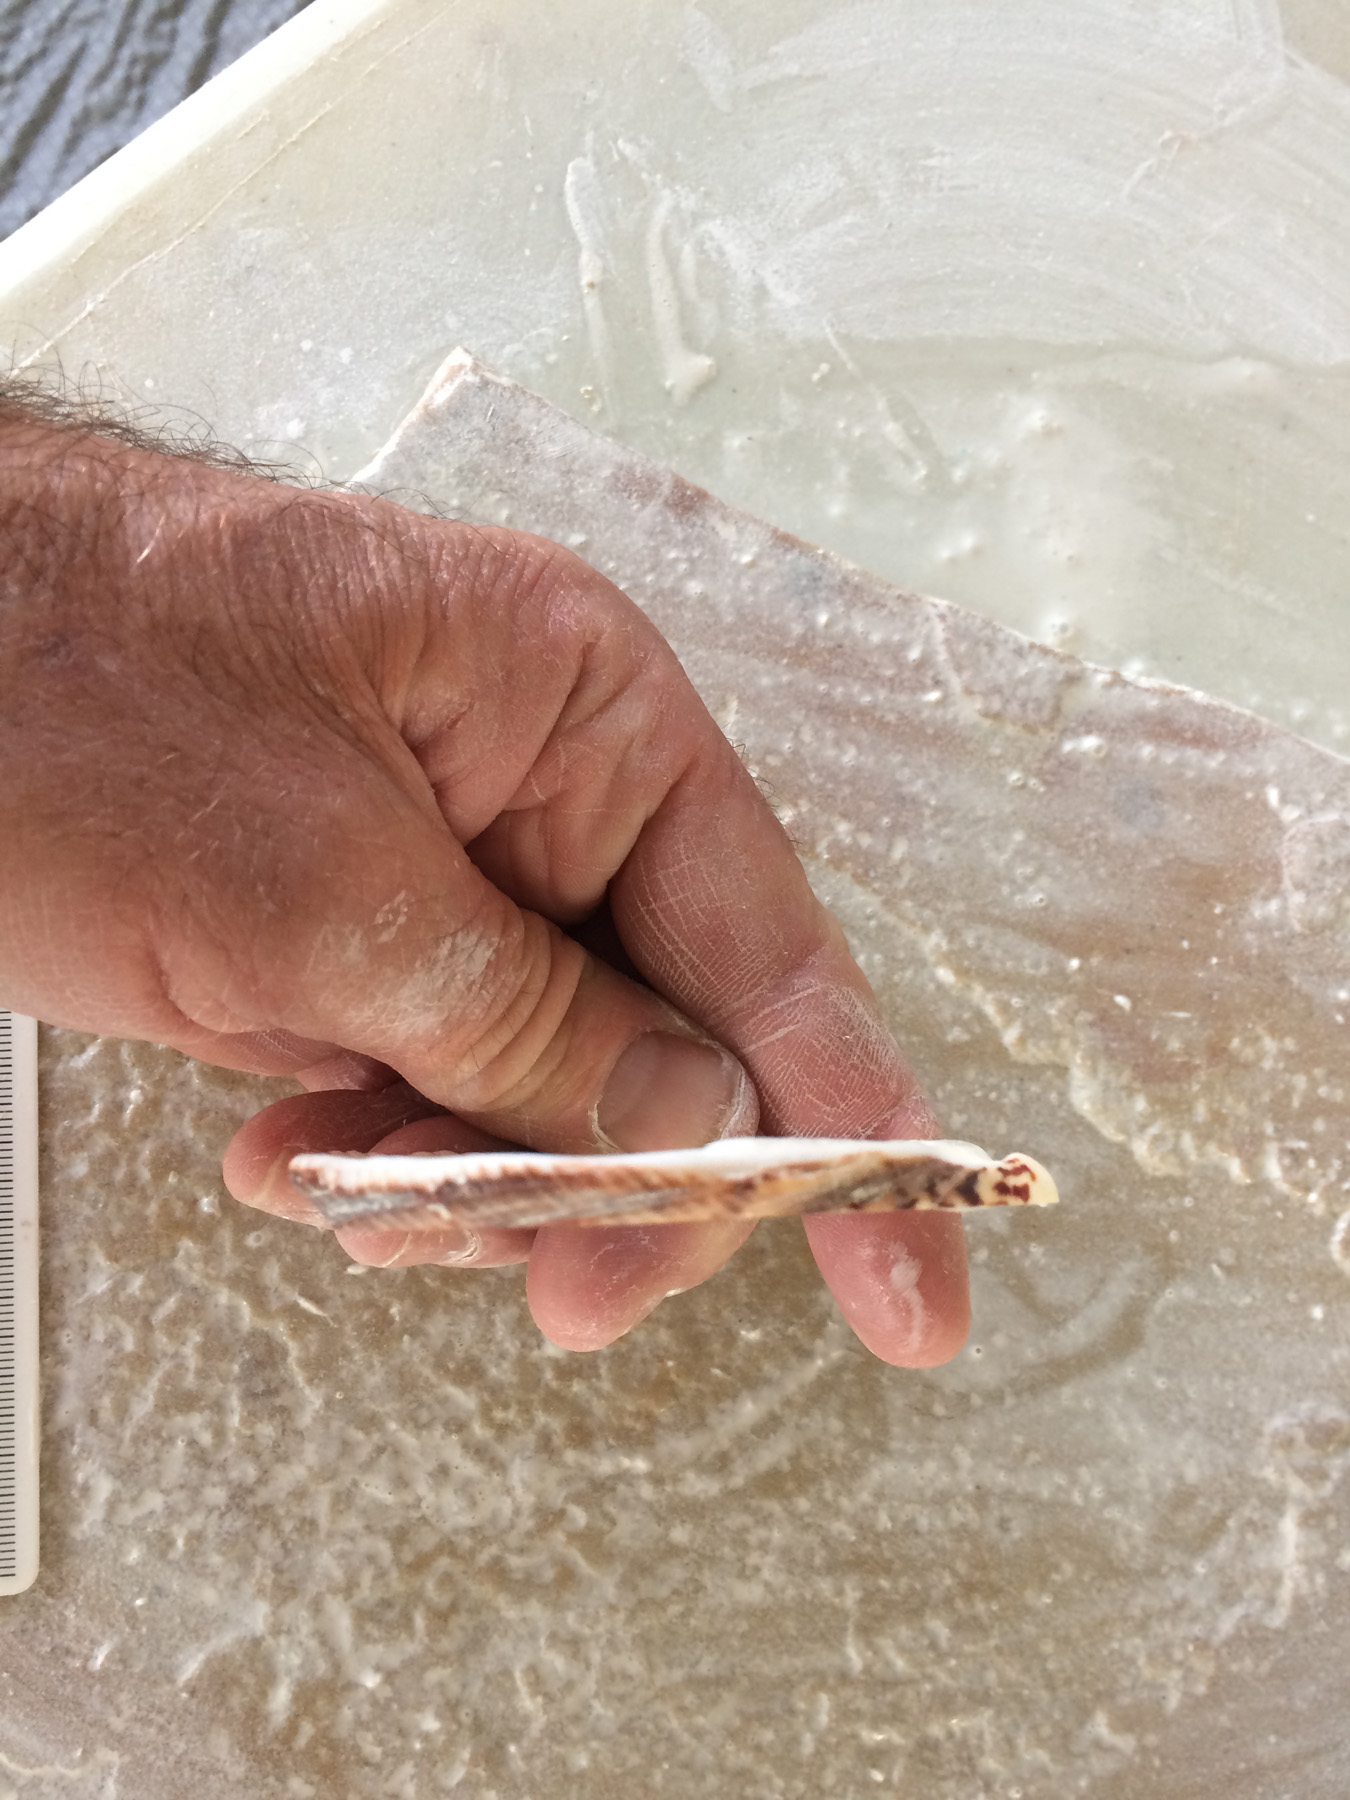
This is the finished bracelet. The process took almost 5 hours from start to finish:
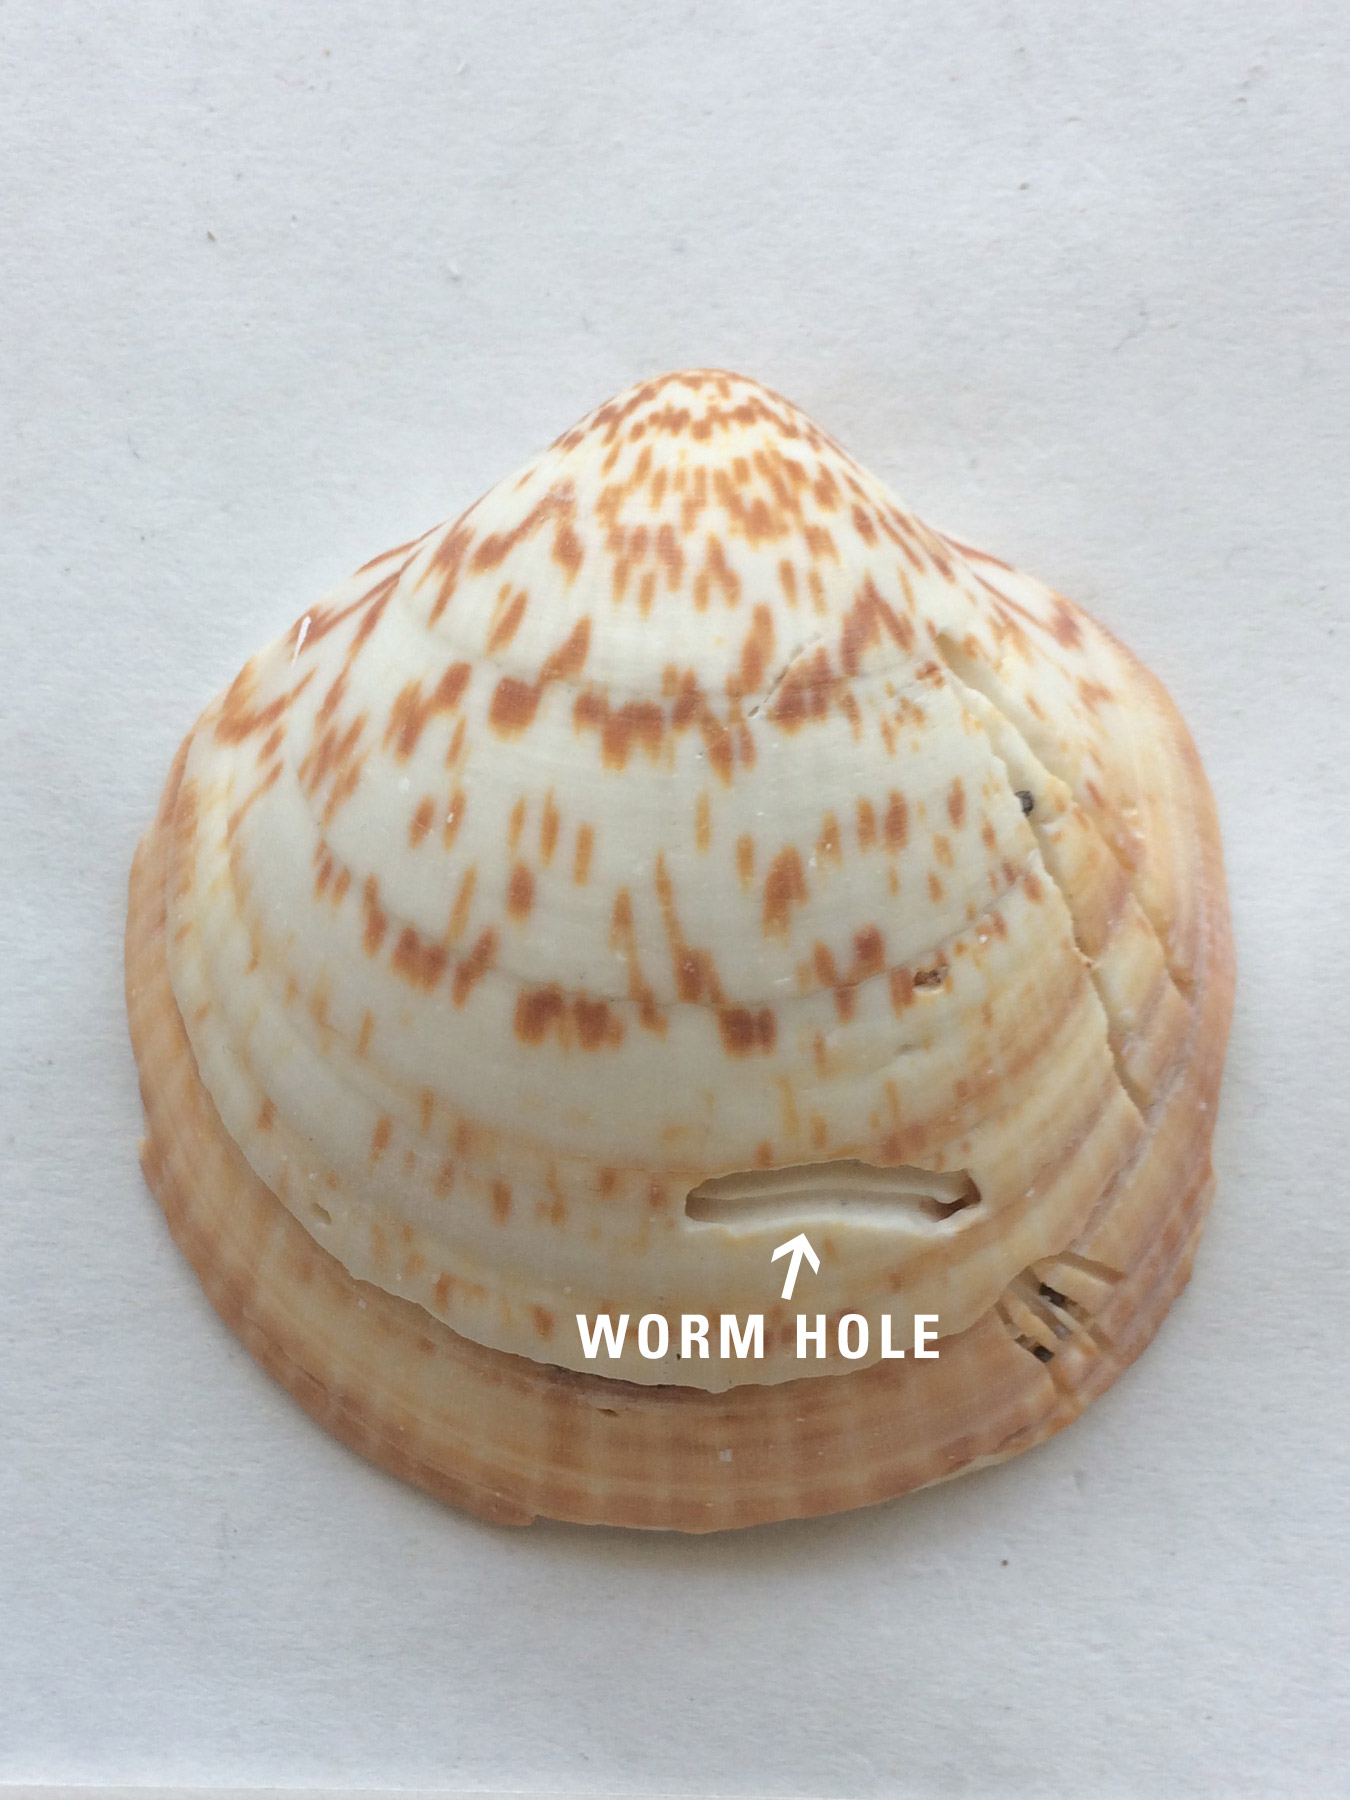
This is the first shell I chose to use to demonstrate the grind-and-flake method. This shell has worm holes in it that weakened the shell considerably. I then chose a much fresher Glycymeris shell.
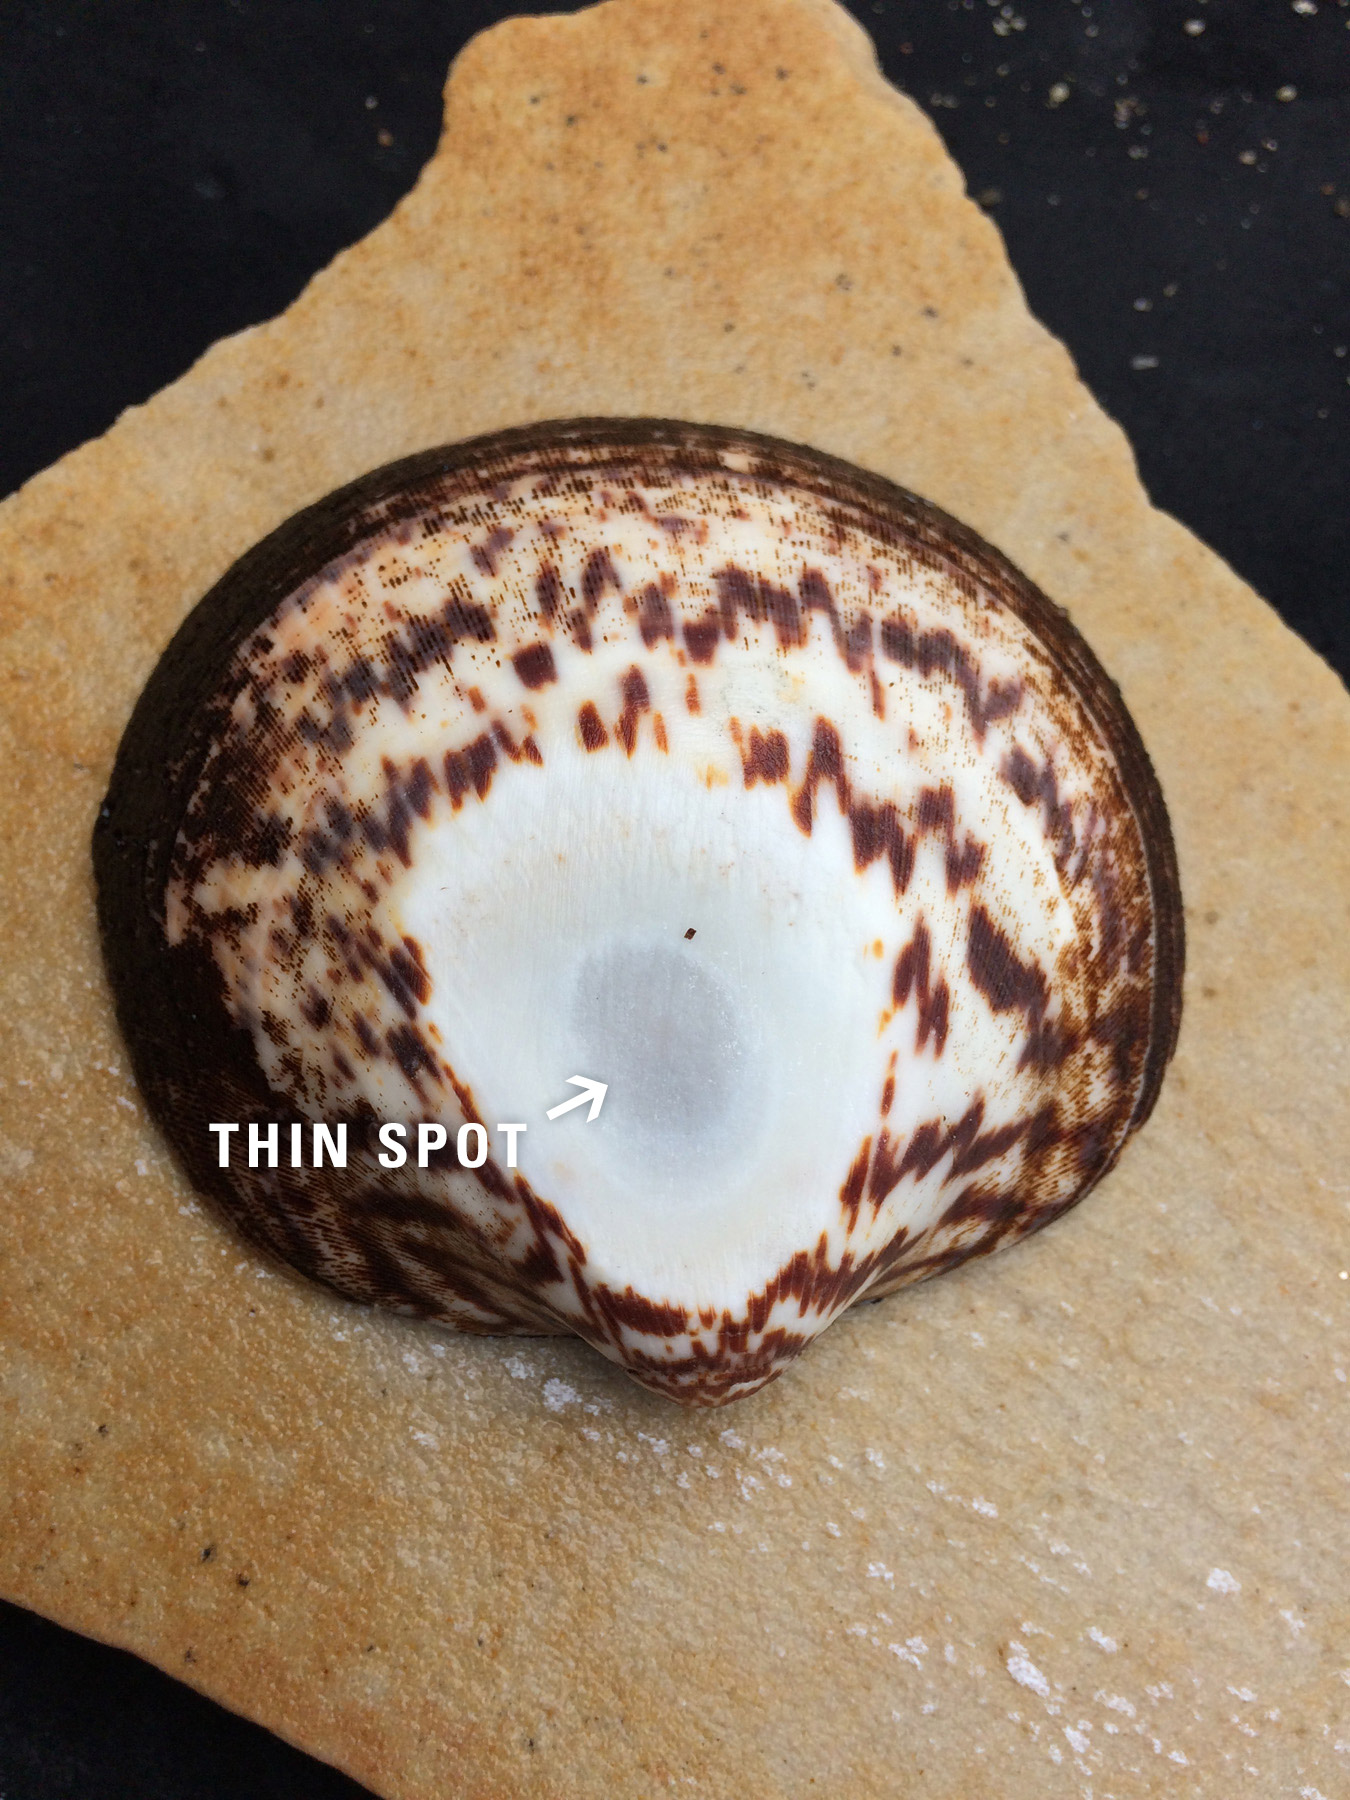
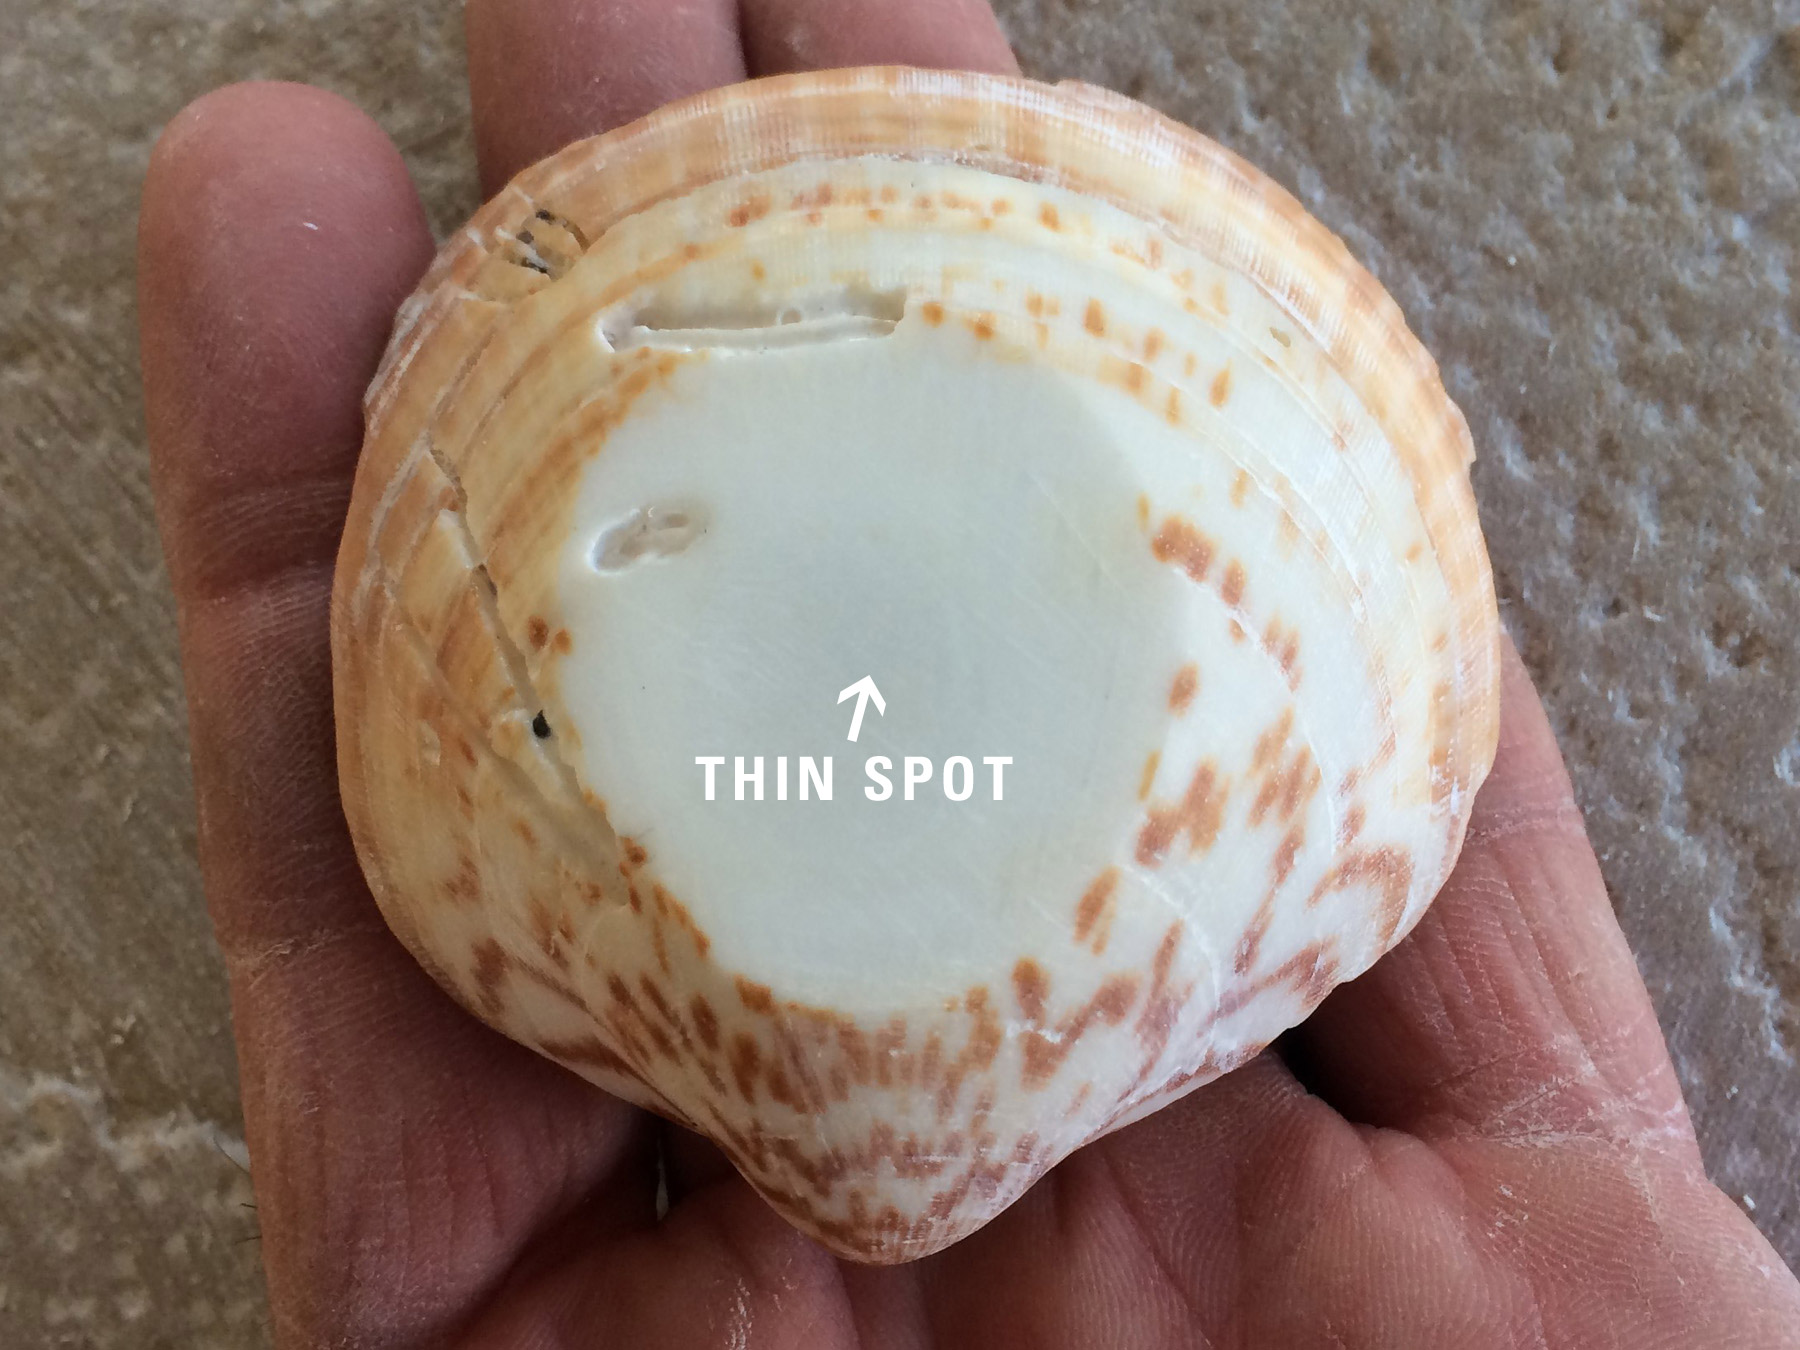
The first step is to grind the top down until you almost grind a hole through. You will be able to see this thinned area easily when you turn the shell over.
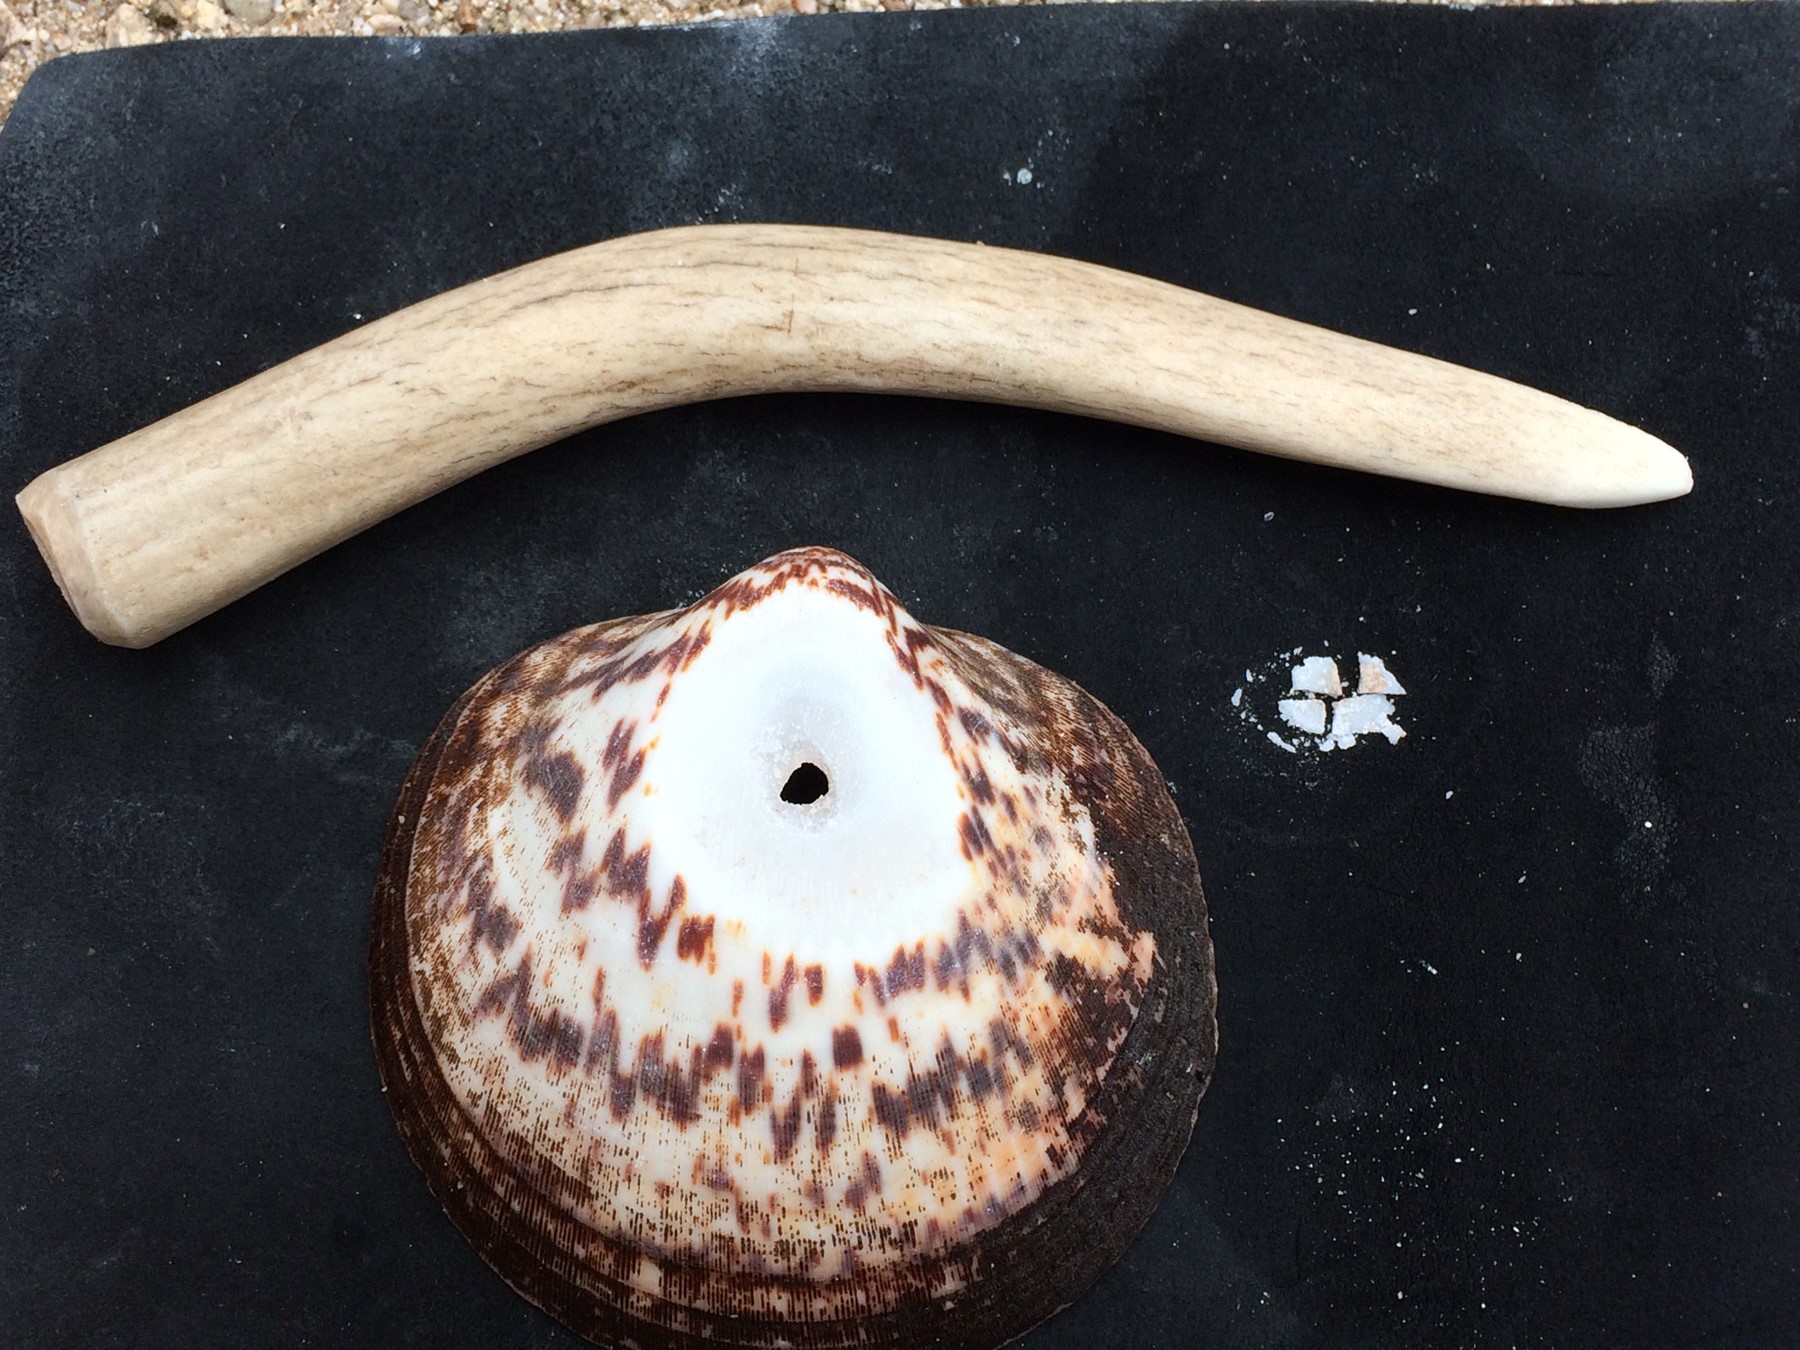
The next step is to use a tool to punch a hole all the way through the shell. I used a deer antler tine. I rested the tip of the tool on the thin spot and tapped the back of the tool with a small rock. Next, I opened the hole by pressure-flaking. I soon discovered why it is important to use fresh shell.
When it started to get hard to chip away the edge of the shell, I had to thin the edge. By grinding a few minutes then chipping away the edge a little at a time, I reduced the chance of breakage.
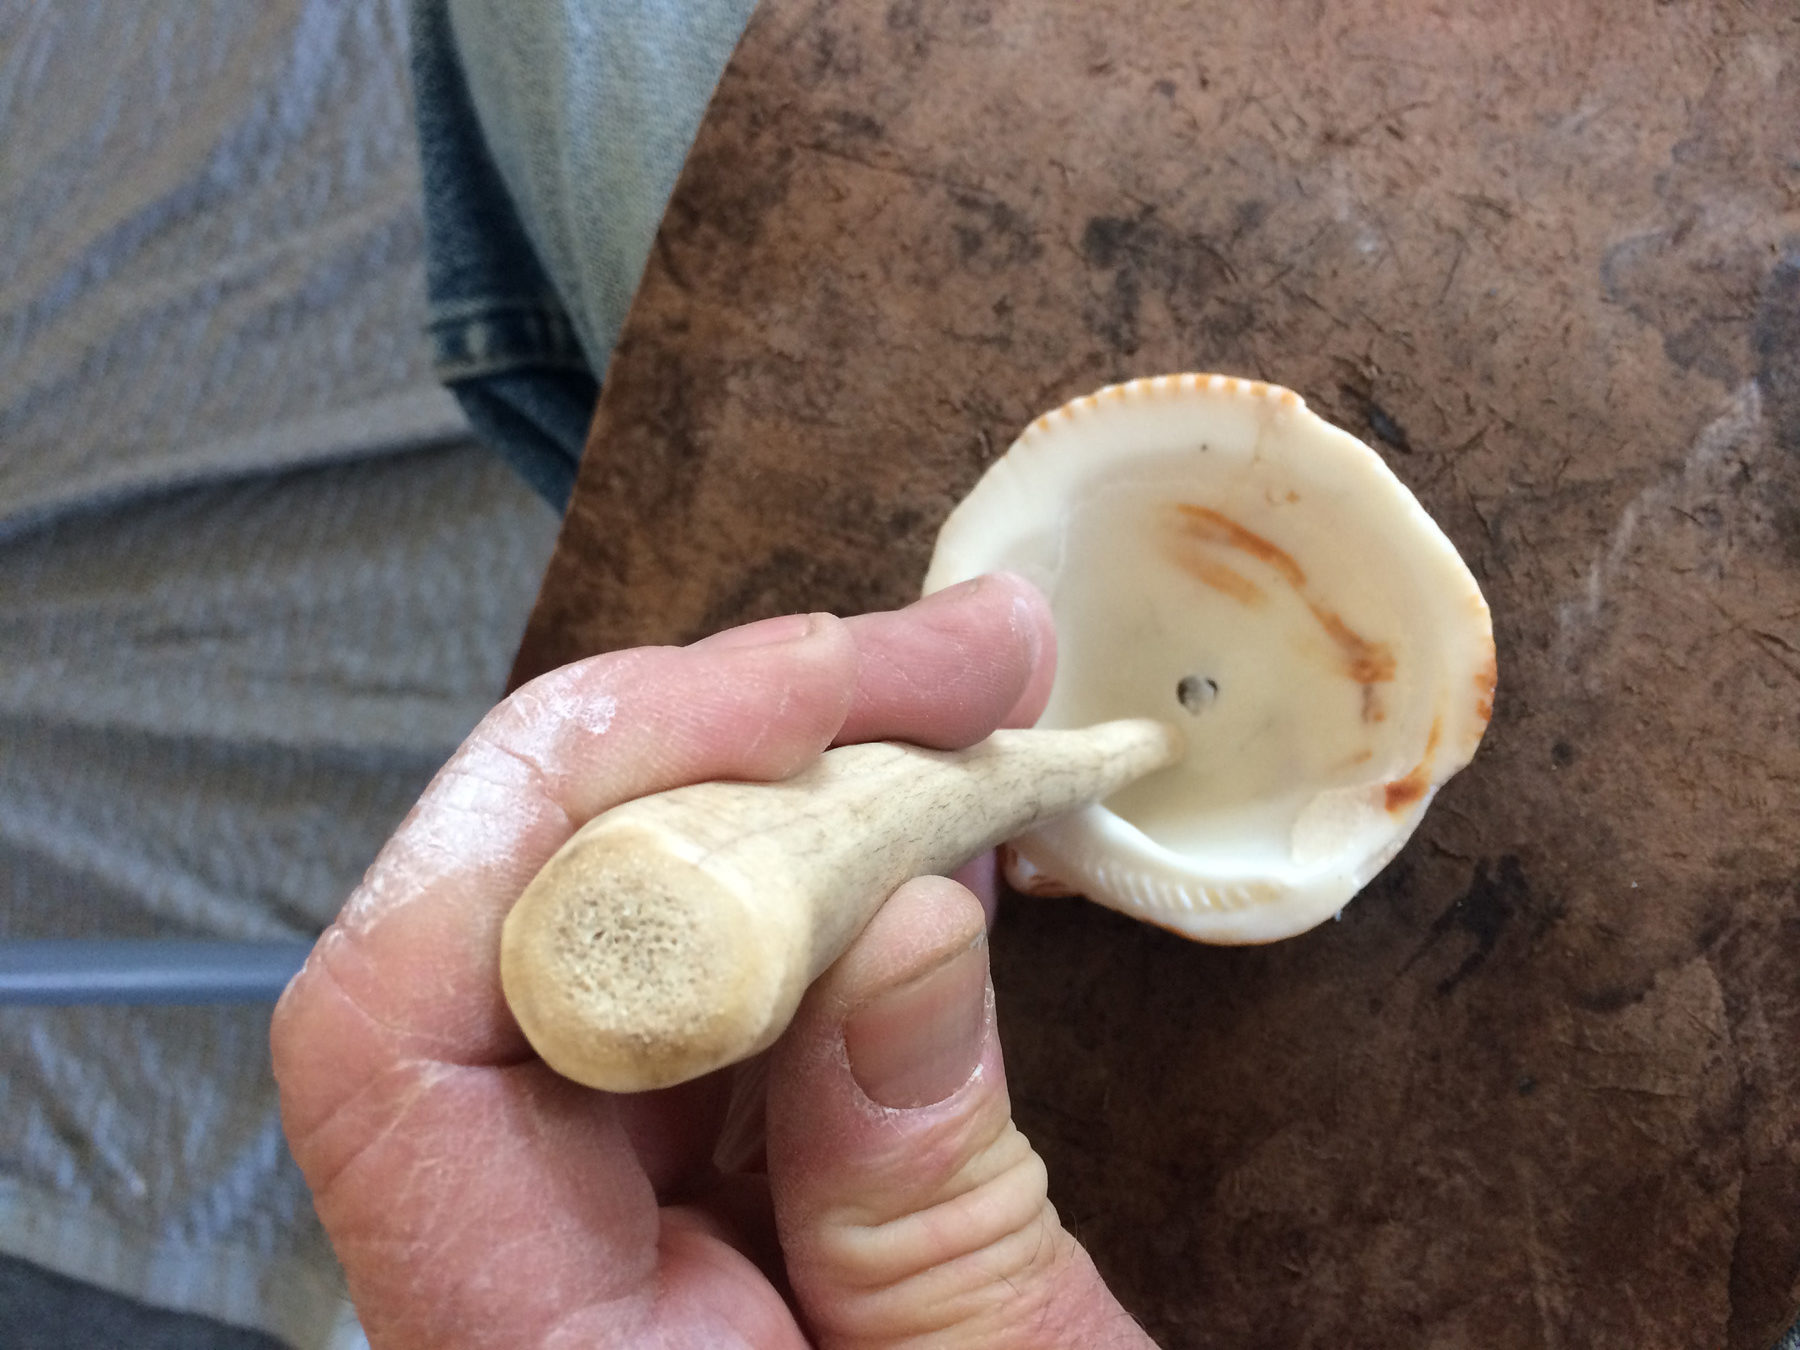
Resting the shell on my leg while I started the hole with a deer antler tine (one of my flintknapping tools).
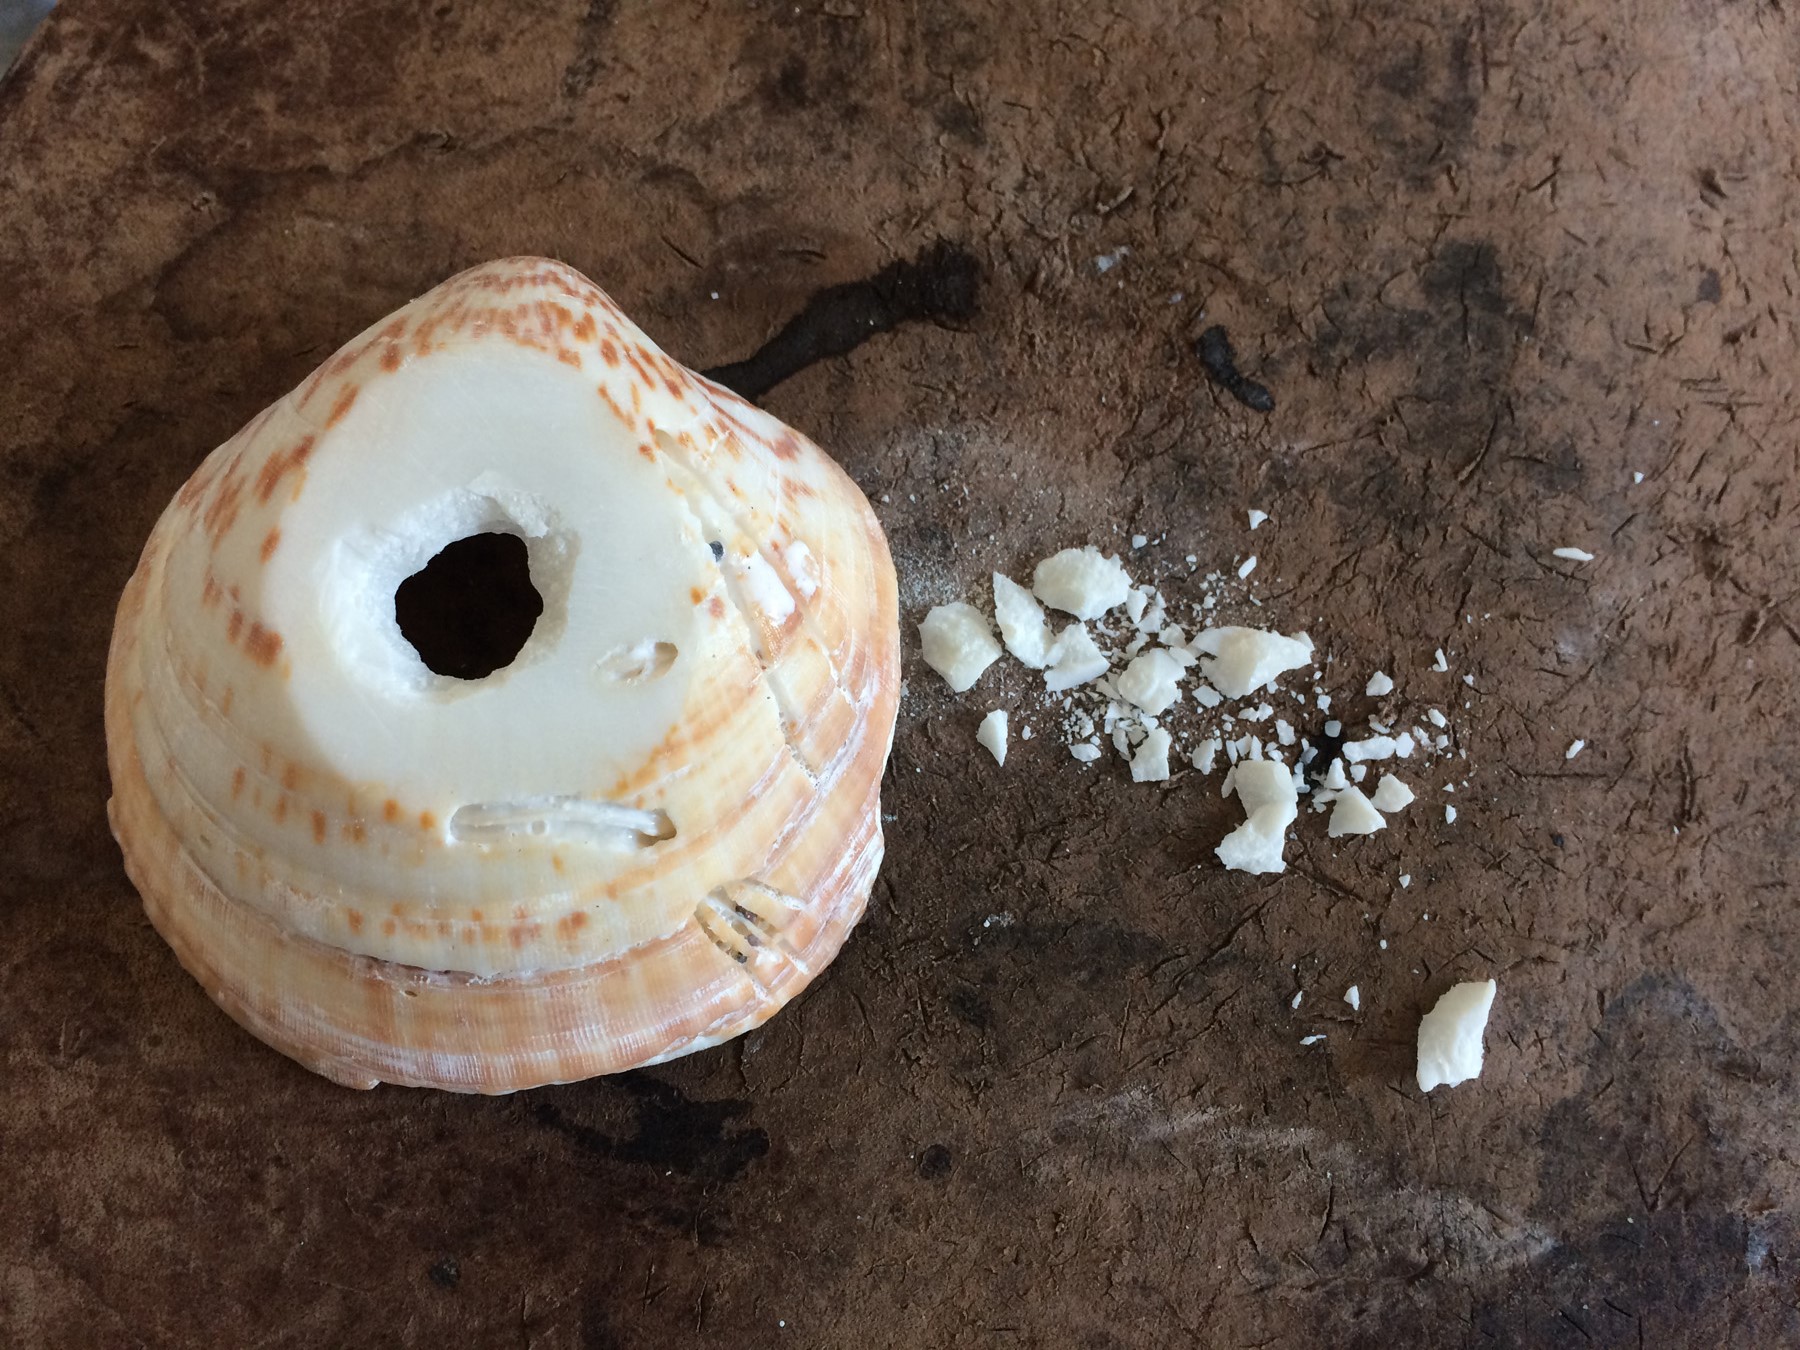
I found that it works well to flake either direction—inside or out. The chips of shell were like little flakes with platforms. I have seen these flakes in archaeological sites in the Tucson and Phoenix areas. As I chipped away, I found it easier to grind the shell a bit to make the flakes break easily. I ended up flaking the shell about 5 minutes and then grinding about 5 minutes to keep the process moving.
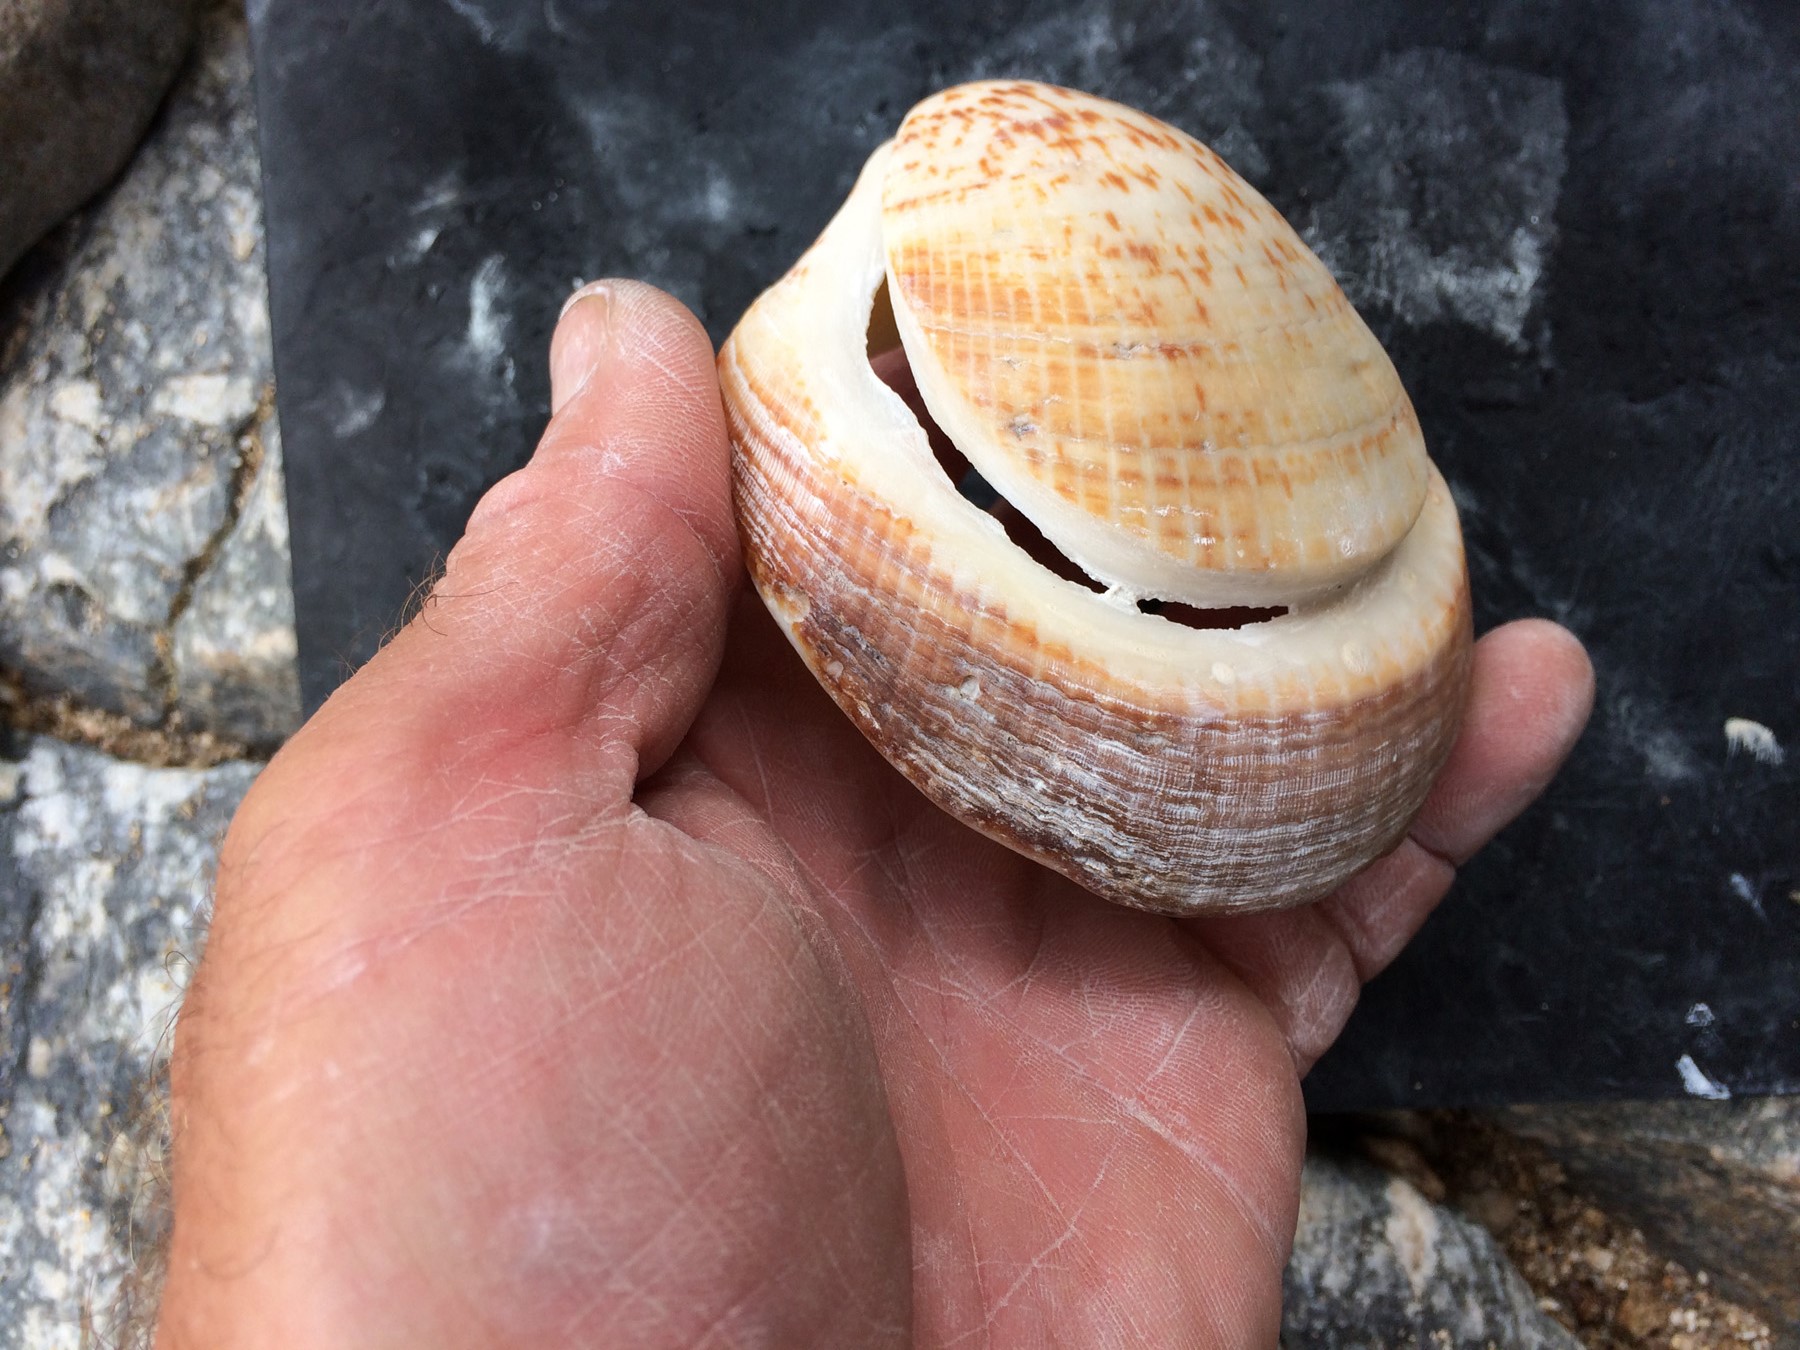
This is a second shell I tried this grind-and-flake technique on. It took 57 minutes to get the shell to the stage in the third photo. This was a nice fresh shell, but was much thinner than the others I show in this post.
Grinding obviously goes much quicker on thinner shells.
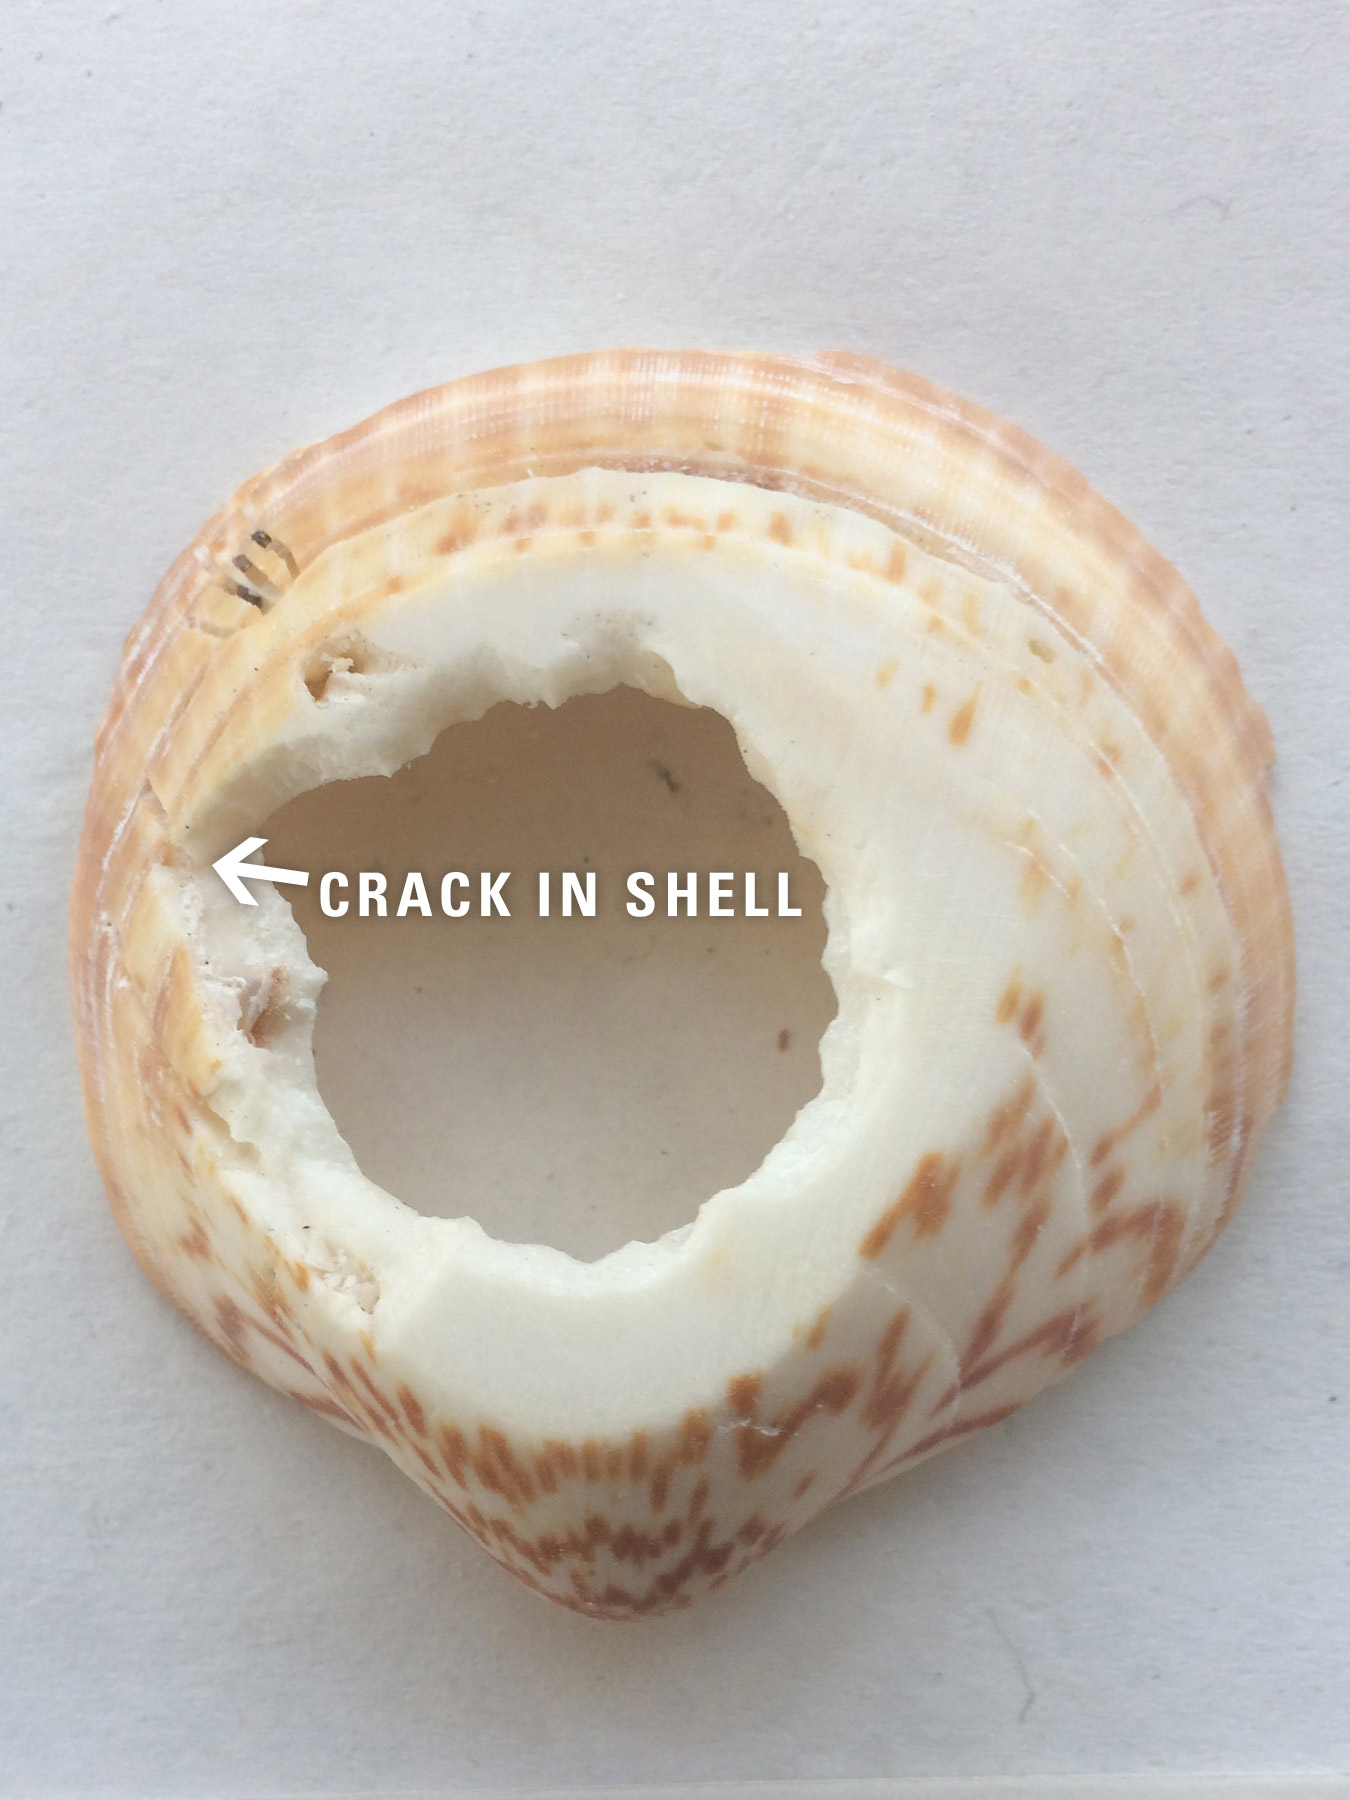
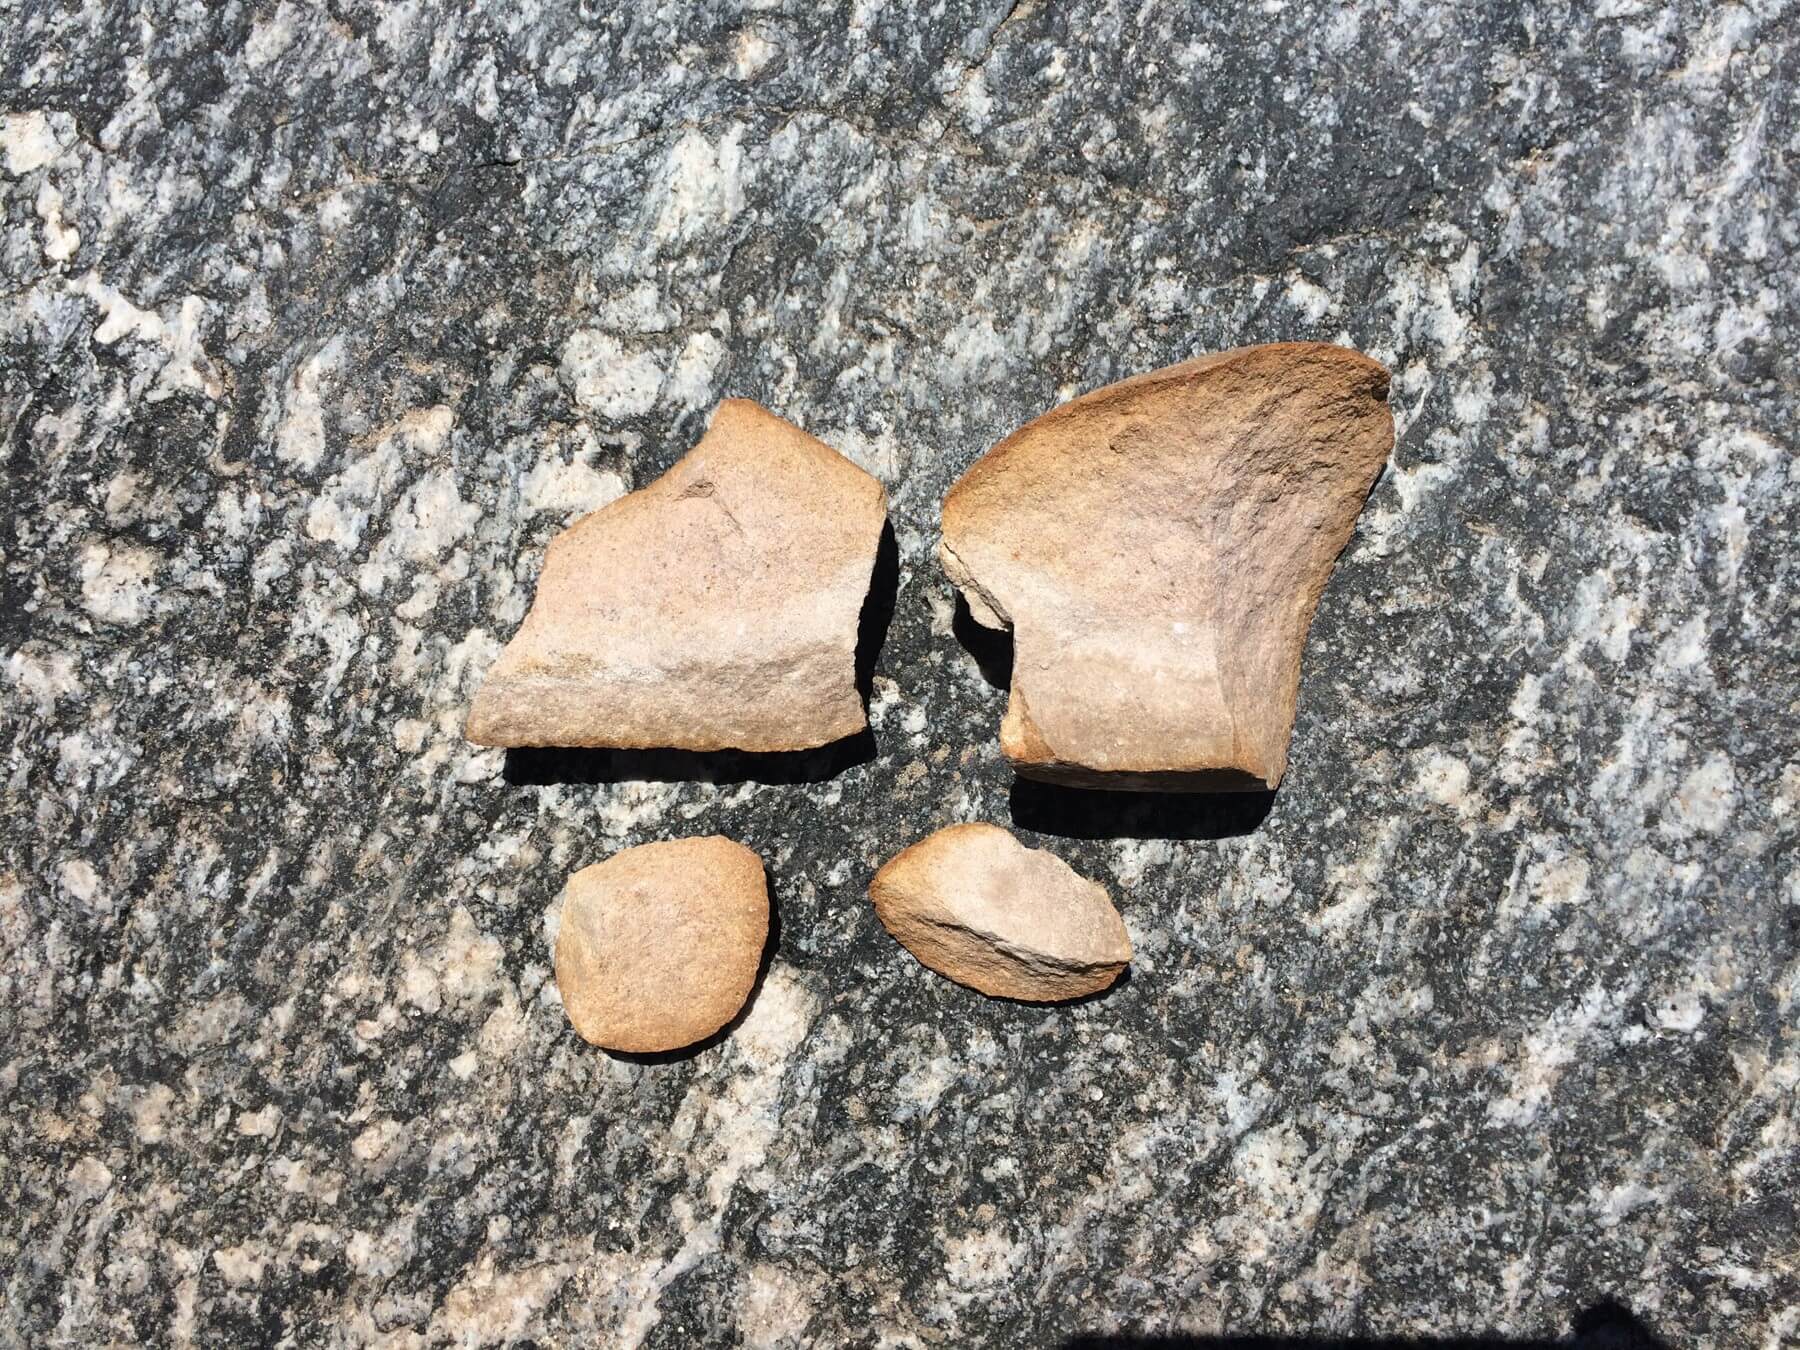
In this picture you can see a break created by a worm hole. This process of chipping away the center would have continued until the hole was close to the artisan’s desired diameter. The maker would finish by grinding, leaving no evidence on the finished bracelet of this process. I think I can salvage this bracelet by starting grinding sooner than I would like. I have not finished it yet.
I recommended using newer shell, as opposed to older, more brittle shell that has worm holes through it. The other thing is to be careful when chipping: when it becomes difficult to chip away flakes, give the shell more grinding and thin that edge down. The chips will break off easer and there is less chance of cracking the side of the shell.
The final process I want to demonstrate may be done a few different ways. It involves cutting or grinding a groove around the shell and then punching out the center core. I chose to grind the grooves with flakes of sandstone with sharp, gritty edges.
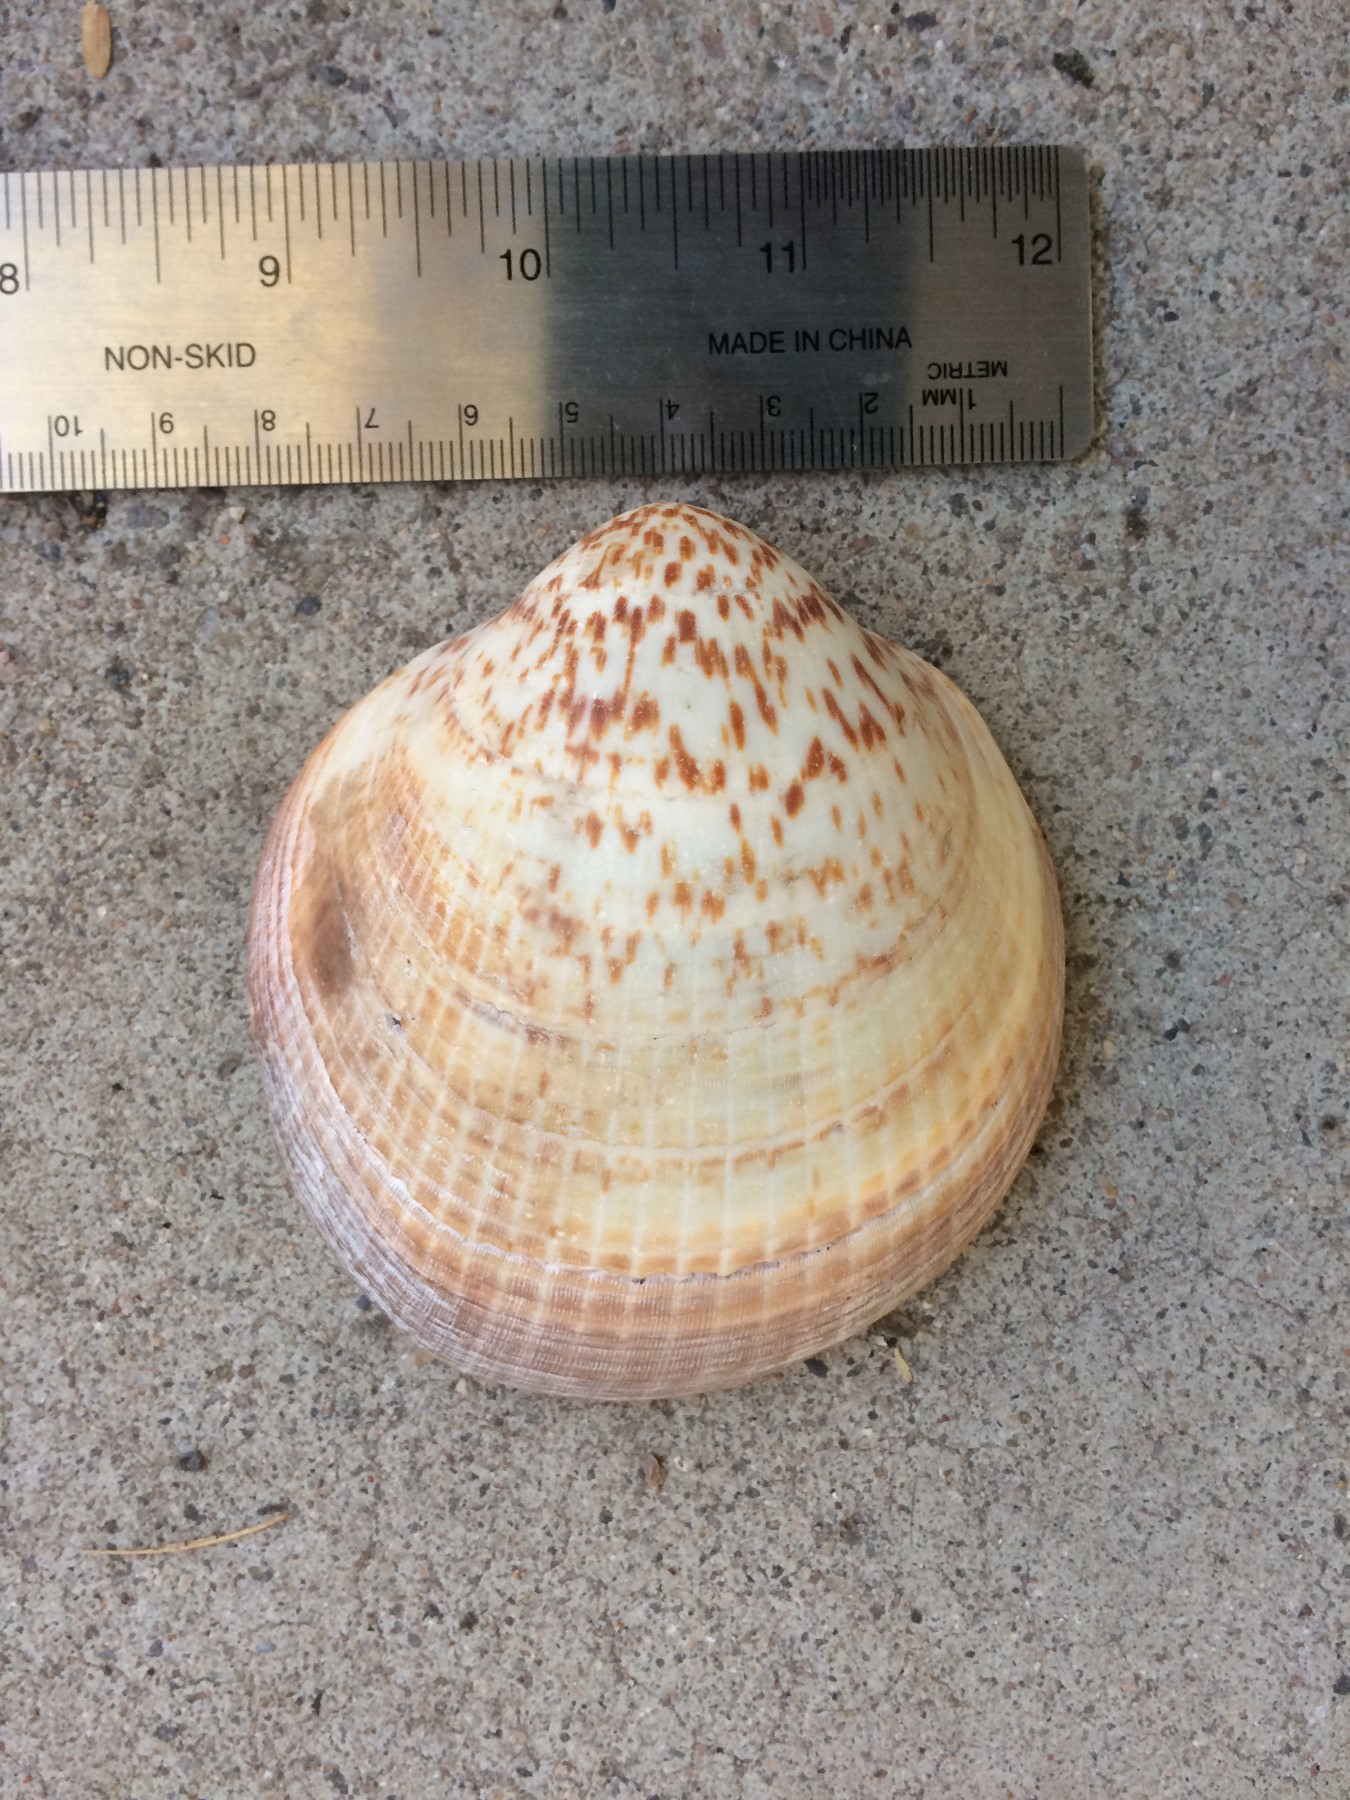
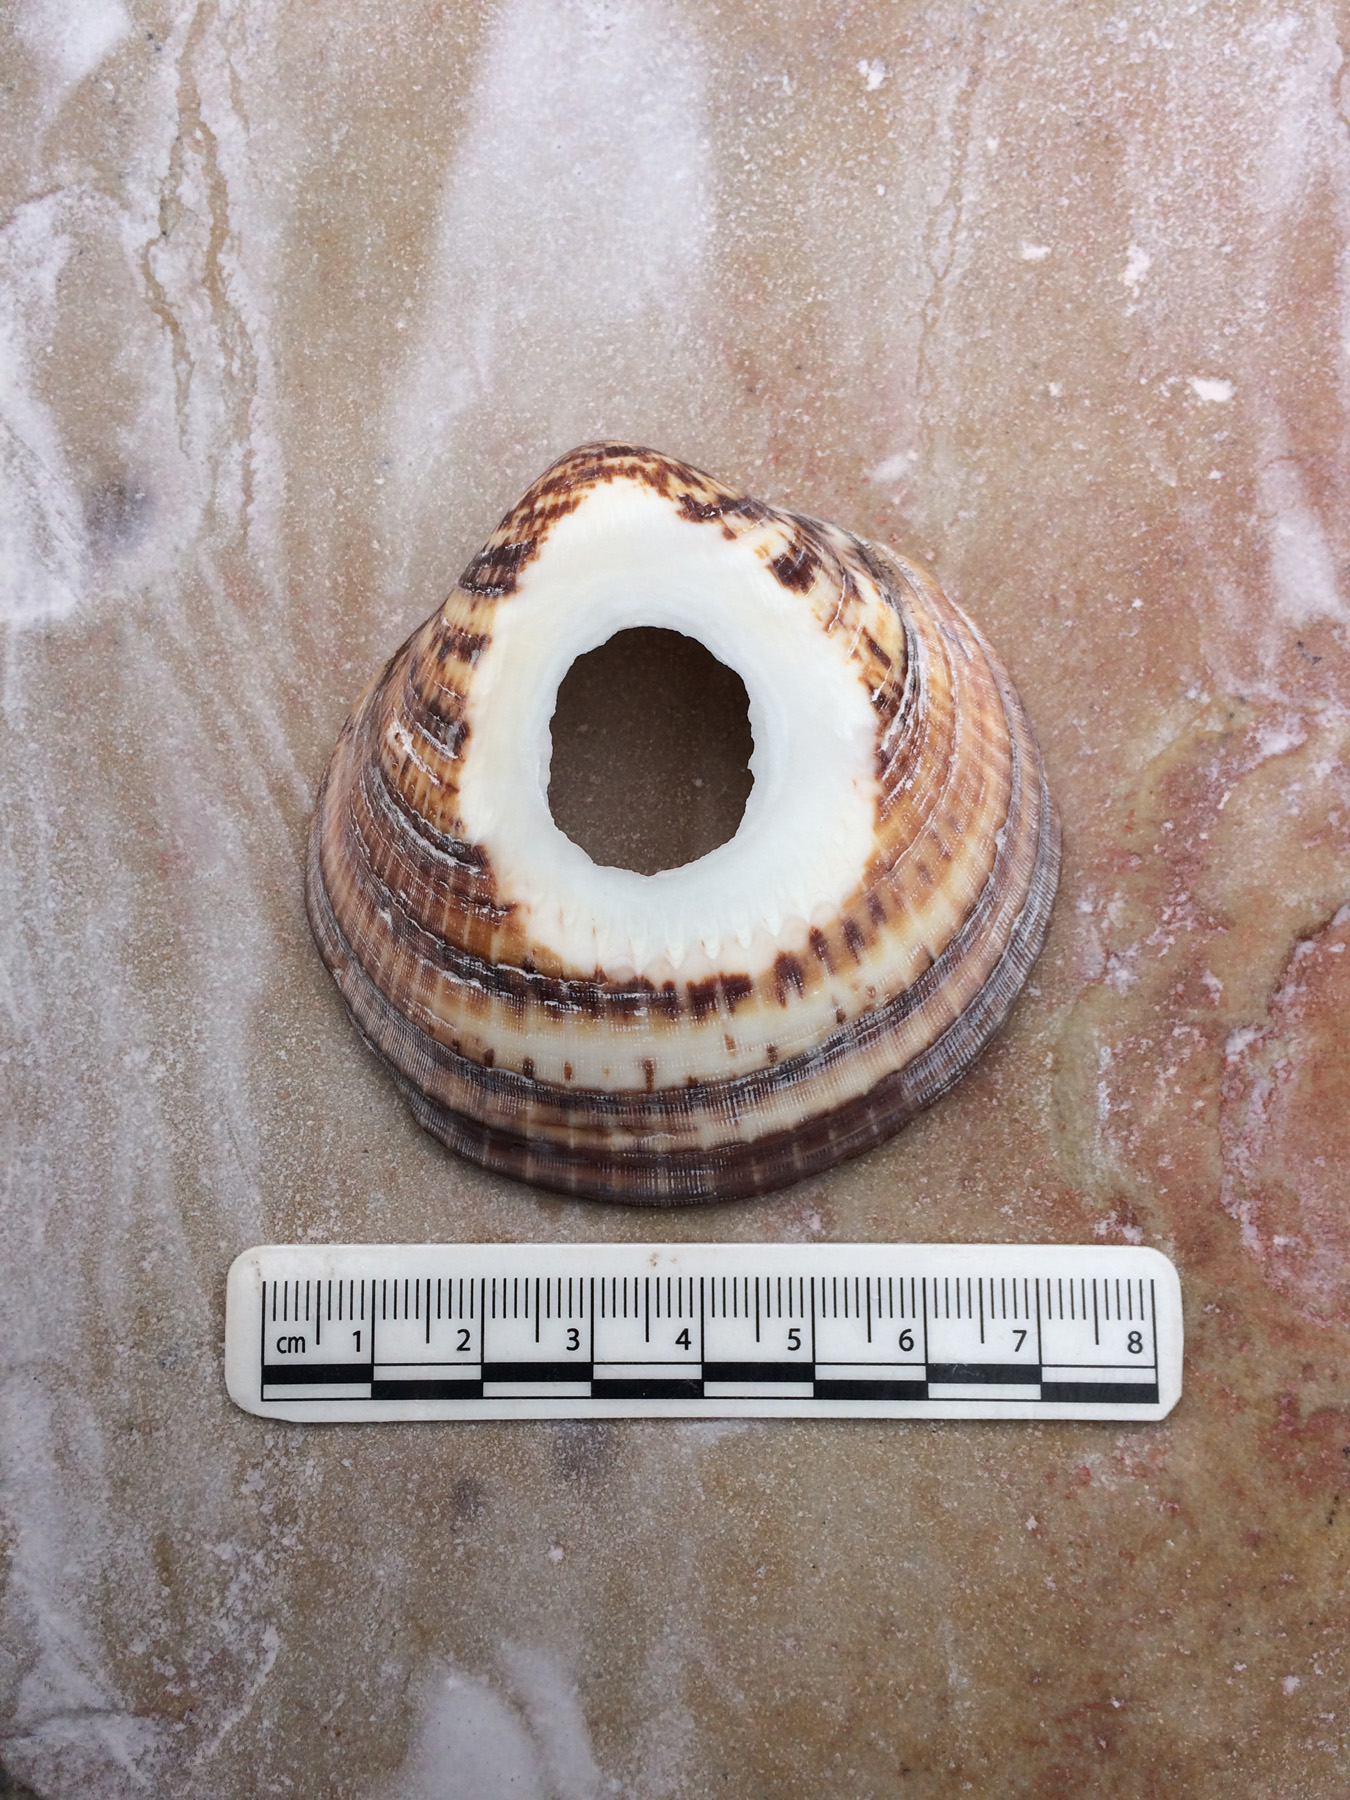
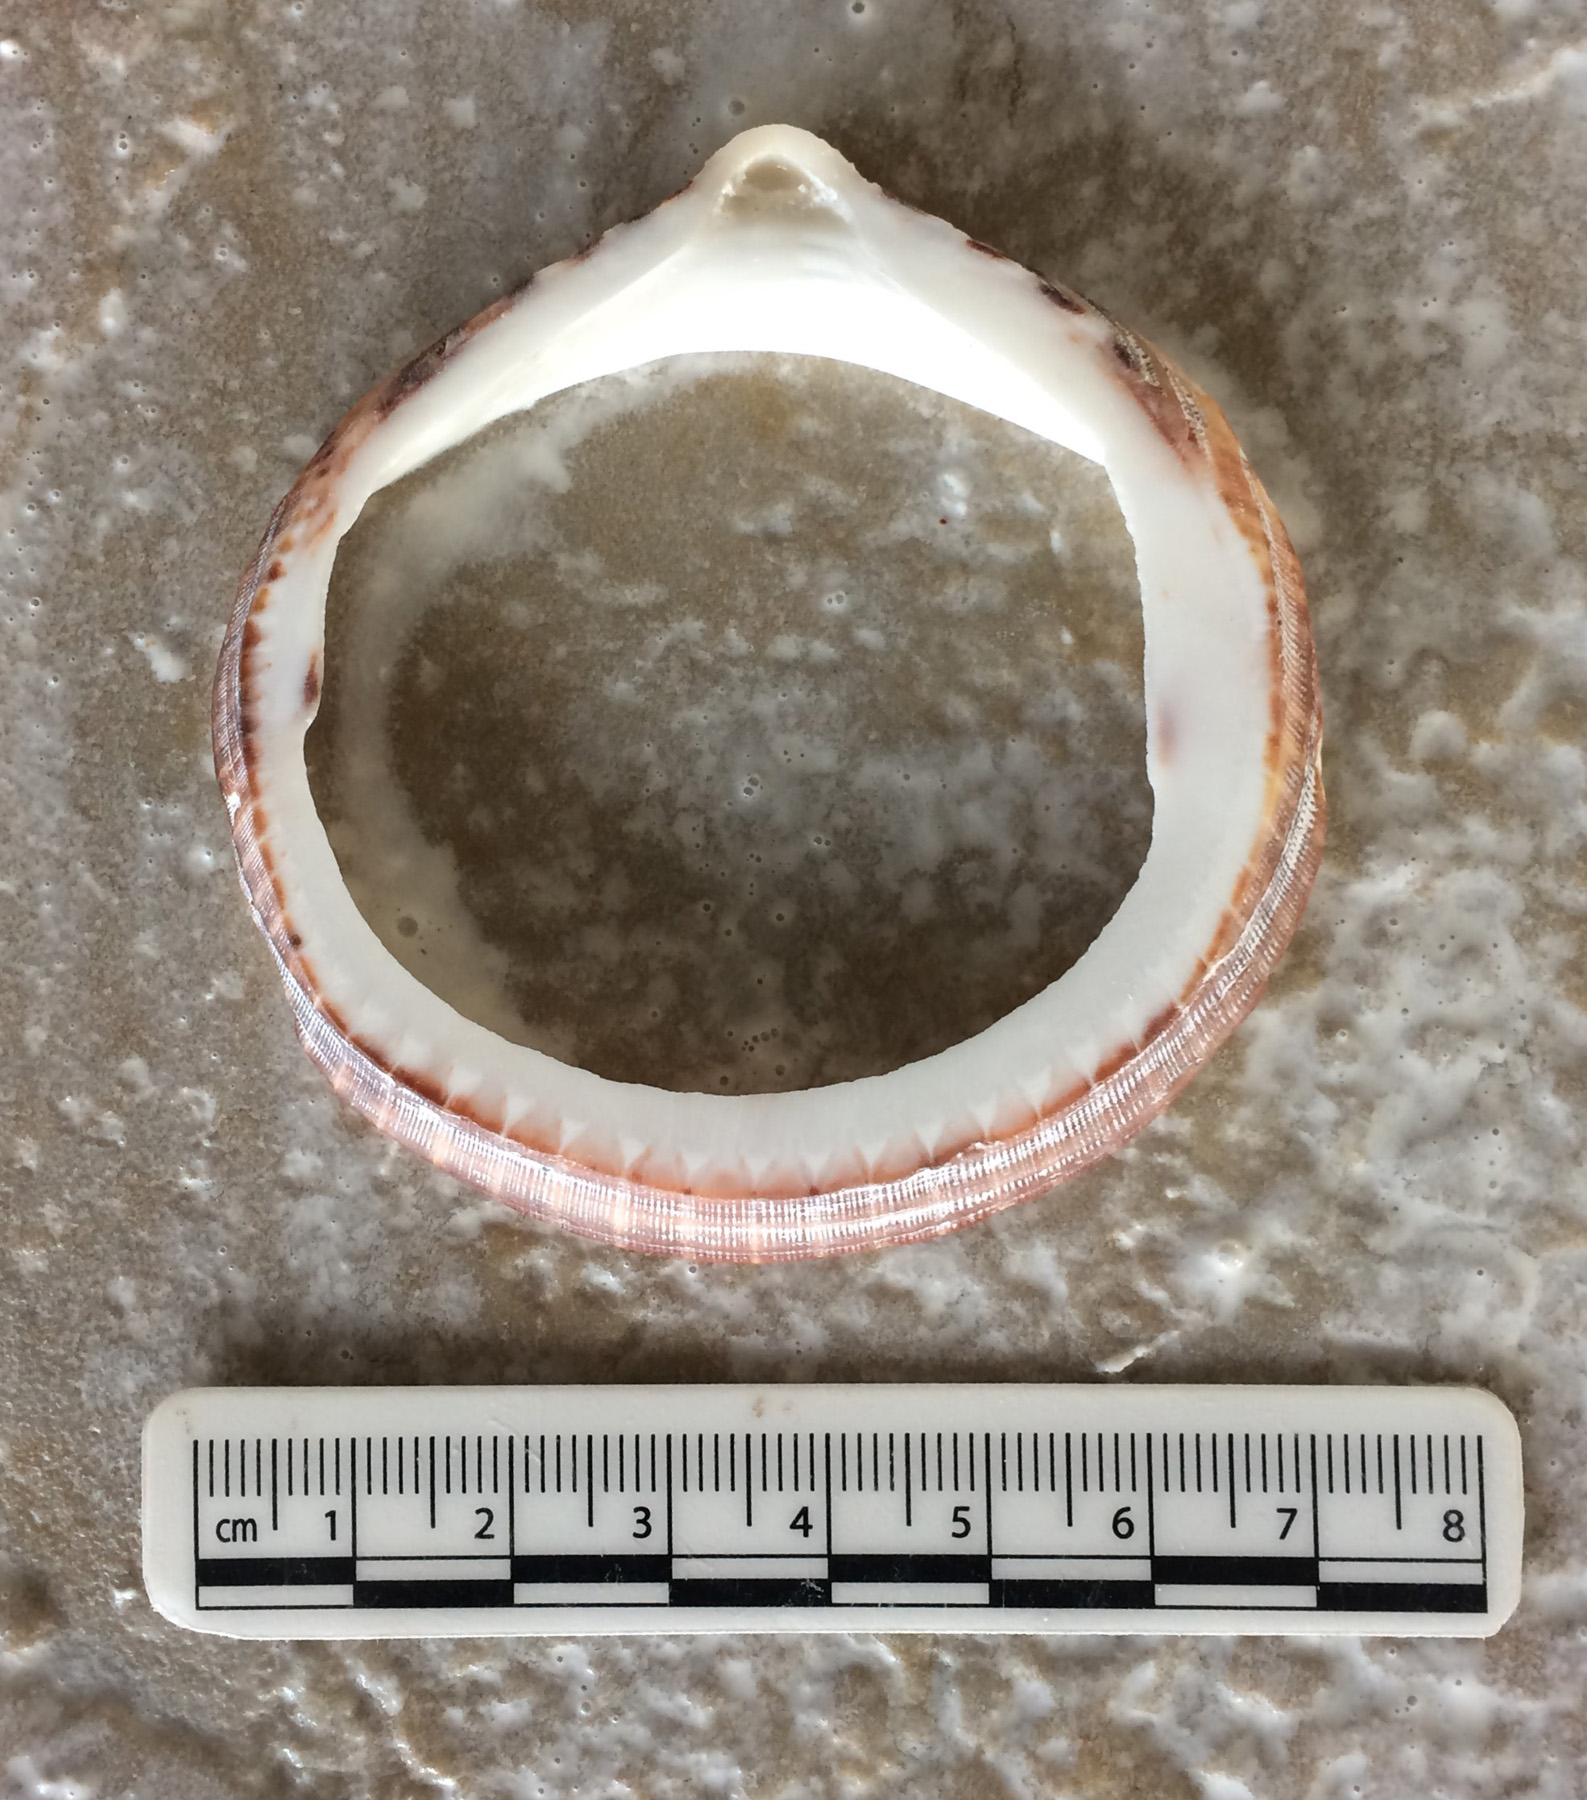
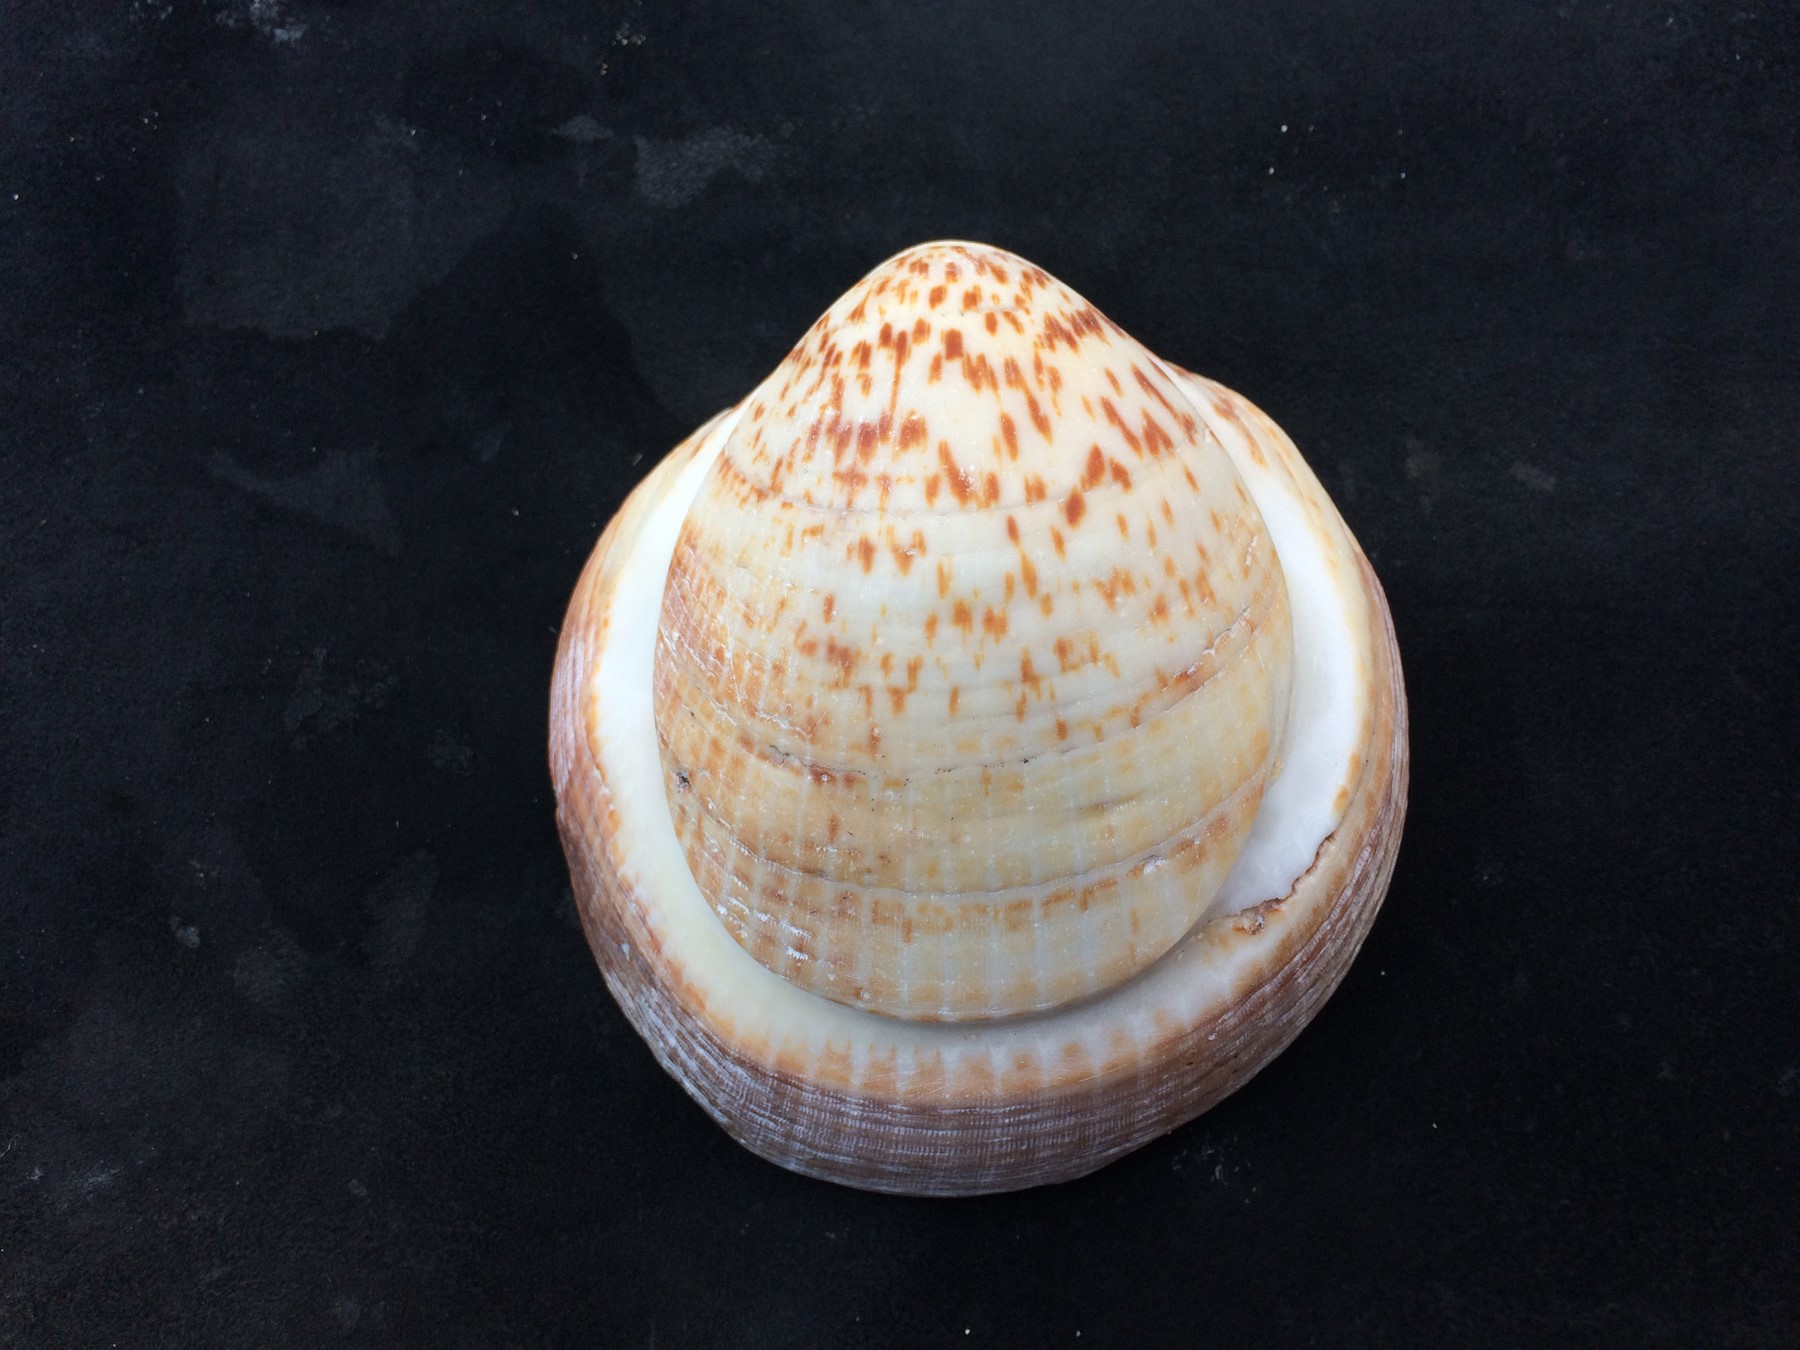
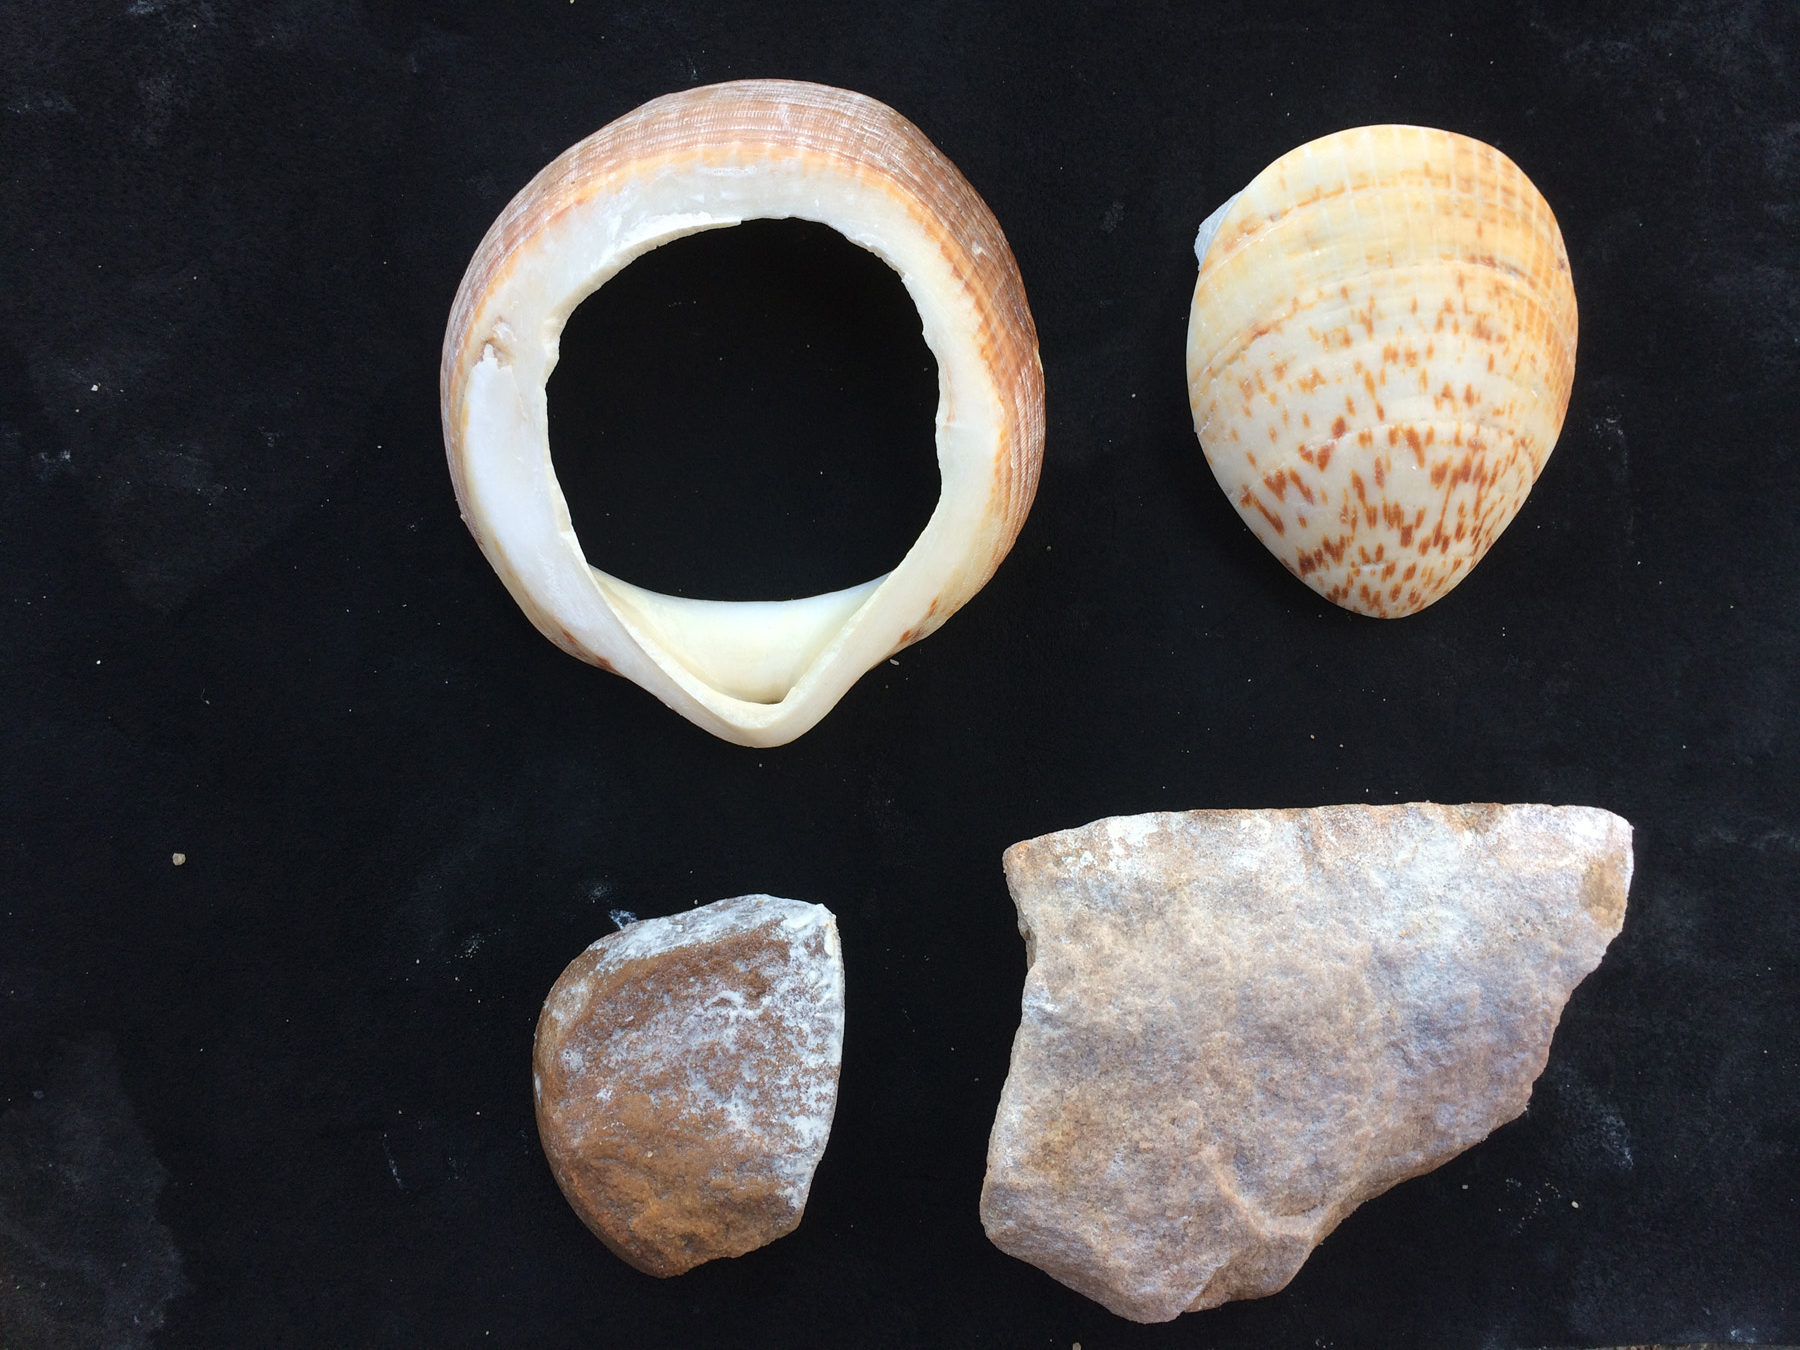
This shell is pretty thick—6.5 mm—and has some margin (edge) damage from tiny worm holes. Overall it is in good shape, though. It is 9 mm long x 8.5 mm wide, almost round.
Flakes of sandstone with sharp edges used as rasps to cut/grind away the shell.
I took a decent-sized sandstone cobble and broke it up into crude flakes. I then used these flakes to grind a groove around the shell.
The groove is all the way around at almost an hour of grinding. This is a thick shell.
After grinding for an hour and forty minutes, it seems like I might be getting close to cutting through. I started lightly pecking the edges of the sandstone abrading tools to keep them sharper. The sandstone rounded off pretty fast, so the notch got bigger and bigger as I ground into the shell.
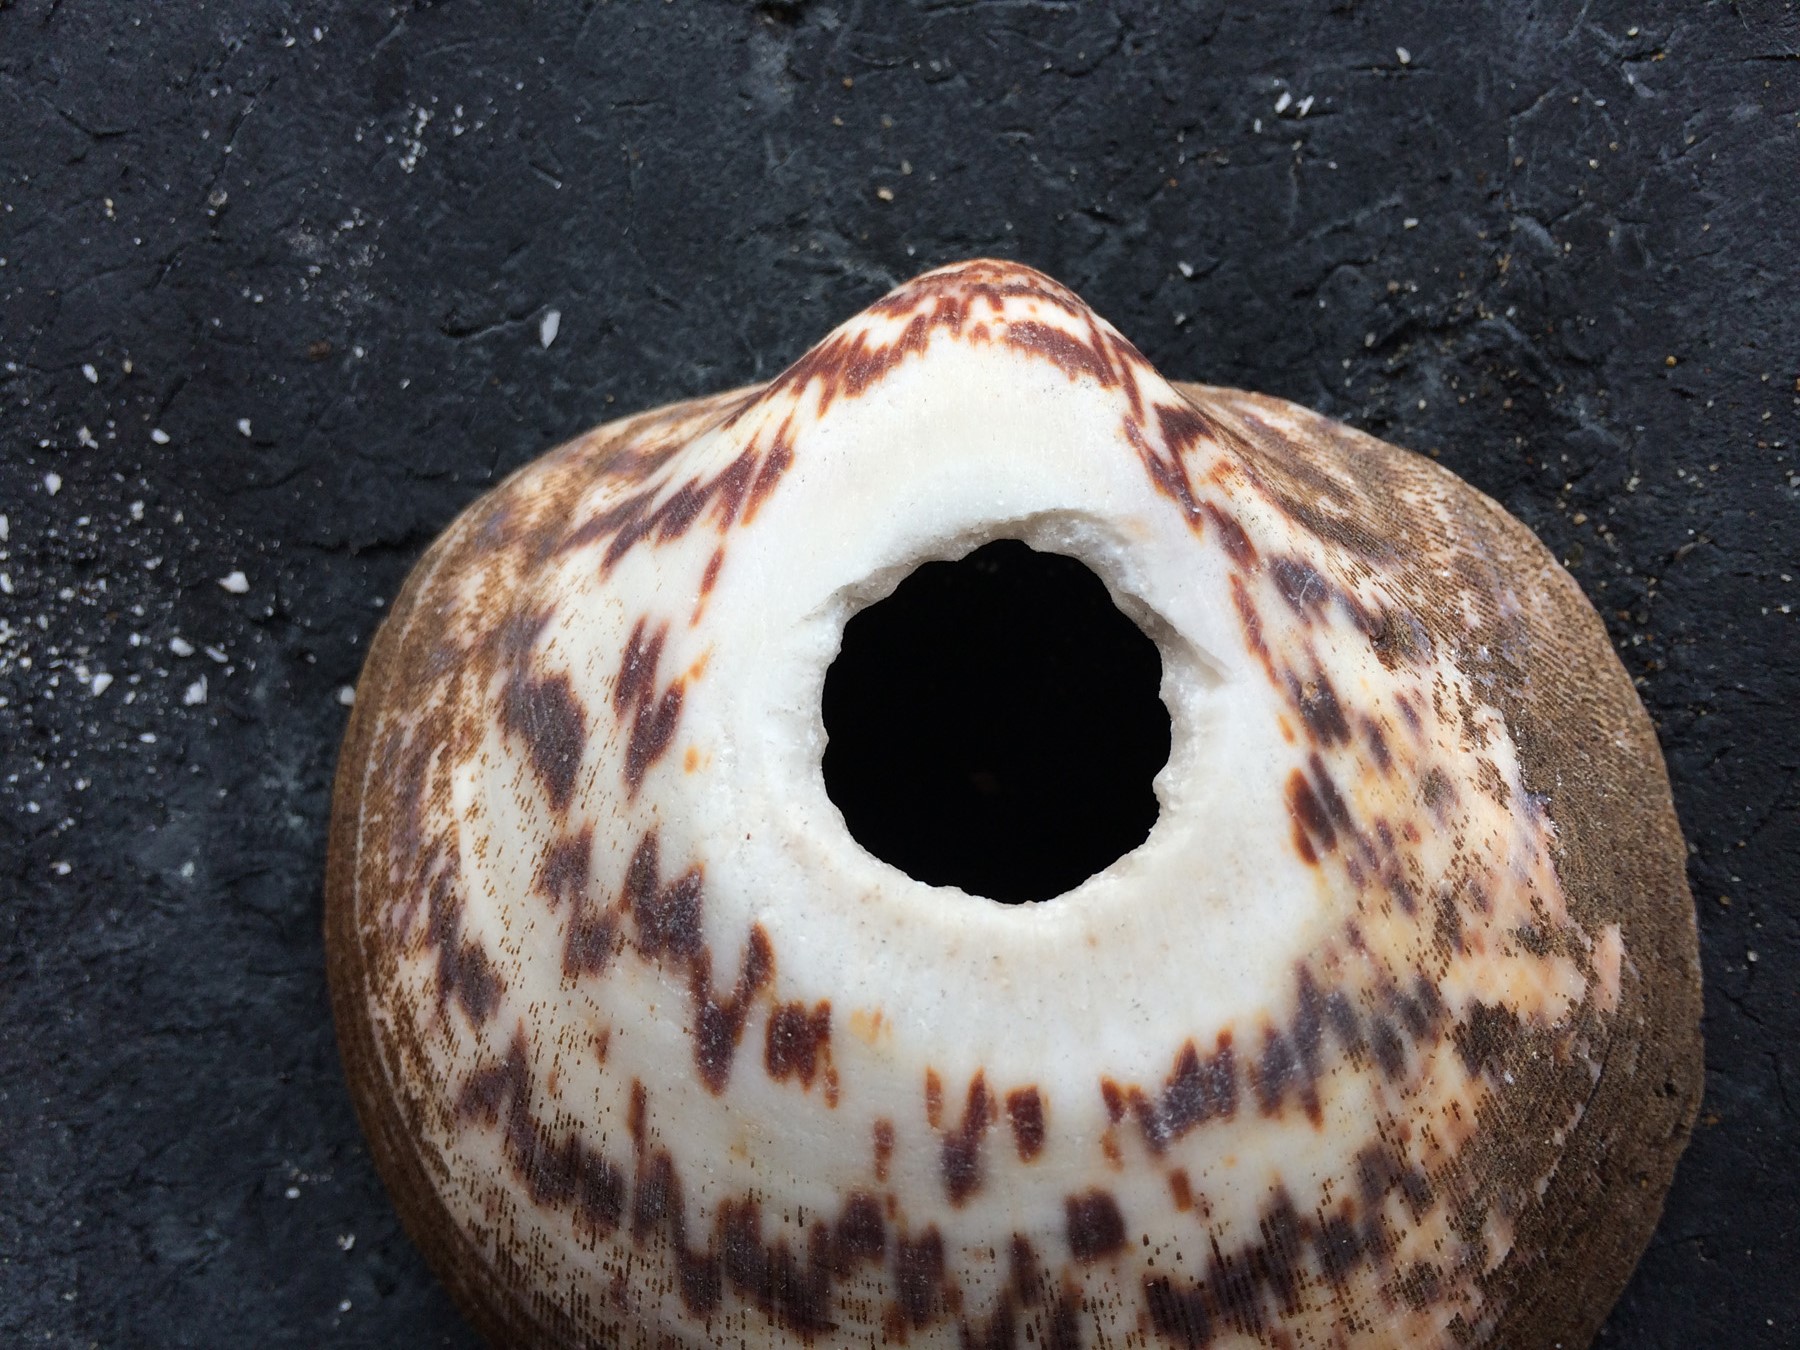
You can tell you are close when you can see light through the shell. The left side is almost cut through.
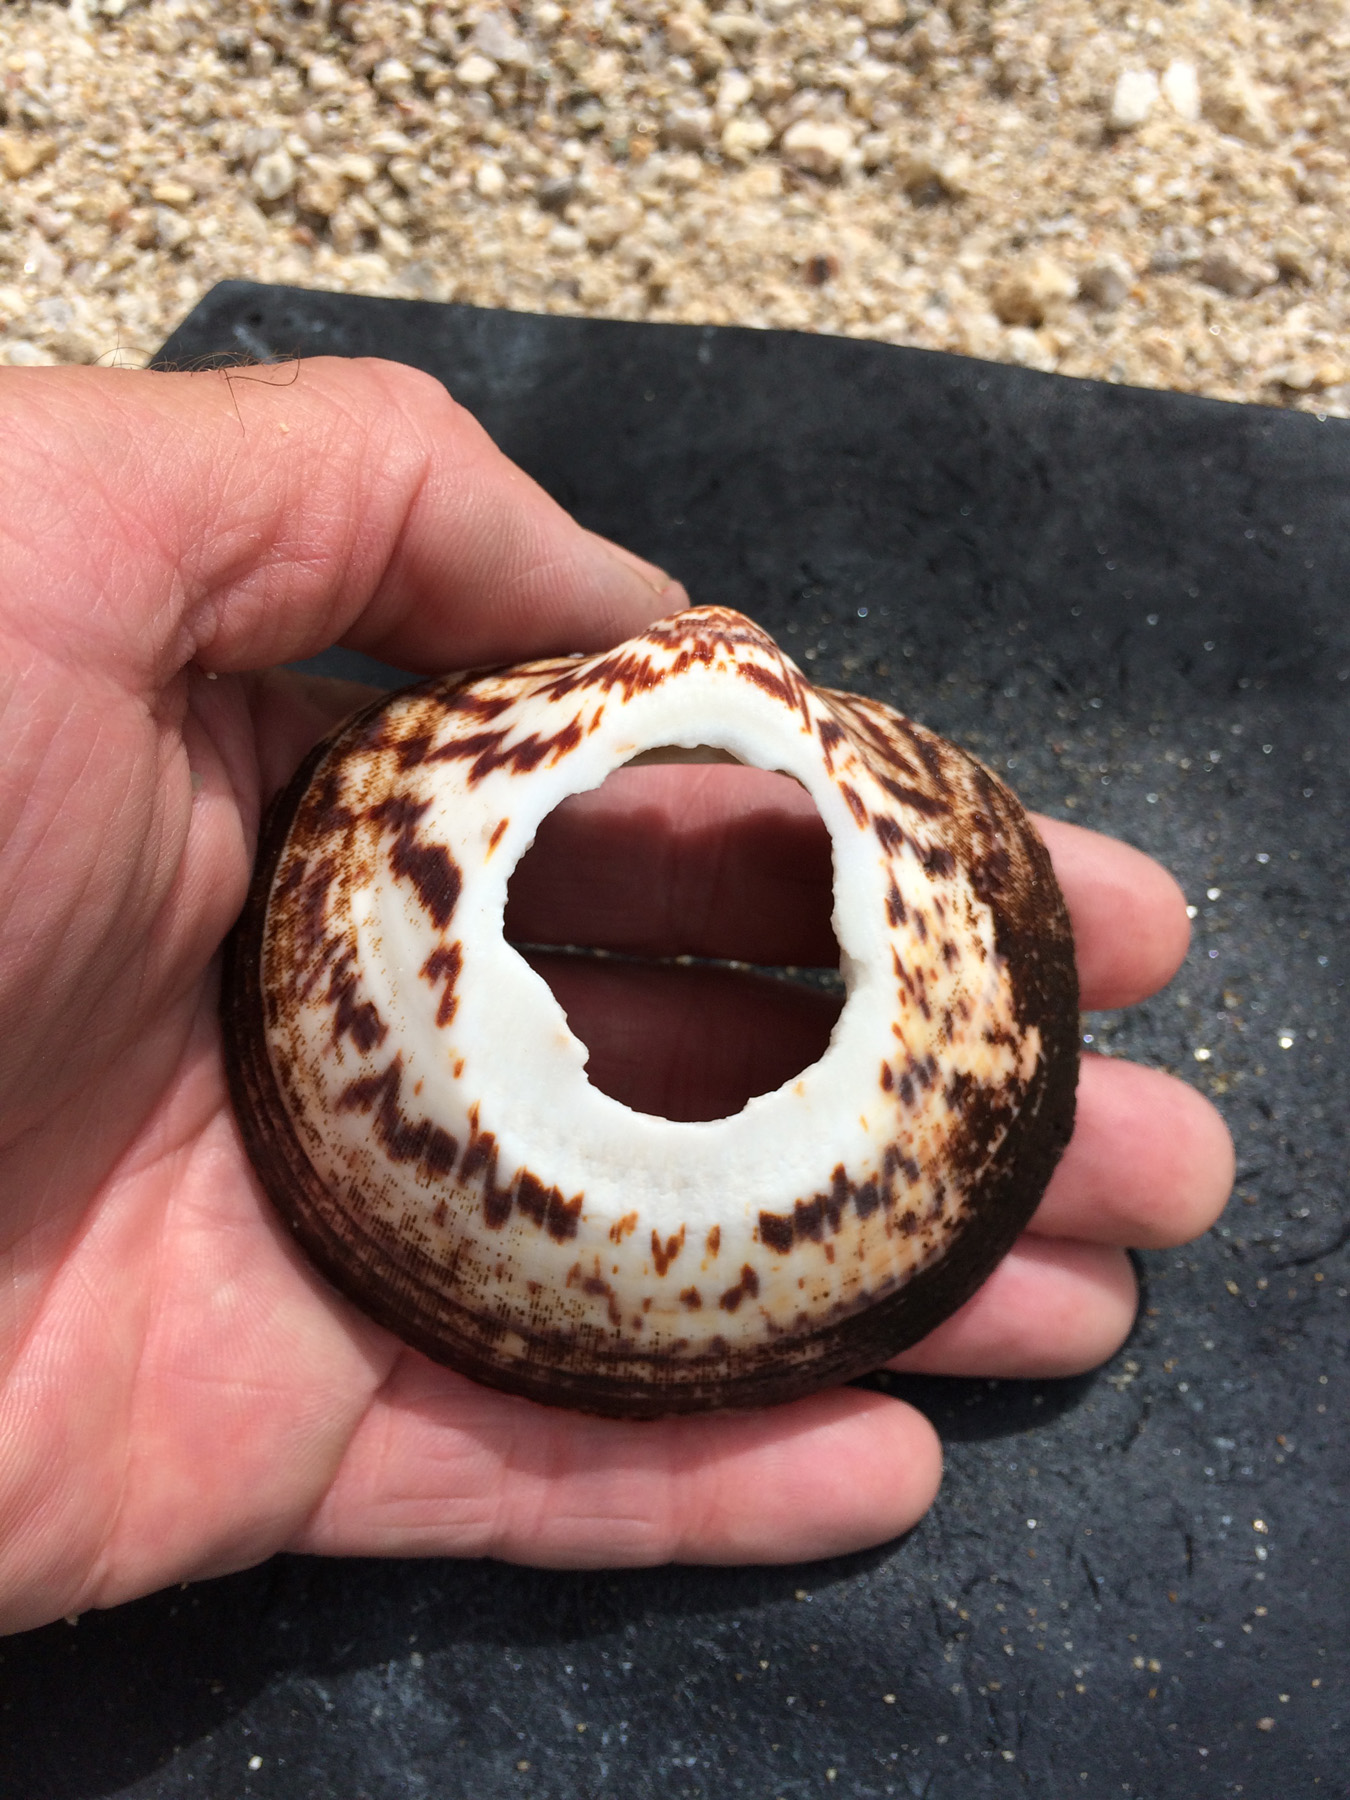
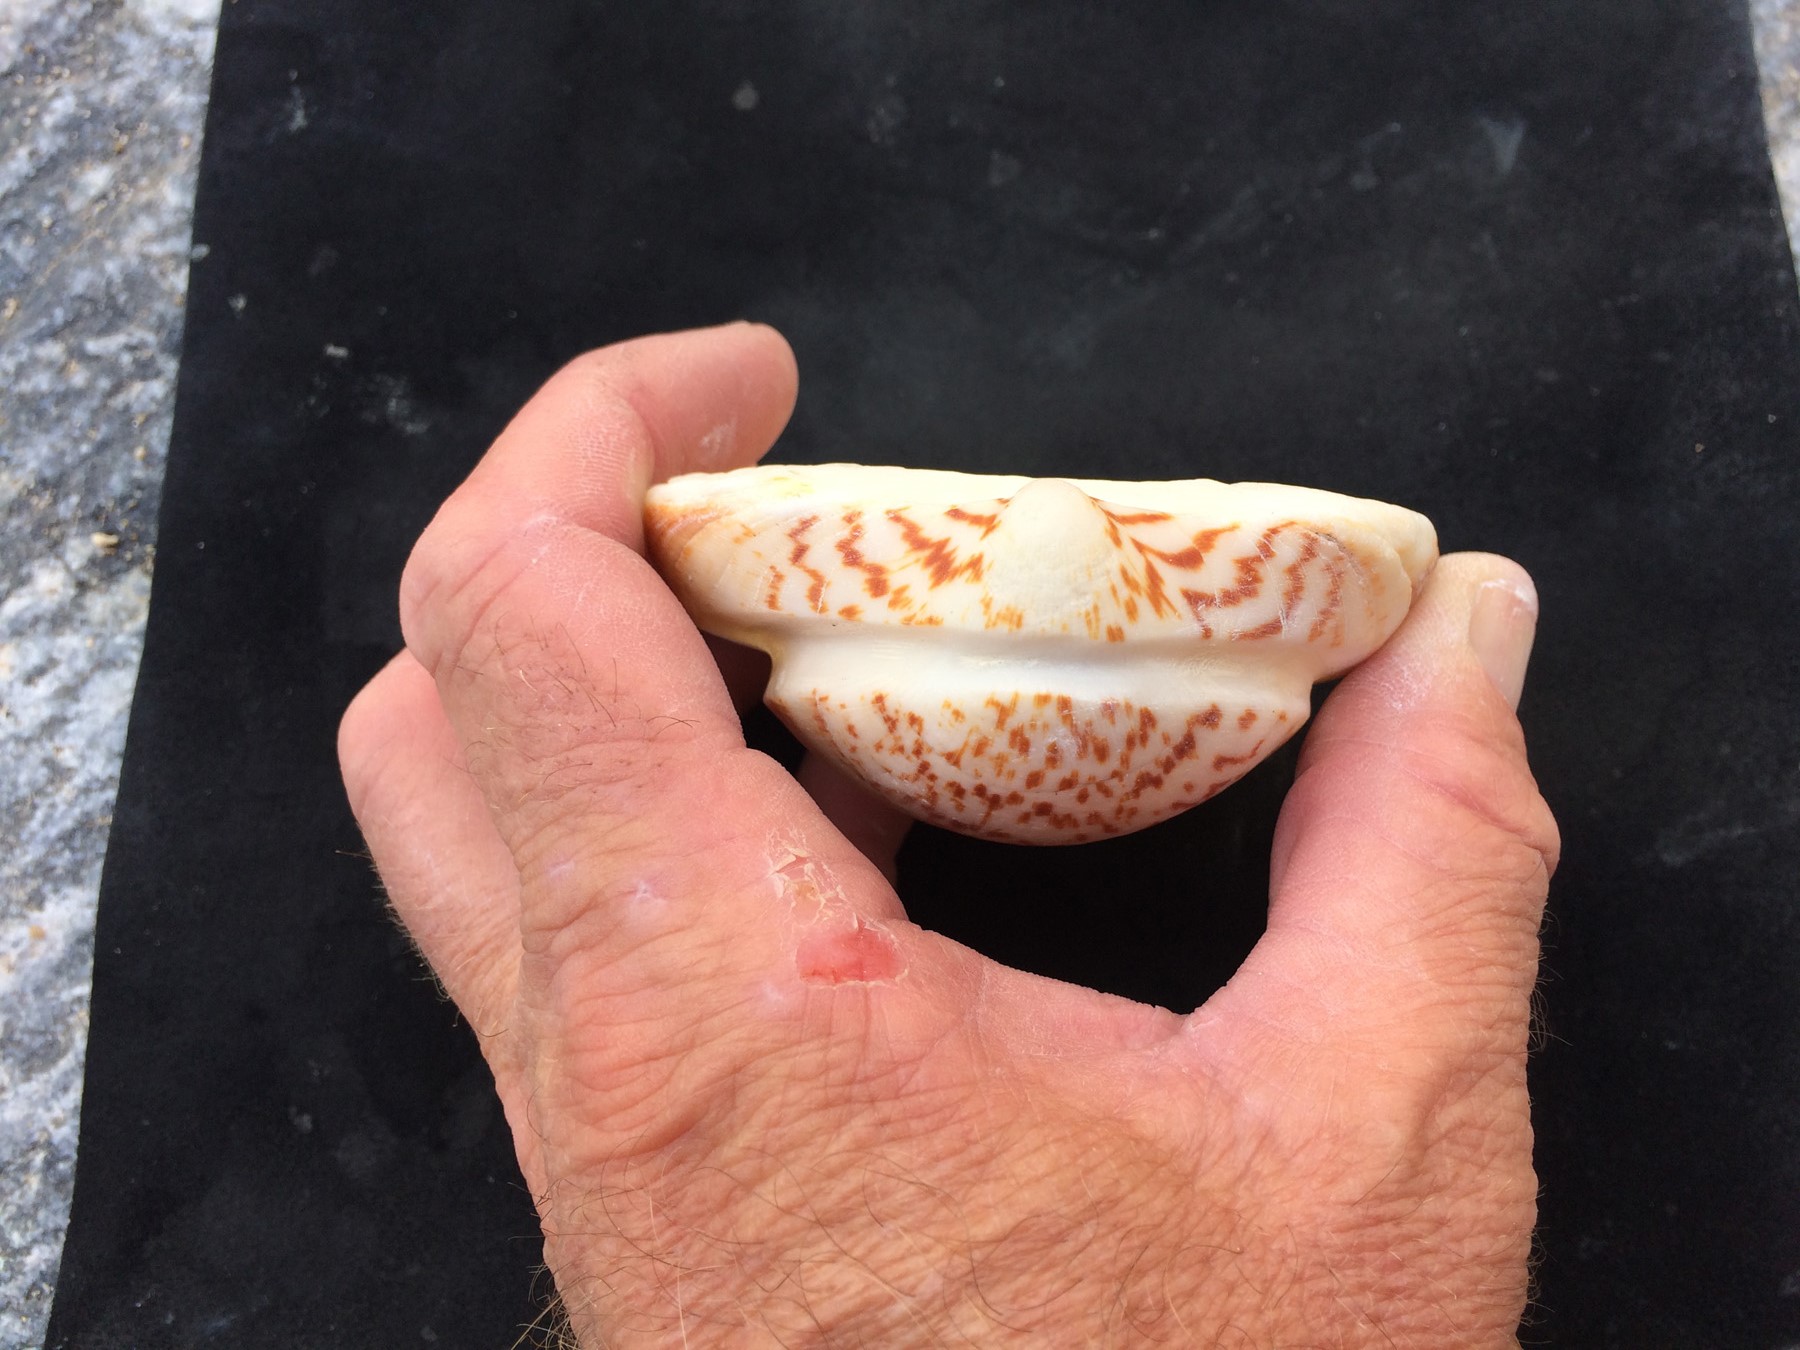
Finally, 3 hours and 8 minutes later, I took a small rock and tapped on the interior. The center shell core popped right out. I suspect I could have tapped on the interior quite a bit sooner to the same effect.
At the thickest point it was 3.8 mm thick in the umbo area, and it popped out nicely there. With some practice, I think this could be achieved in less time. Over the course of the process, 15.6 grams of shell were ground away. I expect it will take 2–3 more hours of grinding to finish this bracelet. I am saving that for another day.
Two of the sandstone flakes/rasps showing how worn they became. I did all the grinding wet, which tended to melt the sandstone faster, but also helped keep it sharper. I think another trick is to combine grinding and cutting; once you have made a good notch by grinding, use sharp flakes to deepen it quickly. Cutting shell with flakes is not easy, but if you have a groove started, that makes it much easier to cut.
Going through these manufacturing processes really gave me an appreciation for the amount of work artisans put in to make all the bracelets we see archaeologically. In a follow-up post, archaeomalacologist Chris Lange will explain more about these techniques and how experts have been able to identify the steps.
3 thoughts on “Hands-On Archaeology: How to Make a Shell Bracelet”
Comments are closed.
Beautiful work, Allen. I don’t suppose you’ll offer a class in the future? Thanks for sharing this.
You are! I just saw if on the A.S. calendar. December 2. I’ll sign up.
This hands-on archaeology article on making a shell bracelet is captivating! The step-by-step instructions and historical context make it a truly immersive experience. Can’t wait to give it a try!