• Donate
    • Donate
    • Member Circles and Benefits
    • Become a Member
    • Renew Today
    • Give a Gift Membership
    • Student Membership
  • Take Action
    • Volunteer Program
    • Make Your Voice Heard
  • About
    • Land Acknowledgment
    • What We Do
    • Position Papers
    • Team & People
    • Job Openings
    • Partners & Friends
    • Annual Reports
    • Policies & Financials
  • Things to Do
    • Events
    • Archaeology Café
    • Exhibits
    • Classes
    • Field School
  • Explore
    • Free Resources
    • Introduction to Southwestern Archaeology
    • Projects
    • Protection Efforts
    • Ancient Cultures
    • Videos
    • Places to Visit
  • Store
    • Archaeology Southwest Magazine
    • All Products
  • News
    • Blog
    • Press Releases/Announcements
    • Preservation Archaeology Today
    • Sign up for E-News
  • Donate
    • Donate
    • Member Circles and Benefits
    • Become a Member
    • Renew Today
    • Give a Gift Membership
    • Student Membership
  • Take Action
    • Volunteer Program
    • Make Your Voice Heard
X
  • About
    • Land Acknowledgment
    • What We Do
    • Position Papers
    • Team & People
    • Job Openings
    • Partners & Friends
    • Annual Reports
    • Policies & Financials
  • Things to Do
    • Events
    • Archaeology Café
    • Speakers Bureau
    • Exhibits
    • Classes
    • Field School
  • Explore
    • Free Resources
    • SW Archaeology 101
    • Projects
    • Protection Efforts
    • Ancient Cultures
    • Videos
    • Places to Visit
  • Store
    • Archaeology Southwest Magazine
    • All Products
  • News
    • Blog
    • Press Releases/Announcements
    • Preservation Archaeology Today
    • Sign up for E-News

More Mud!

Featured, Preservation Archaeology Blog
  • Home
  • >
  • Preservation Archaeology Blog
  • >
  • More Mud!
Allen Denoyer, Preservation Archaeologist and Ancient Technologies Expert
Allen Denoyer - blog

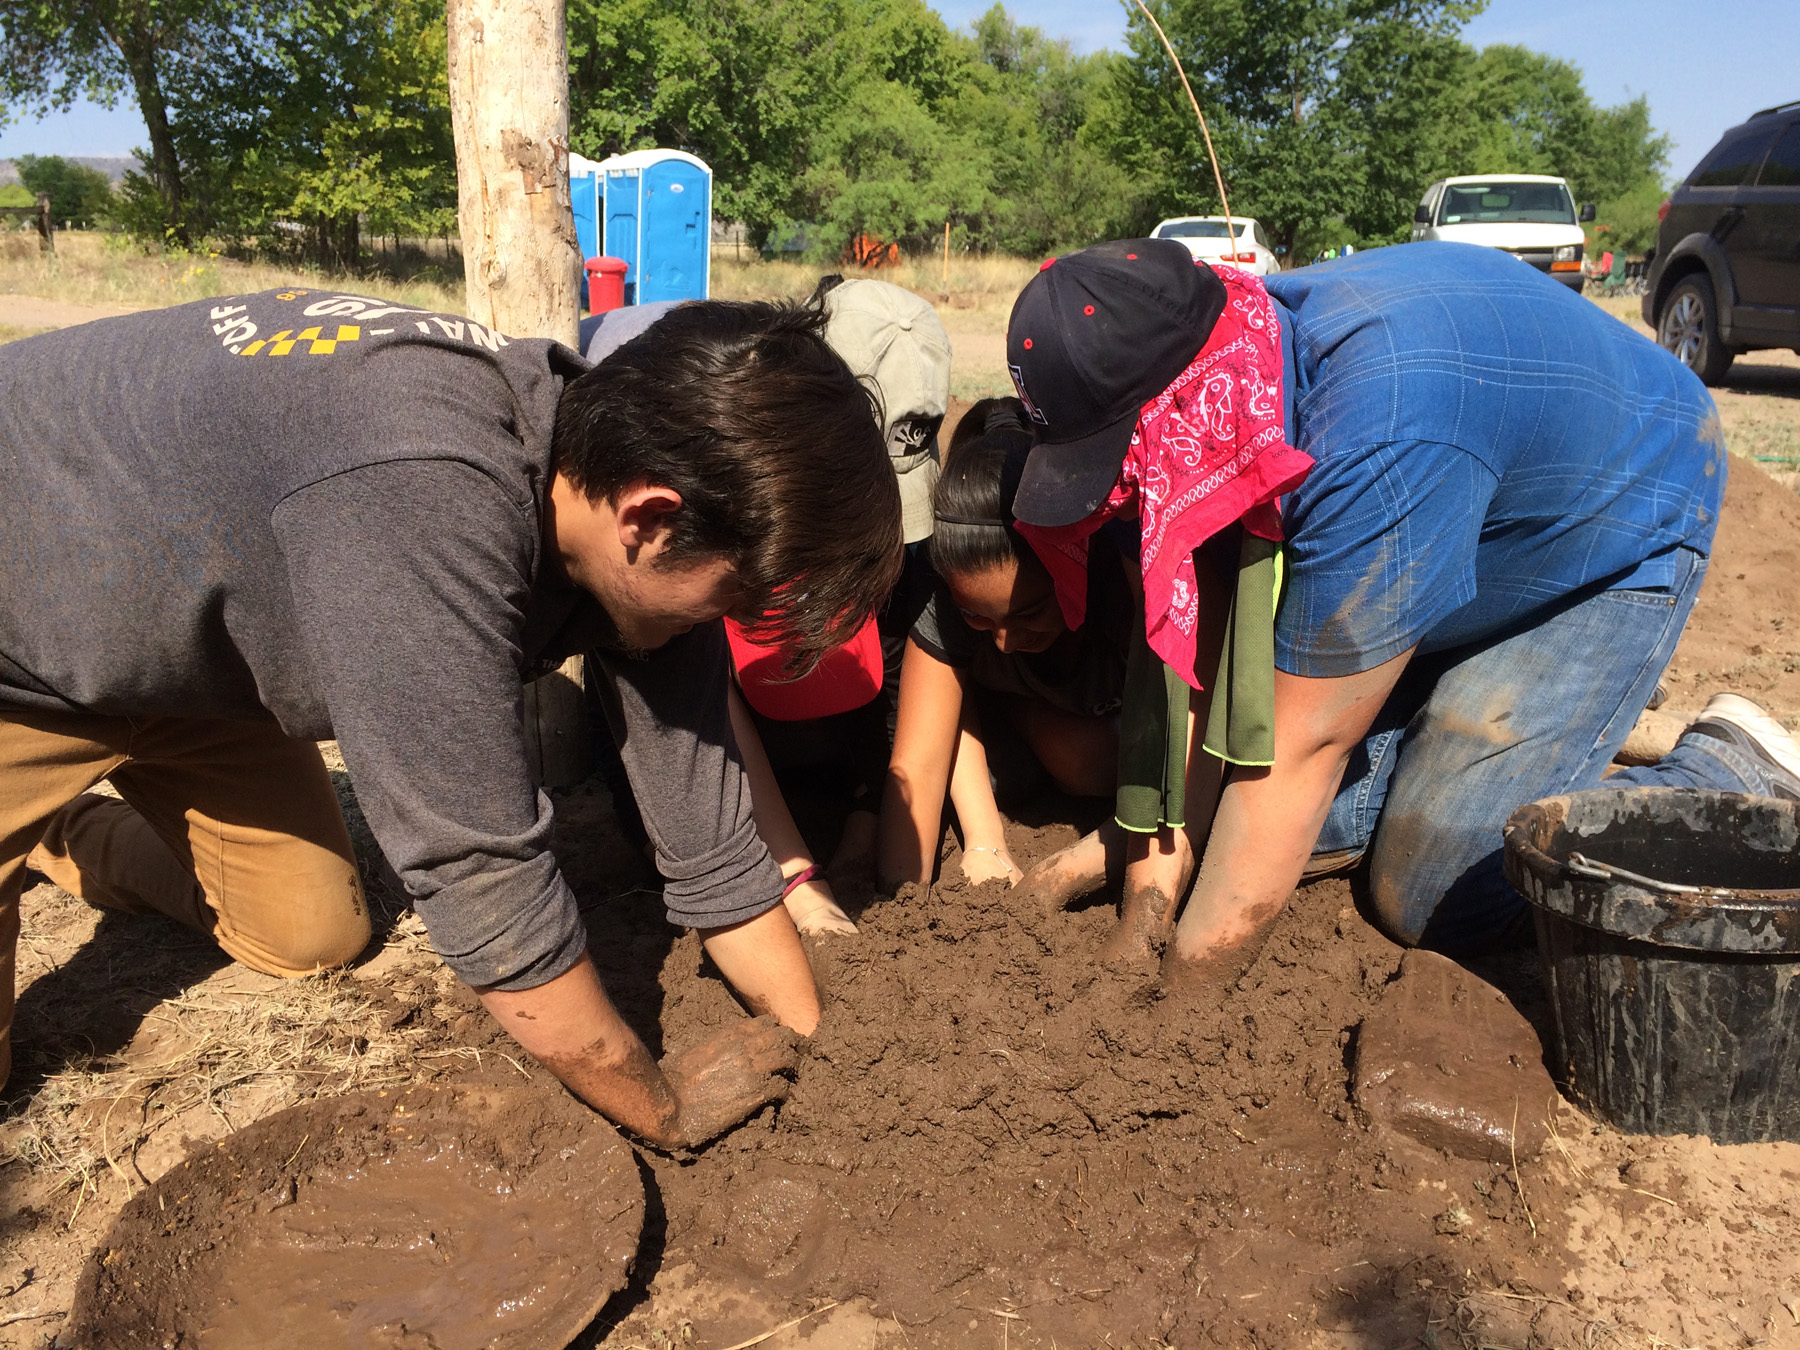
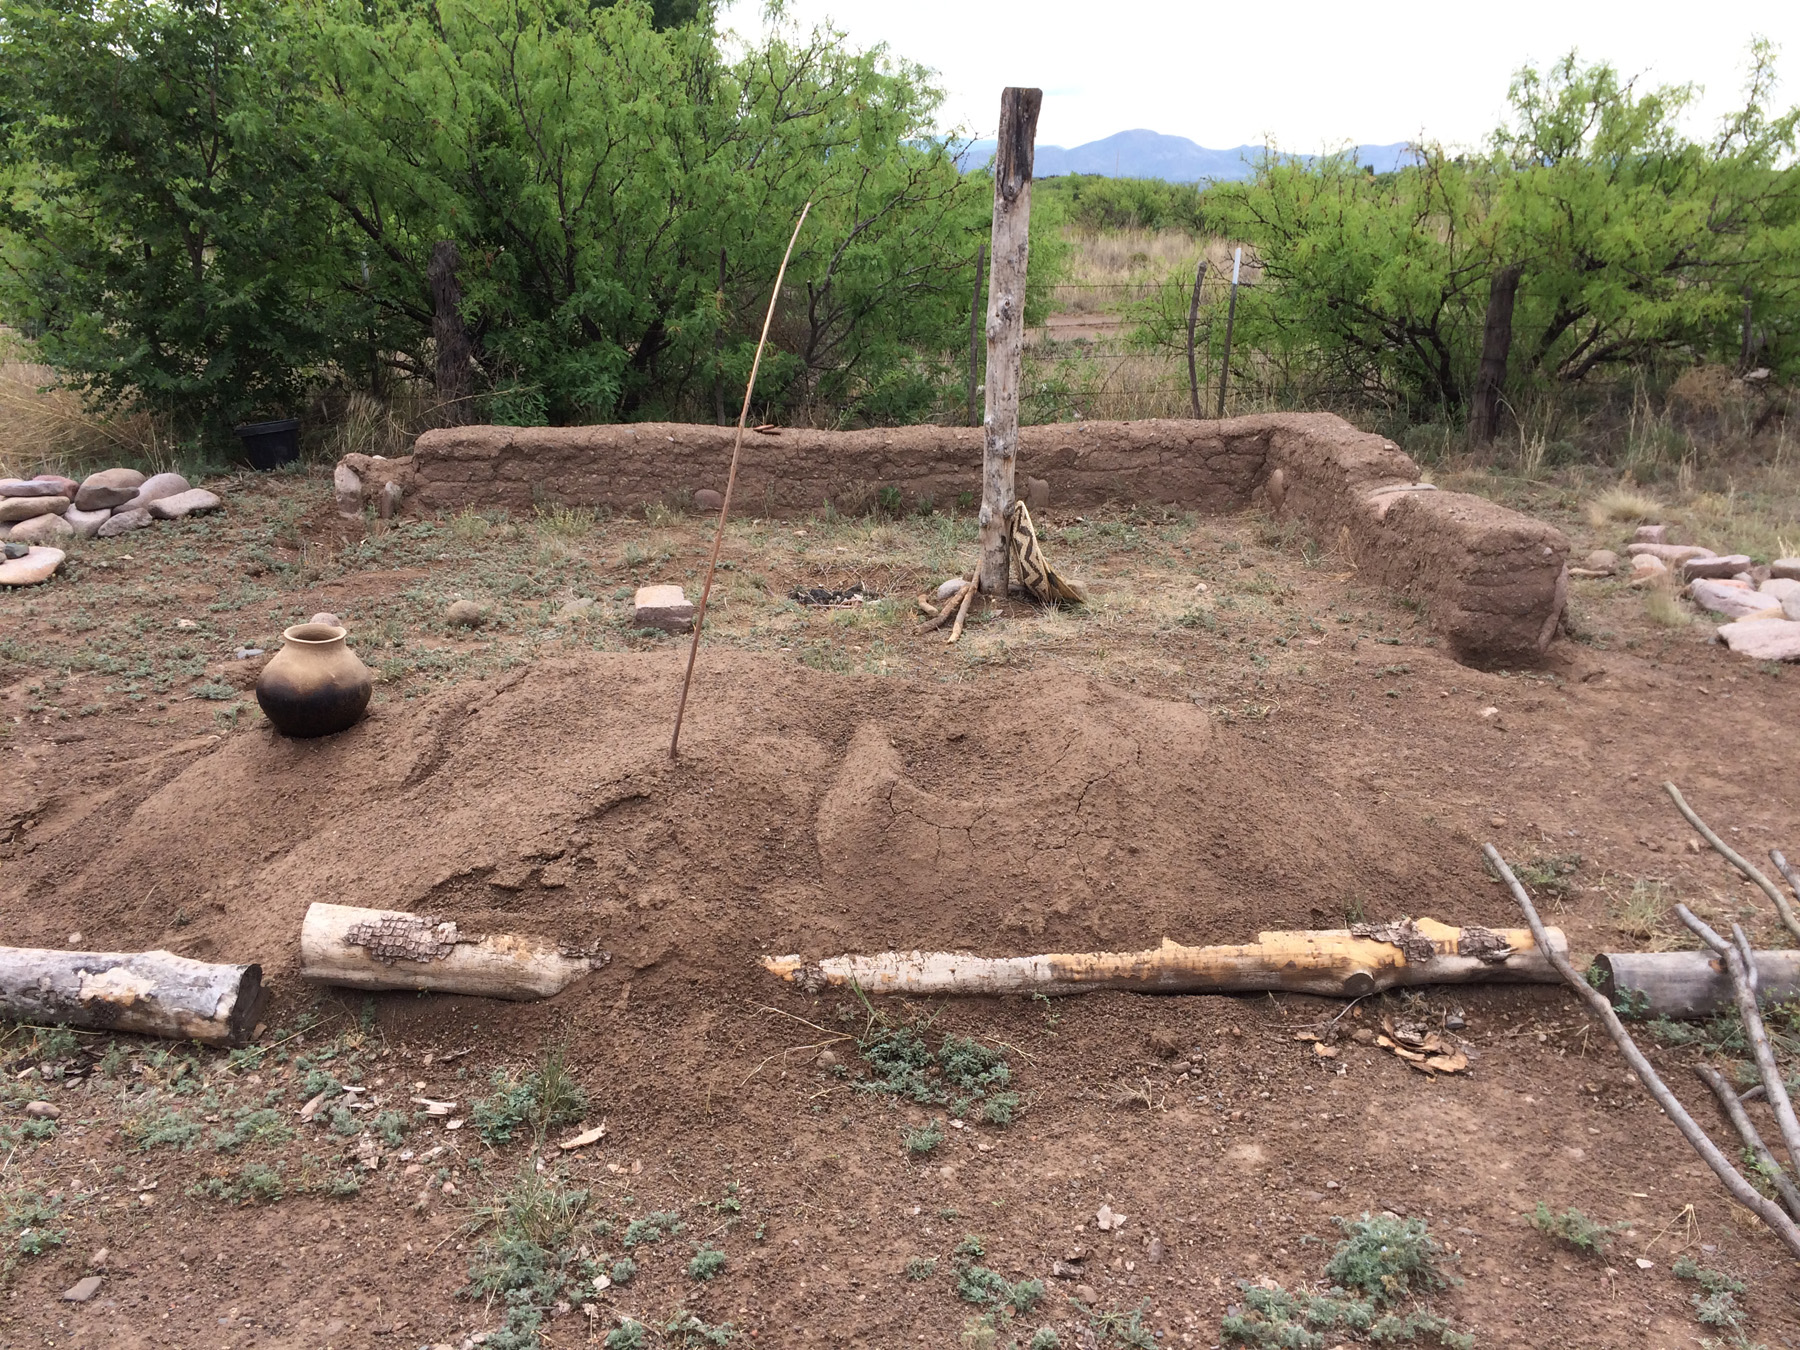
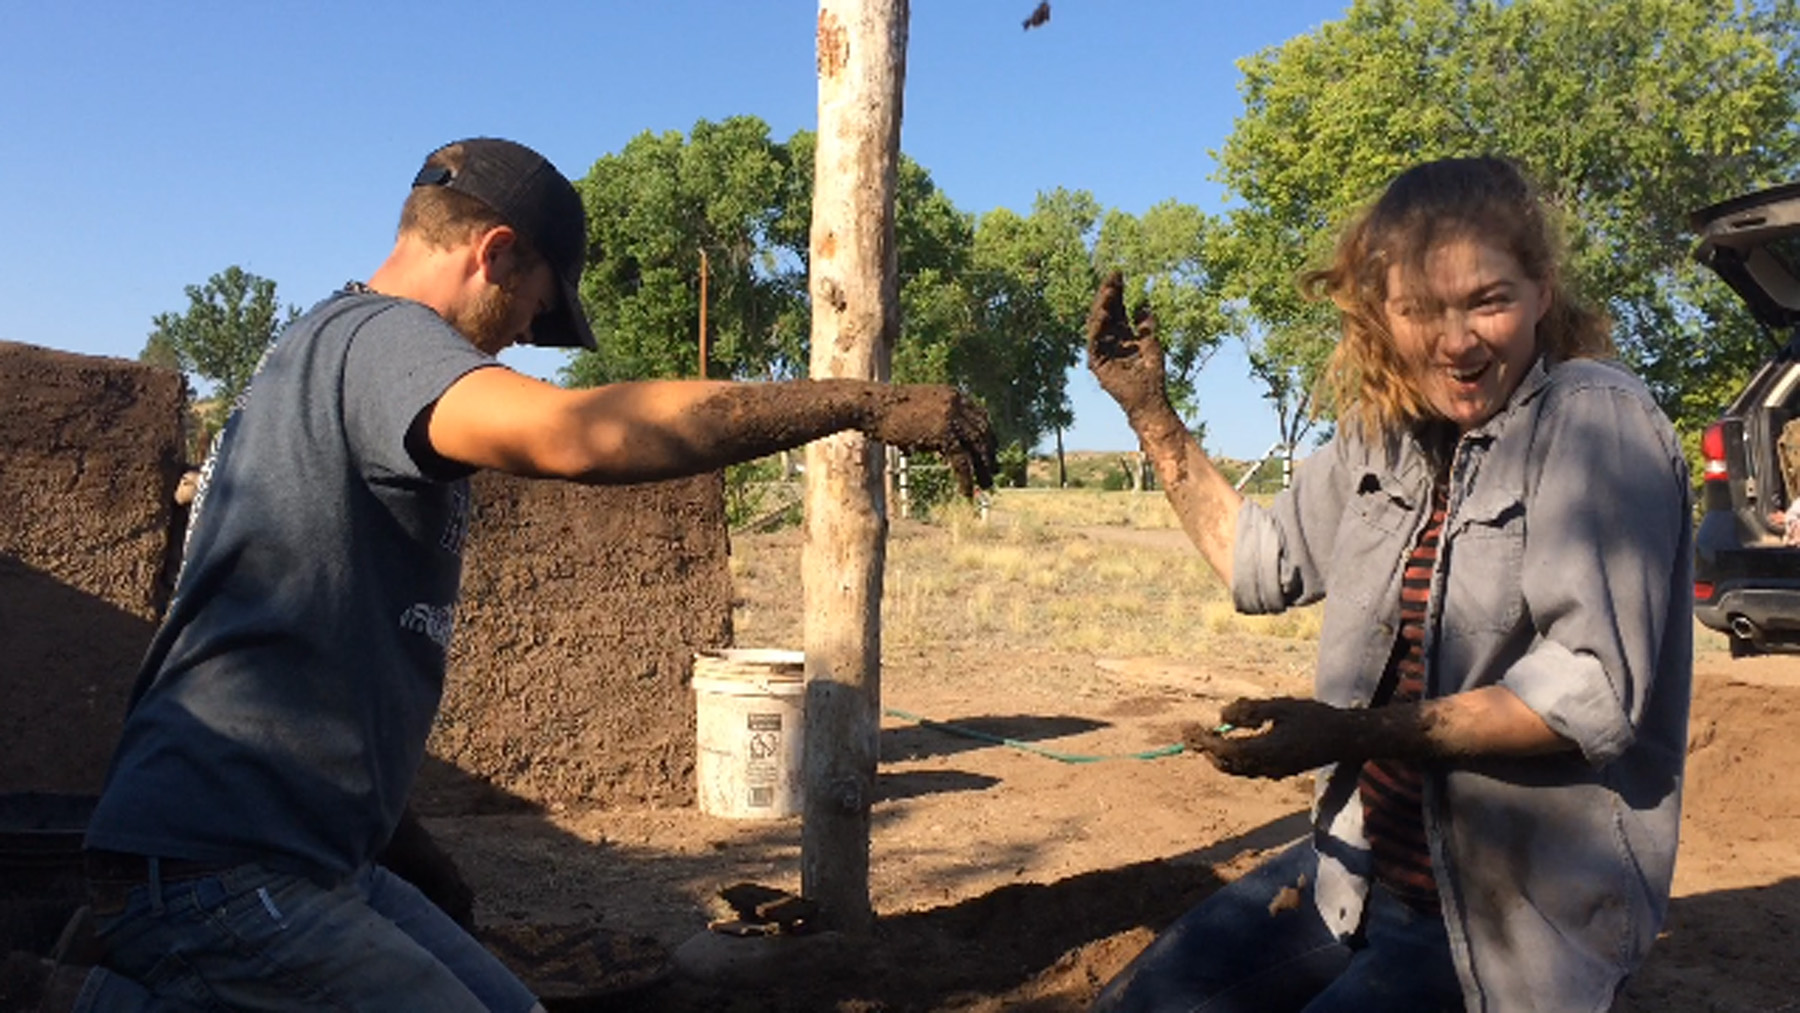
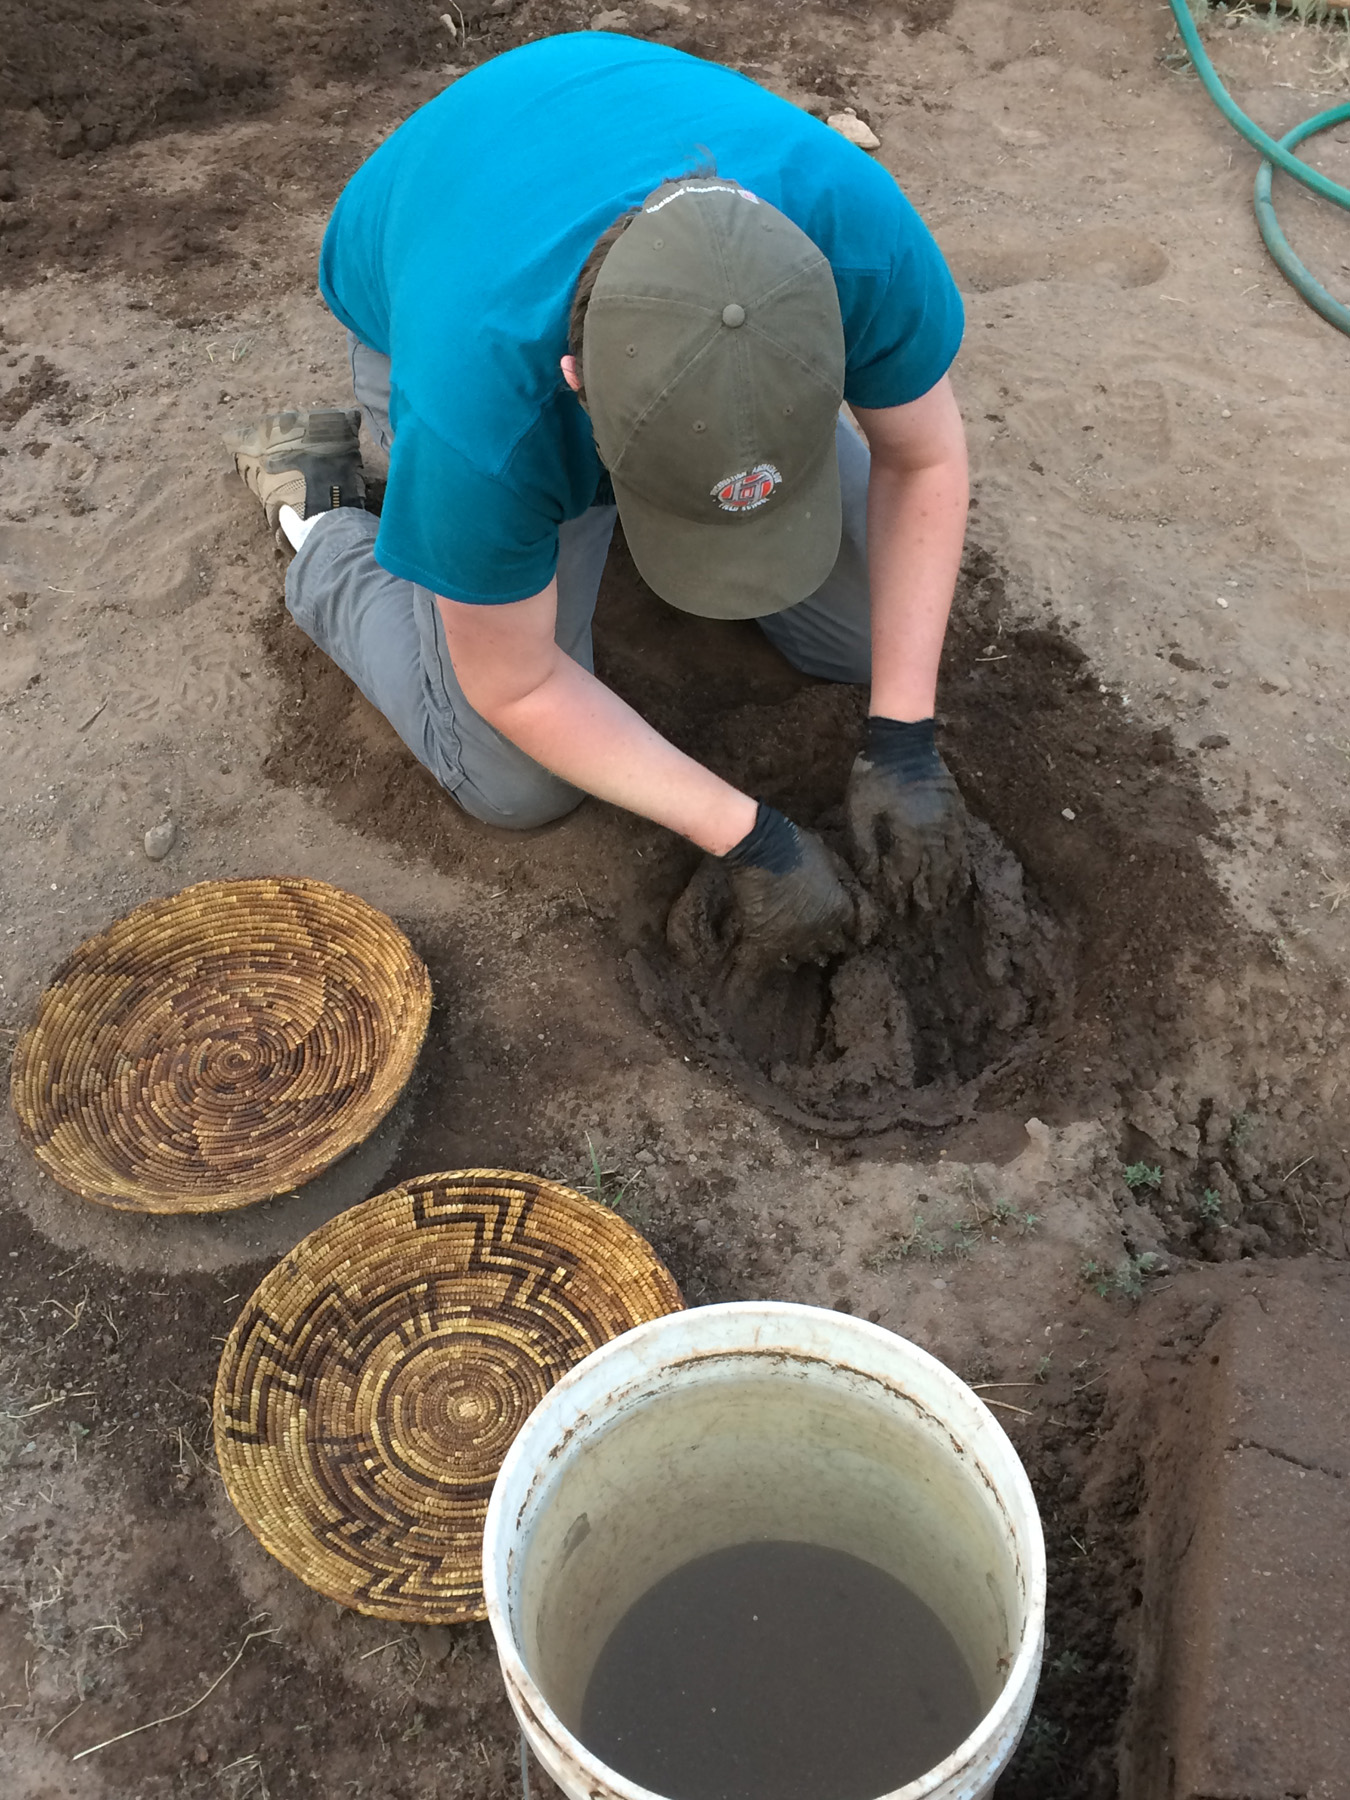
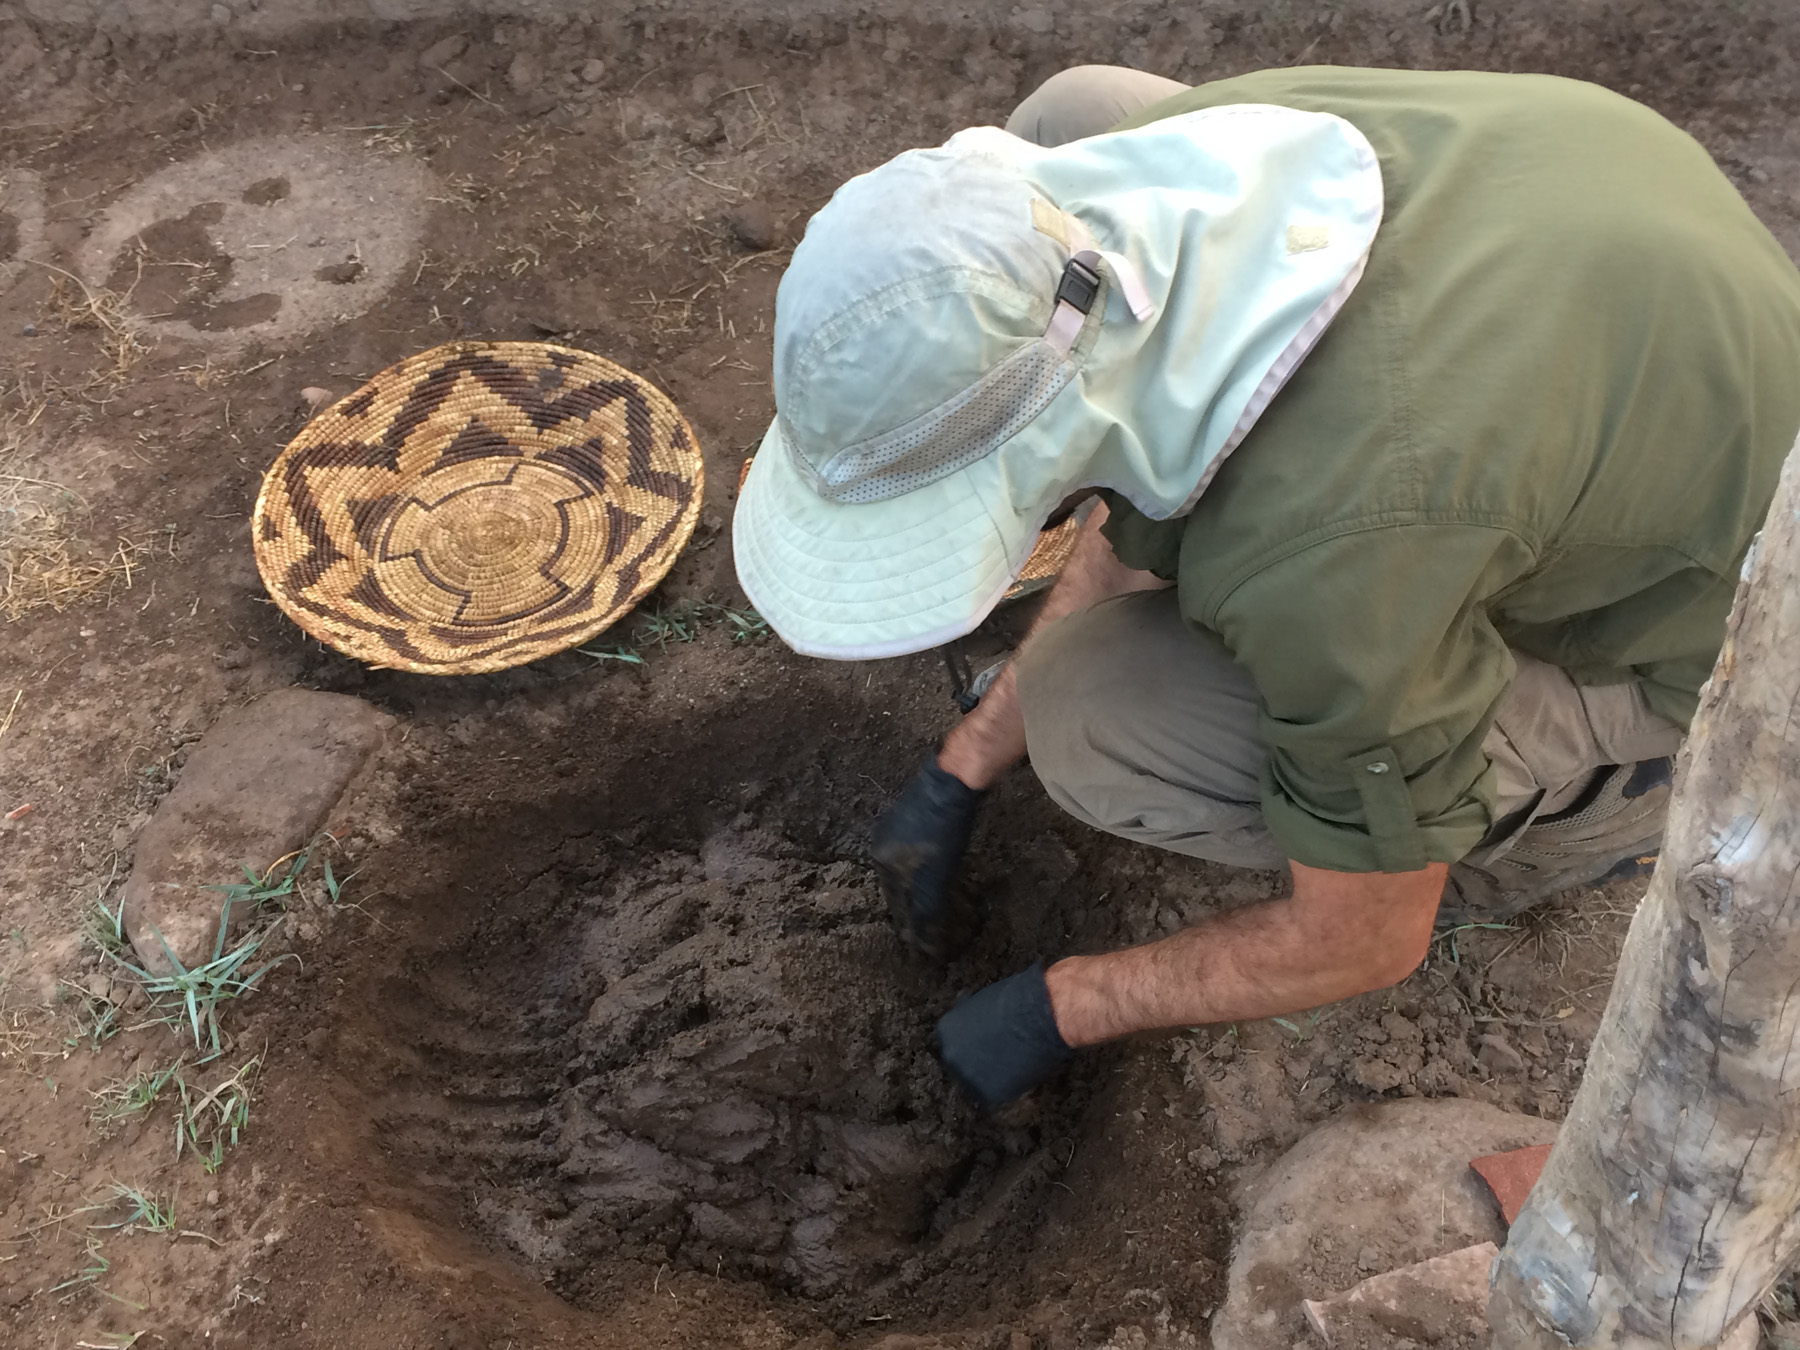
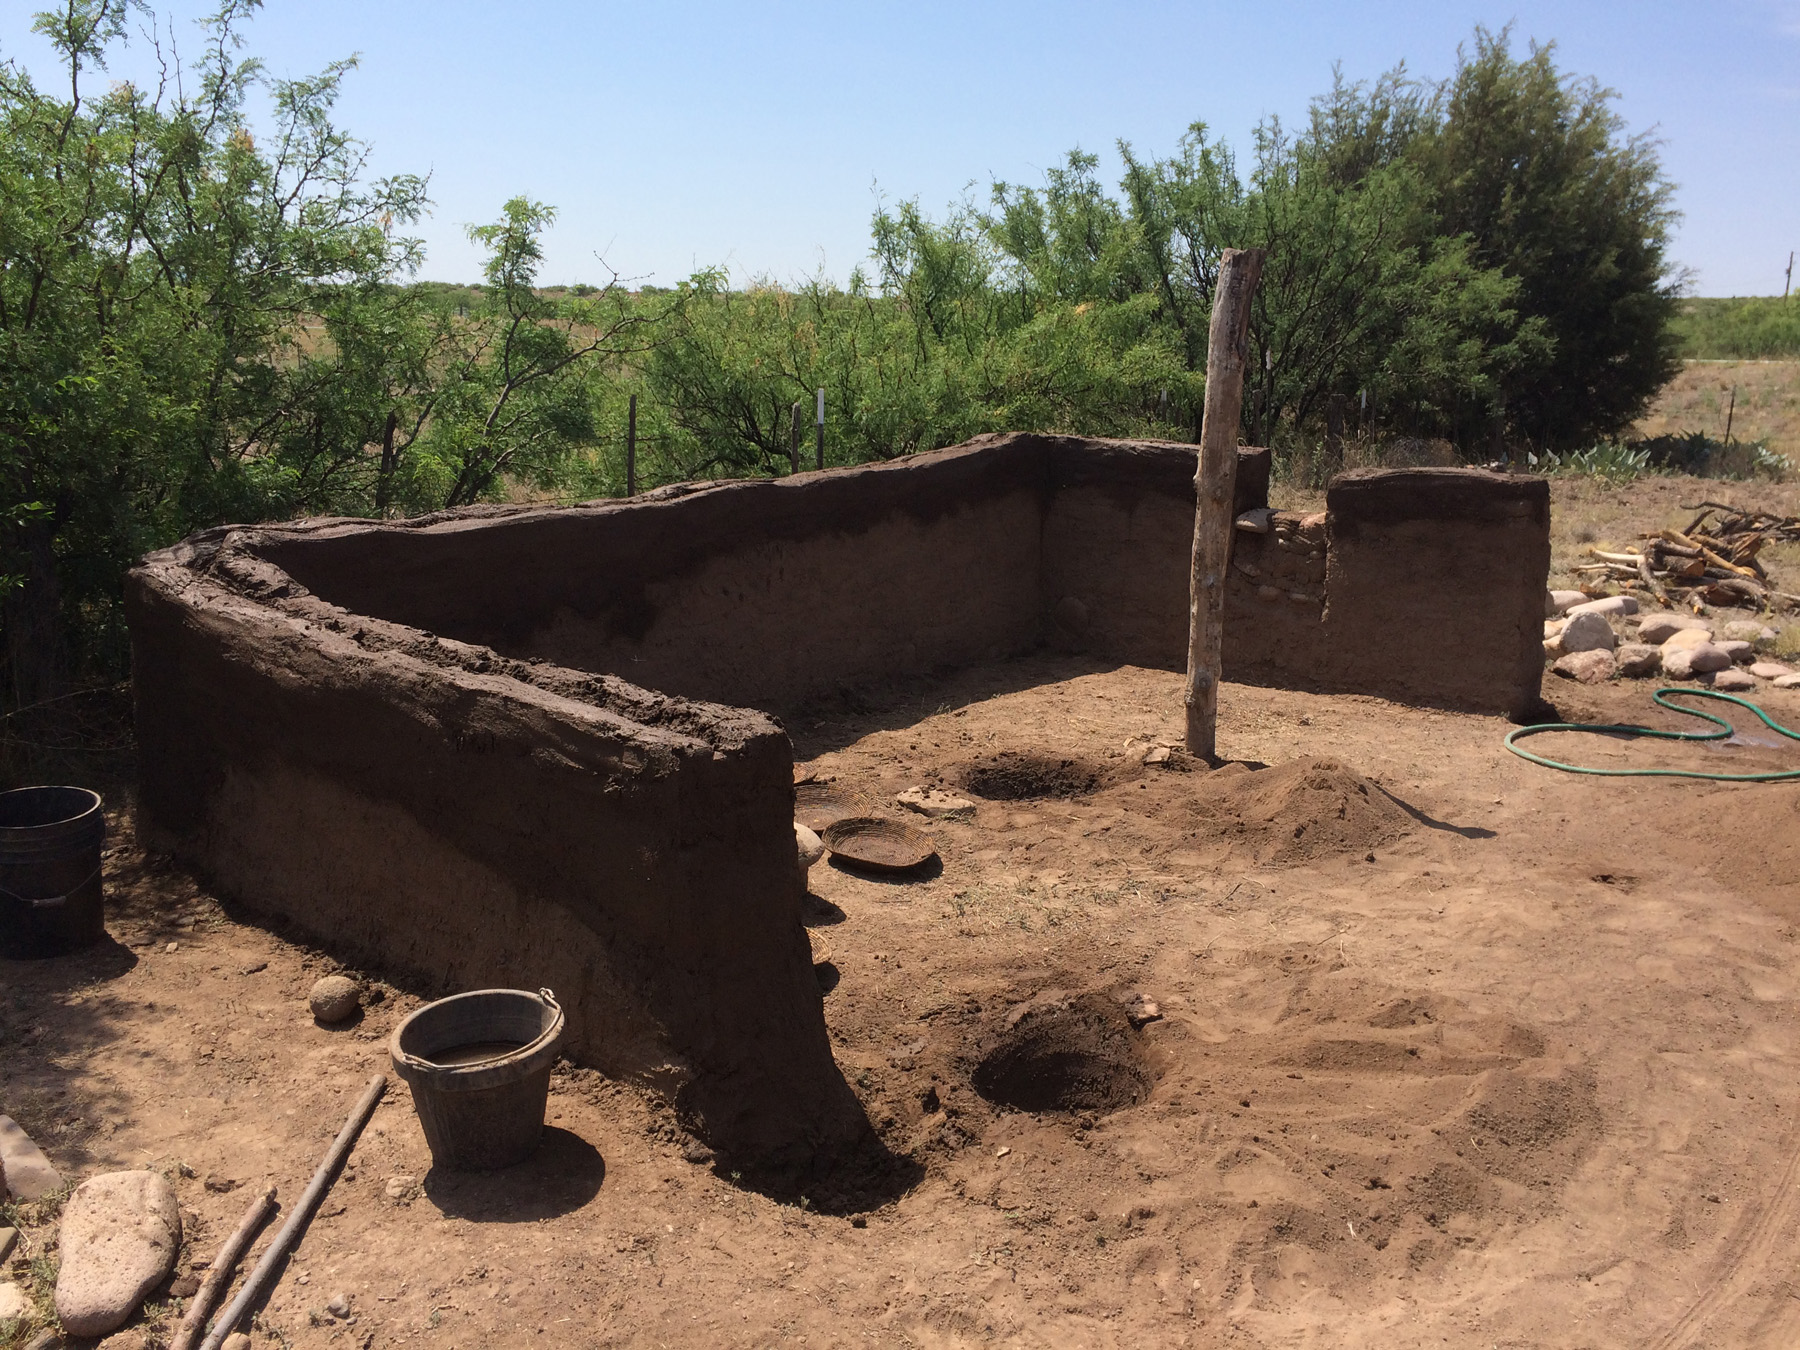
(July 26, 2017)—By the end of last year’s field school, we had started two walls, and one was up to about six layers high. We mixed the mud with our hands in basin-shaped pits and placed it onto the wall in blobs. Then we smooshed the mud into the shape of the wall. This technique is known as “puddled adobe.”

Students from Linking Hispanic Heritage through Archaeology (LHHTA) group from Tucson mixing mud. How many hands can you fit into a mud pit?
This is the structure we started at last year’s field school as it appeared at the beginning of this year’s field school.
In this image, Karla and Sam are excavating the east trench for the cimiento stones (footer stones). Emily is excavating last year’s mud-mixing pit. The students used digging sticks for these tasks, and the soil they excavated was later used to make mud.

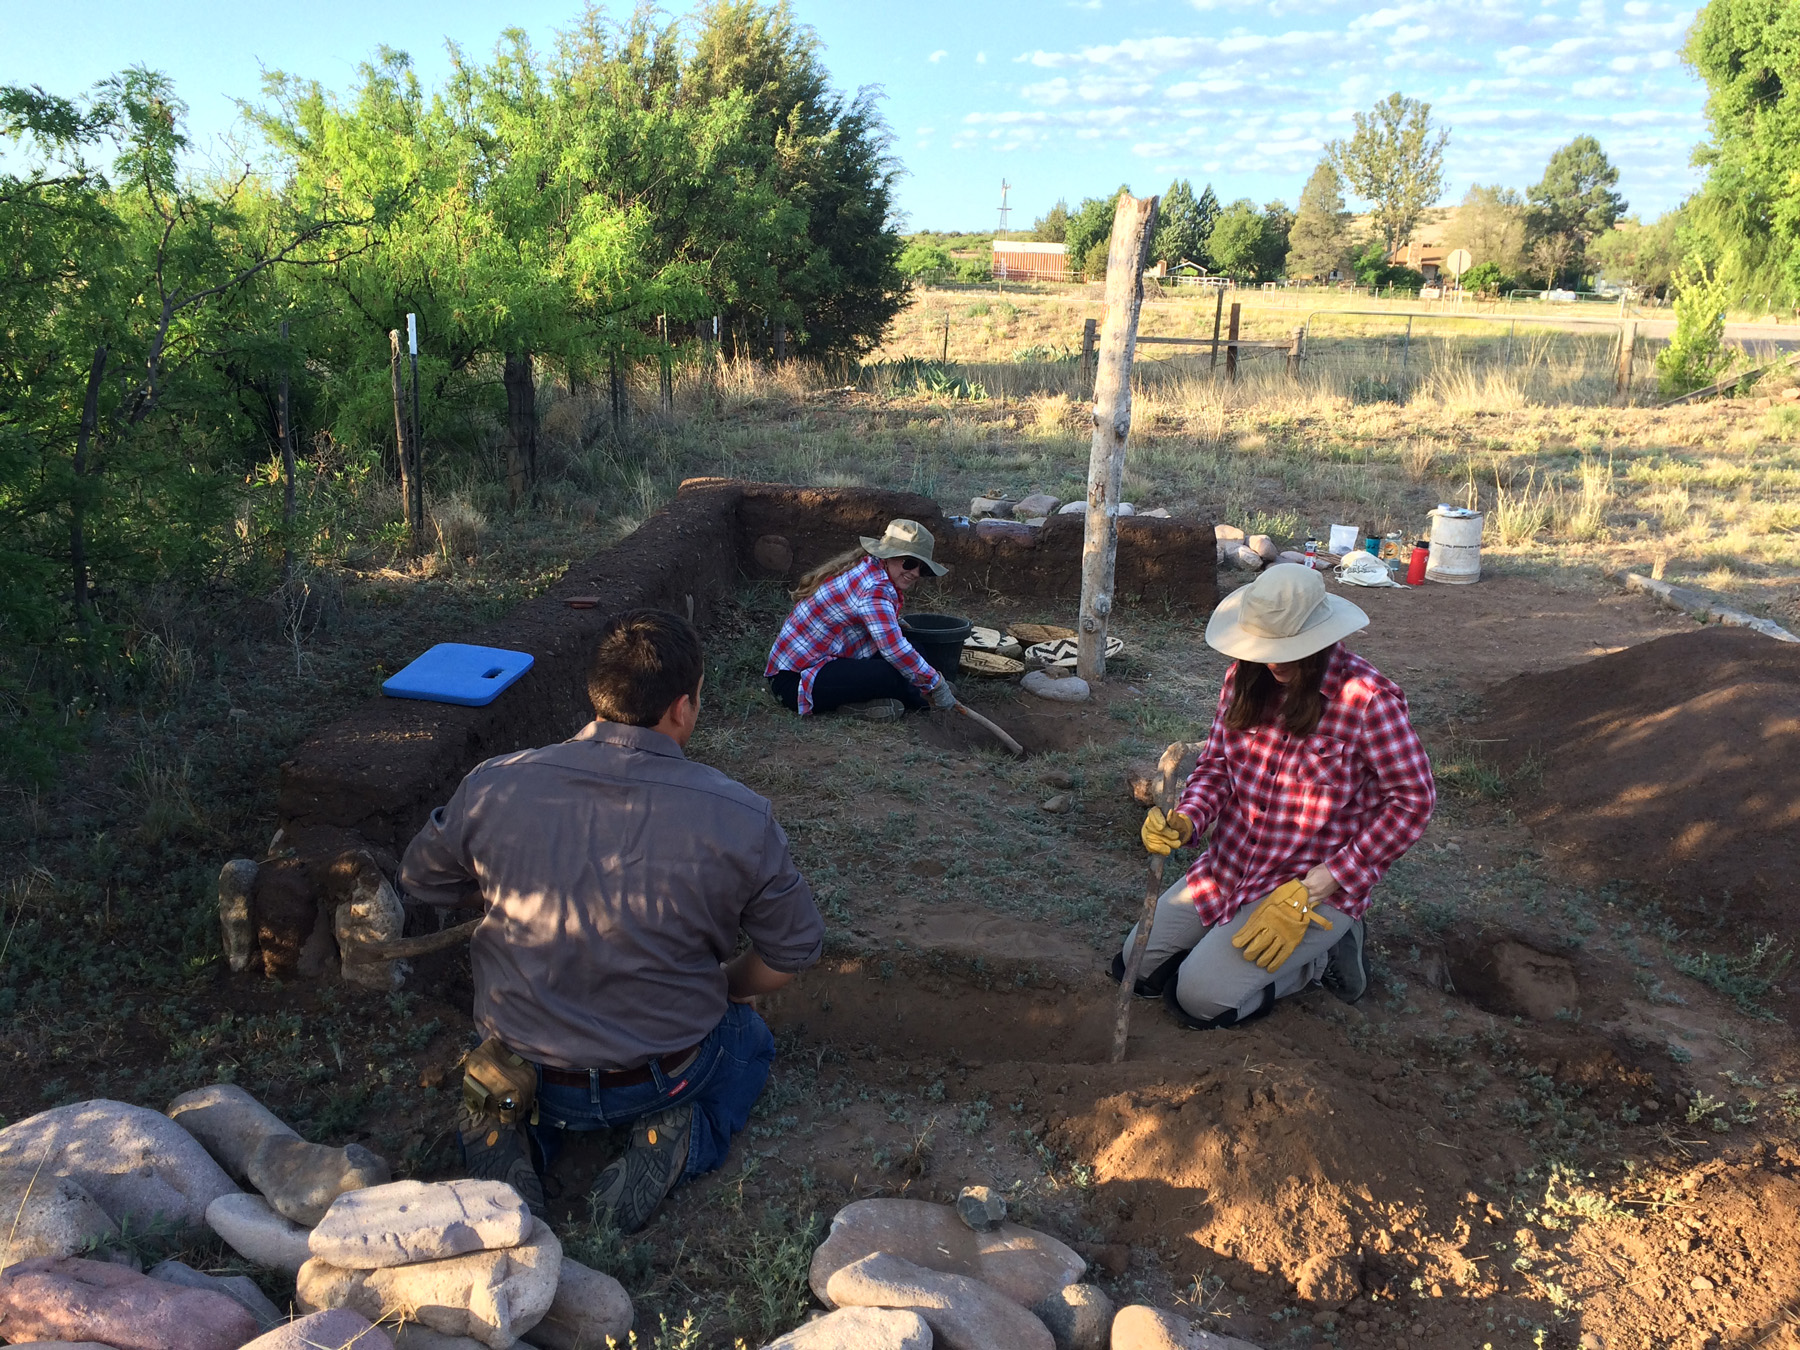
We spent half-days working on the structure with students this summer—by noon it would be so hot, we had to retreat to projects we could do in the shade.

We had to quarry dirt for the structure ourselves this year. We opened up this pit on the west side of our parking lot near the outhouses. Ever the archaeologists, we excavated it with square sides and a flat bottom. By the end of the field season, this pit was big enough that we might be able to build a pithouse in it next year.
In this photo, Rebecca Renteria, director of LHHTA, screens soil for mixing into mud.

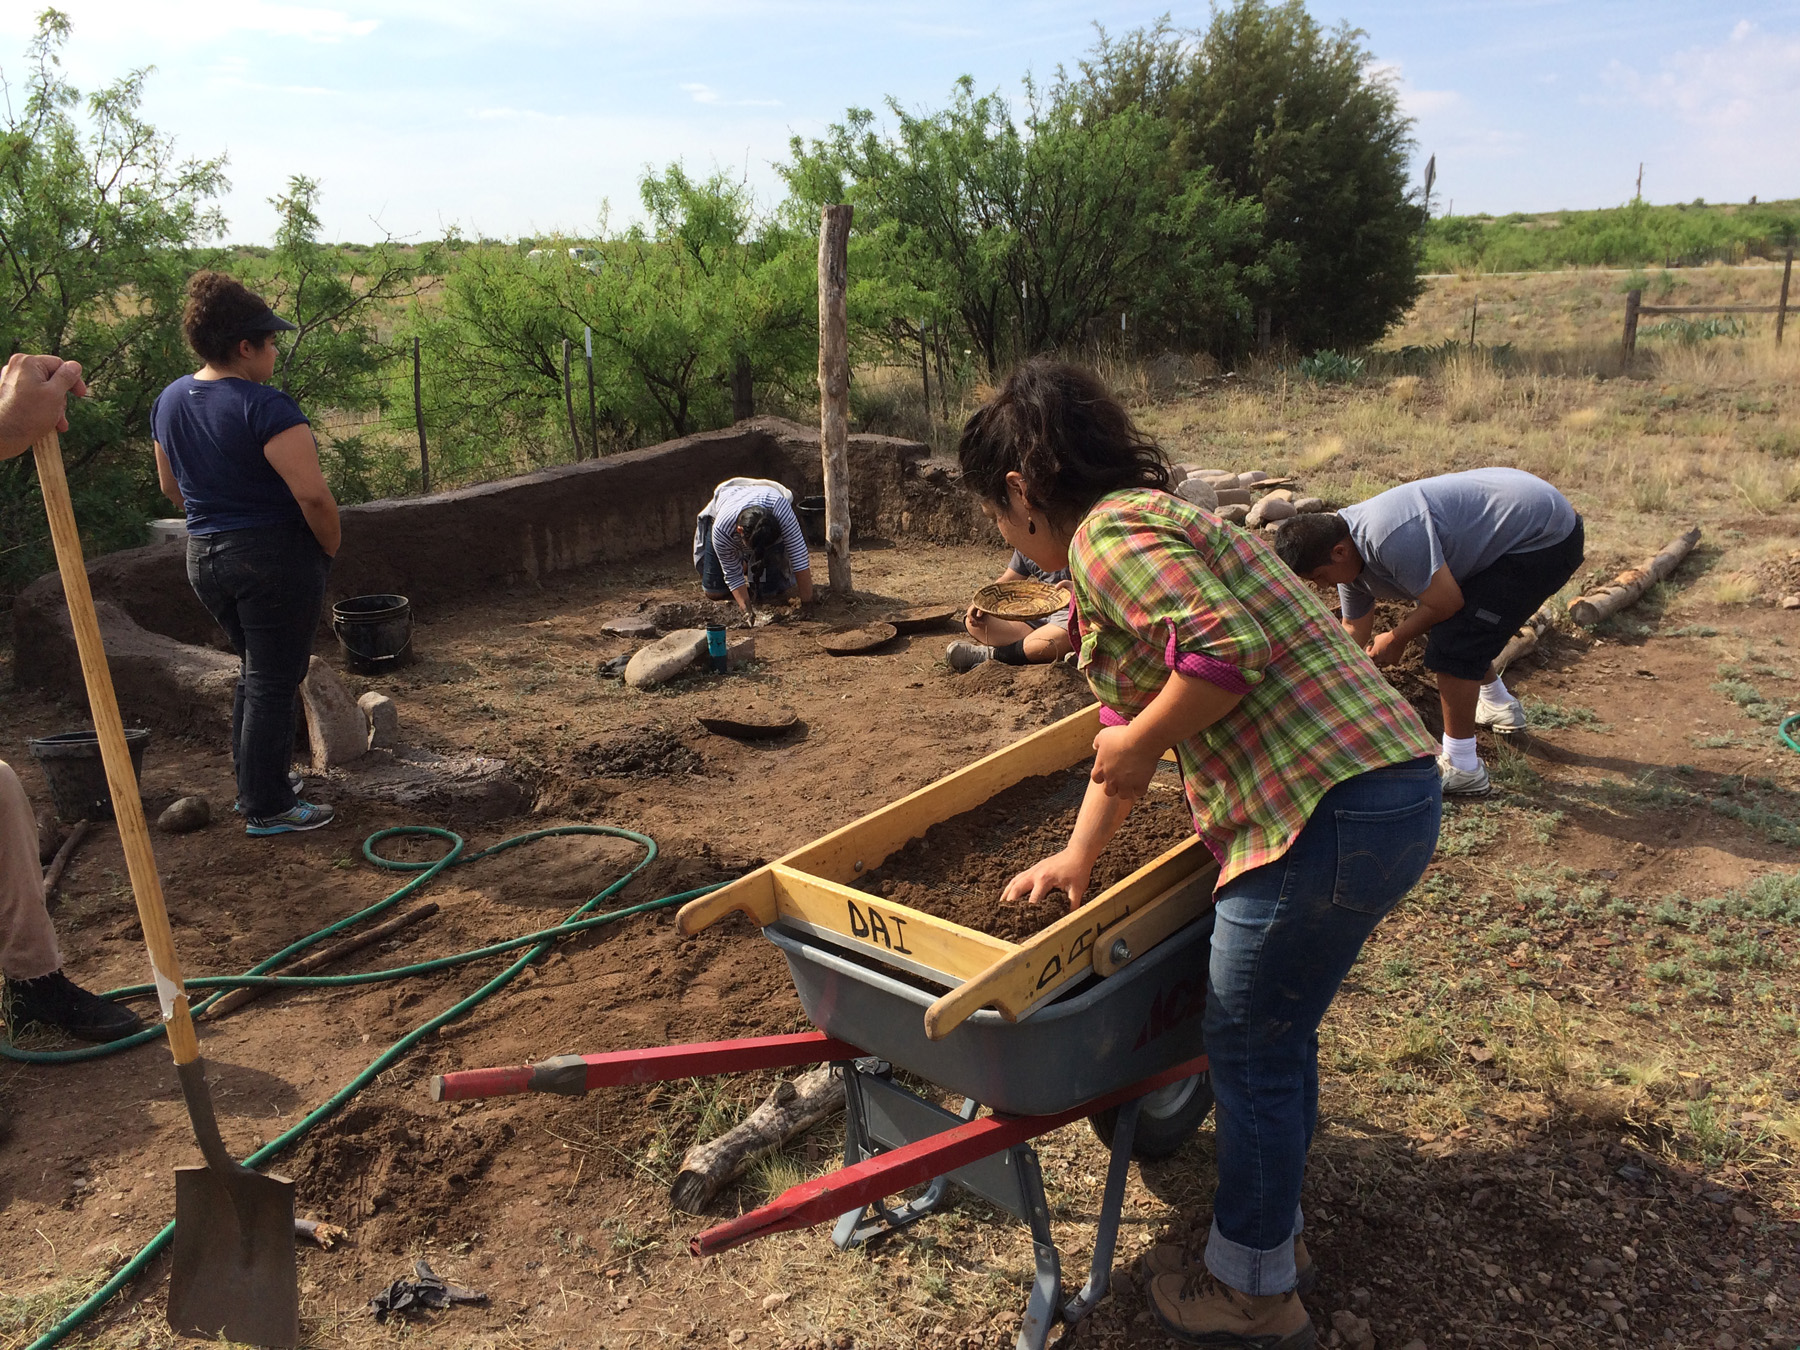
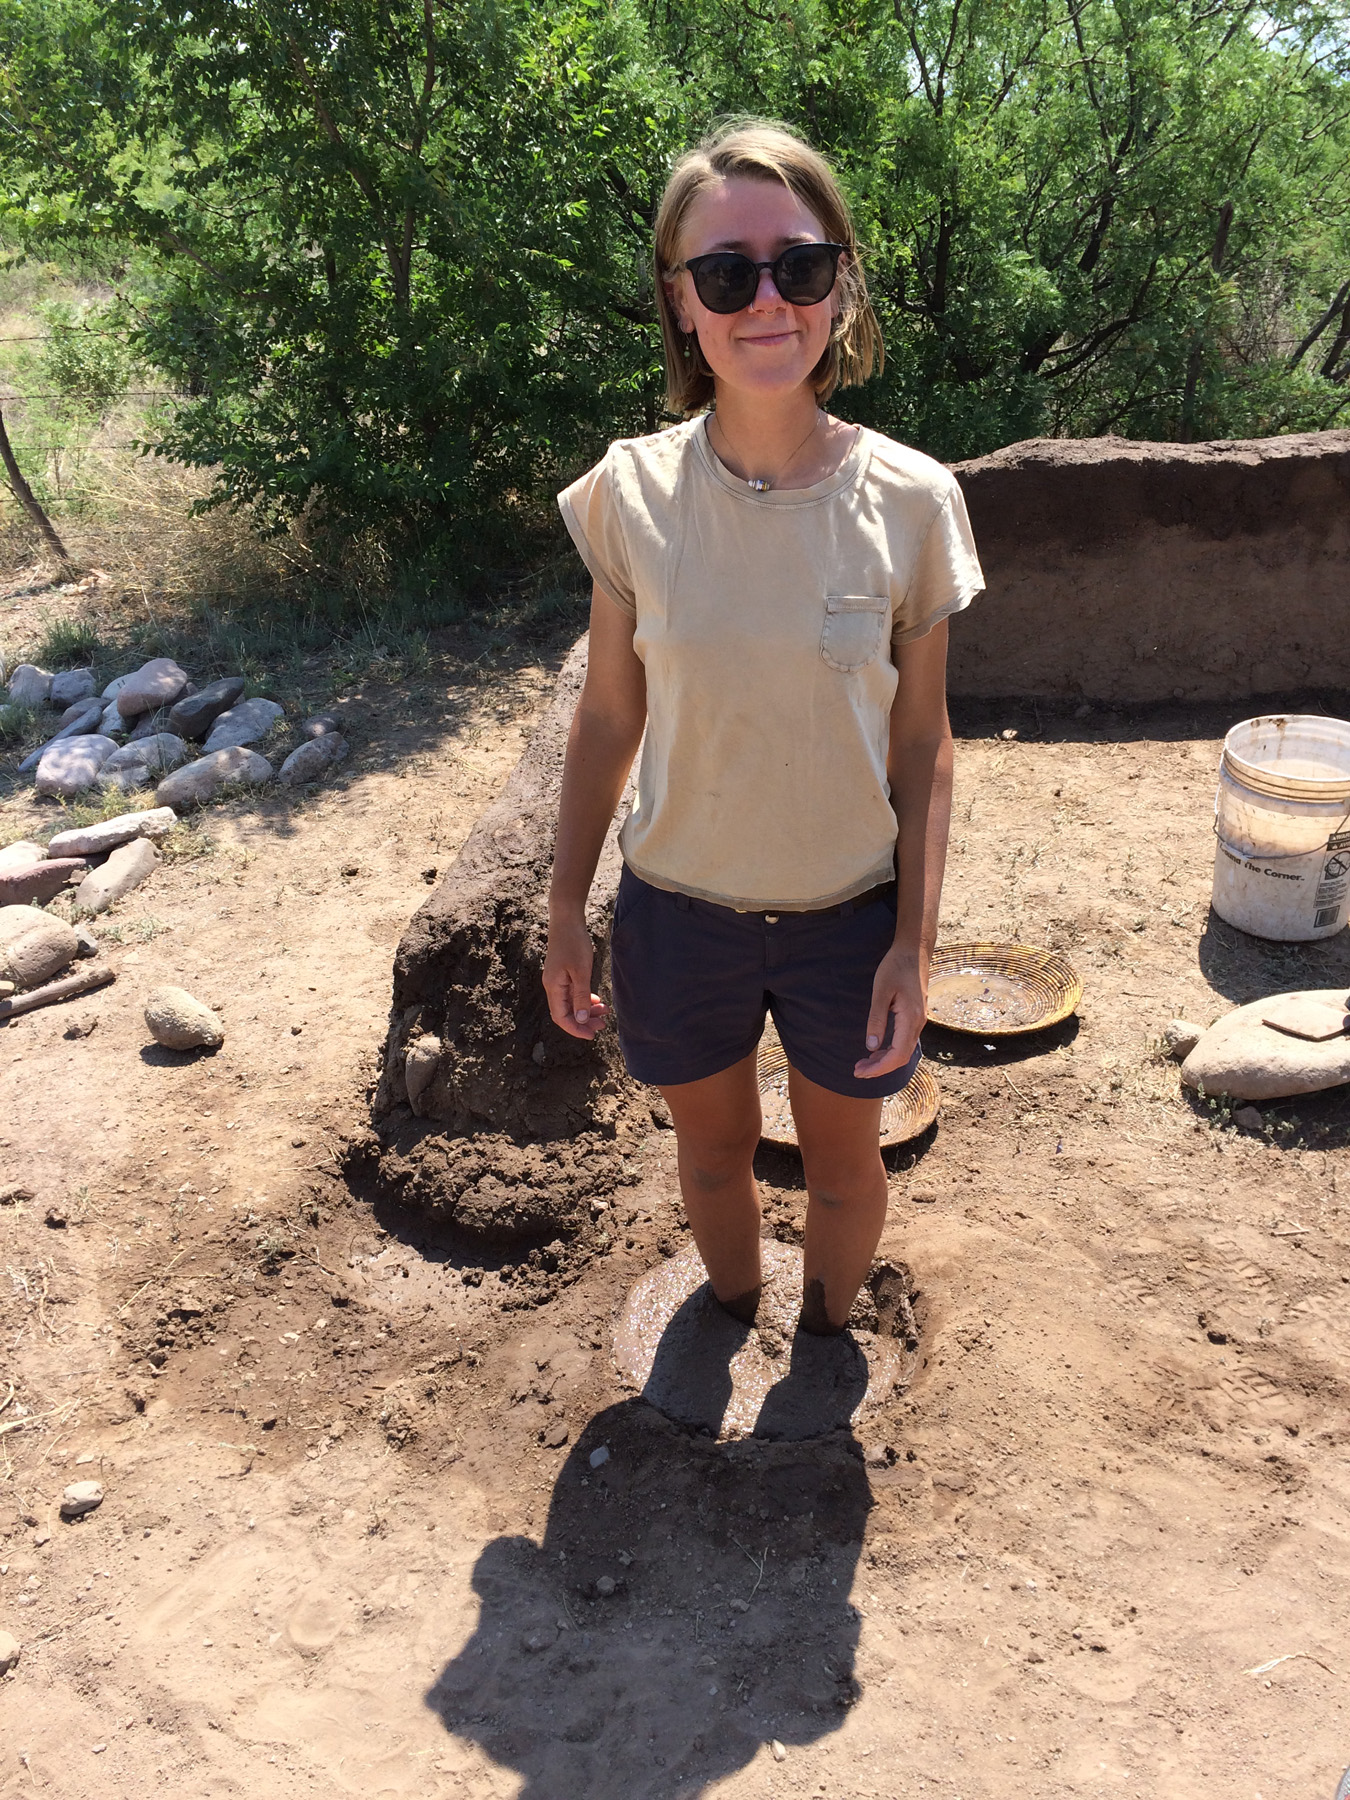
This year, I decided to screen out larger gravels in order to make the mud we are mixing gentler on our hands. There is no evidence people did this in the past, but it made life a lot easier for us!

In this image, we have dumped three basket-loads of mud on a wall.

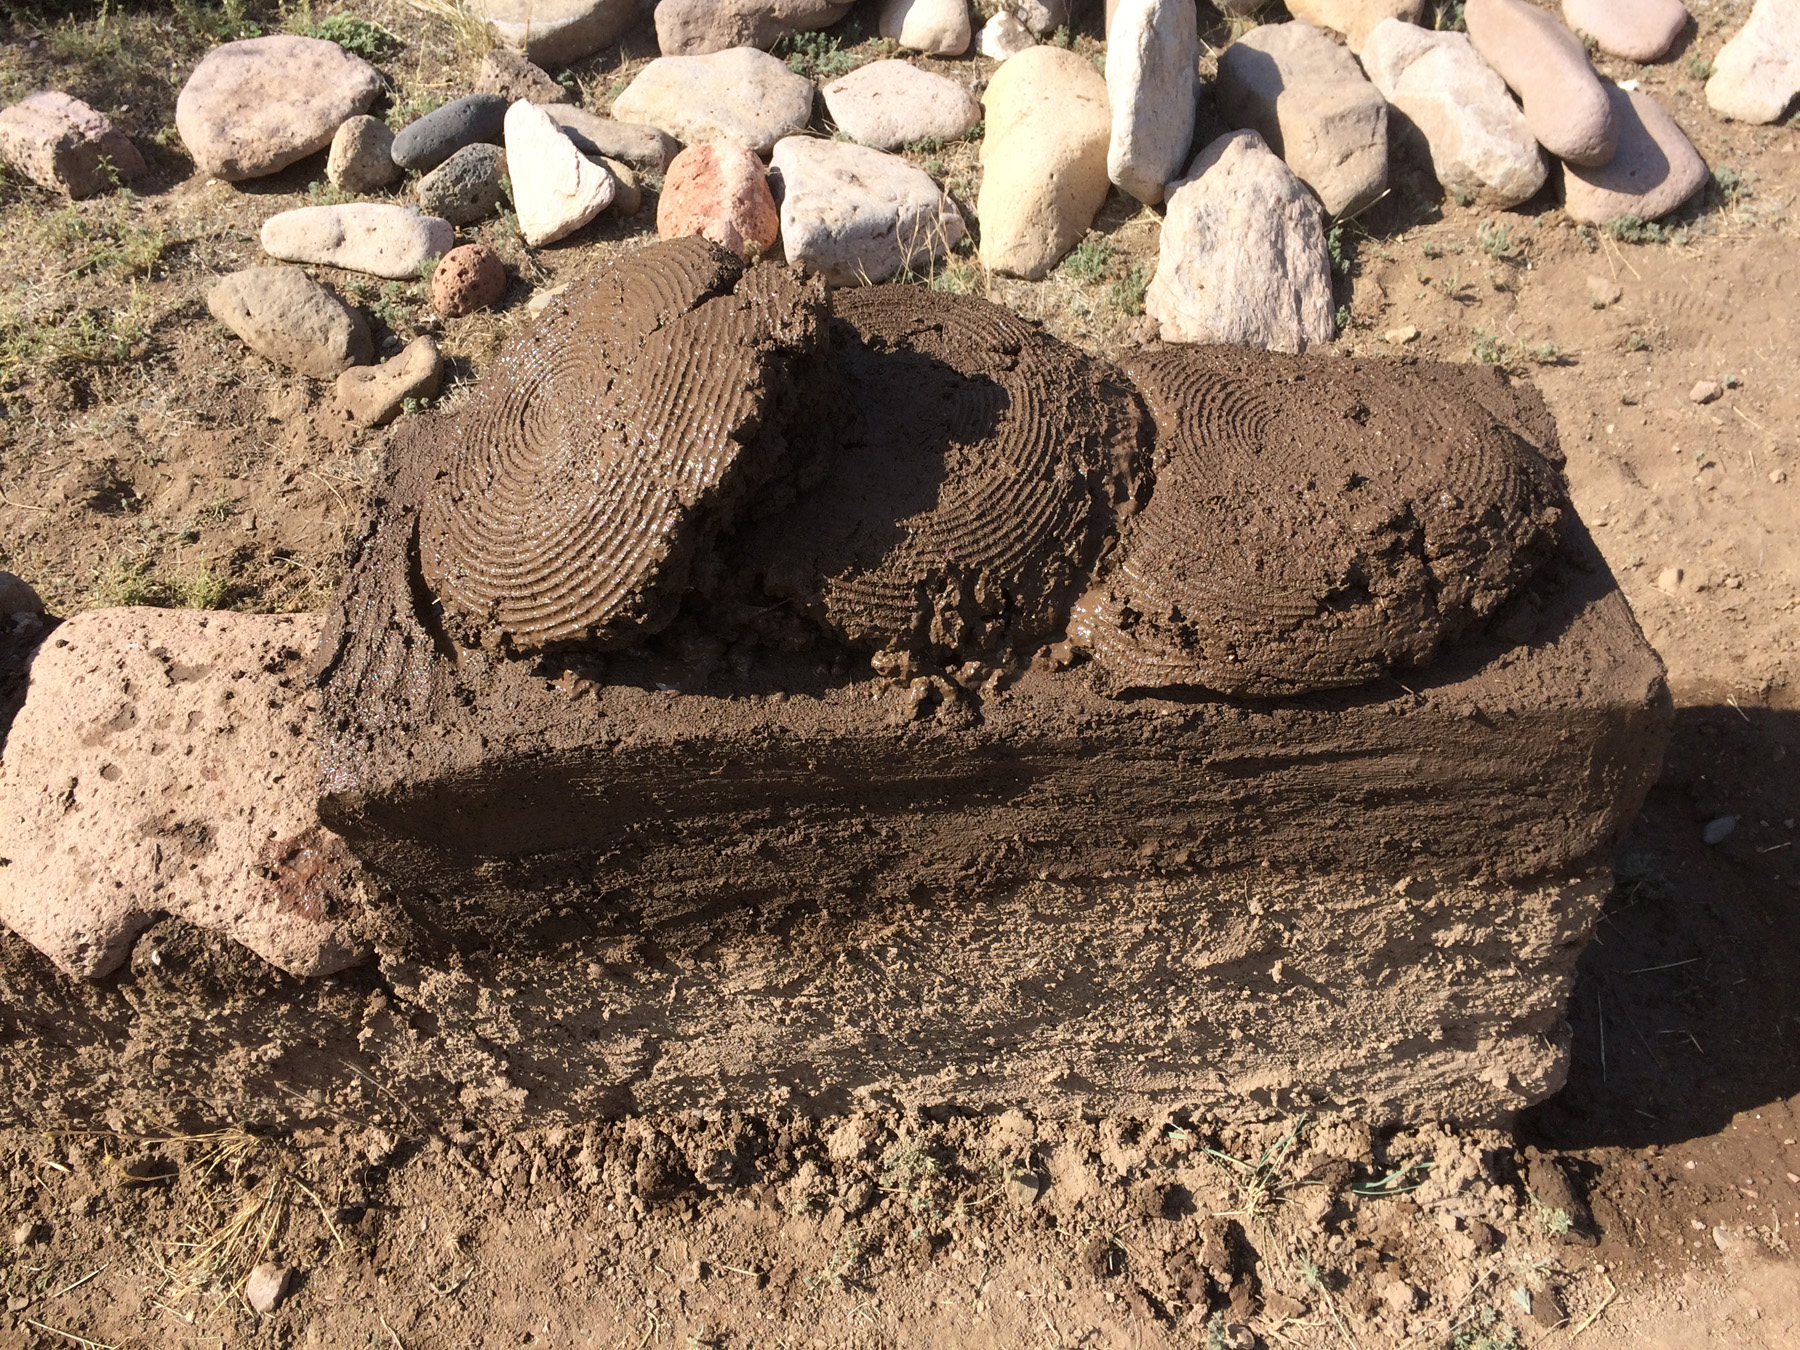
We found that dumping loads of mud on the wall and lessening our smooshing made the mud hold its shape better—and it could be laid down in thicker layers.

Sophie set in adobe.
Dylan in…I hope that’s mud.

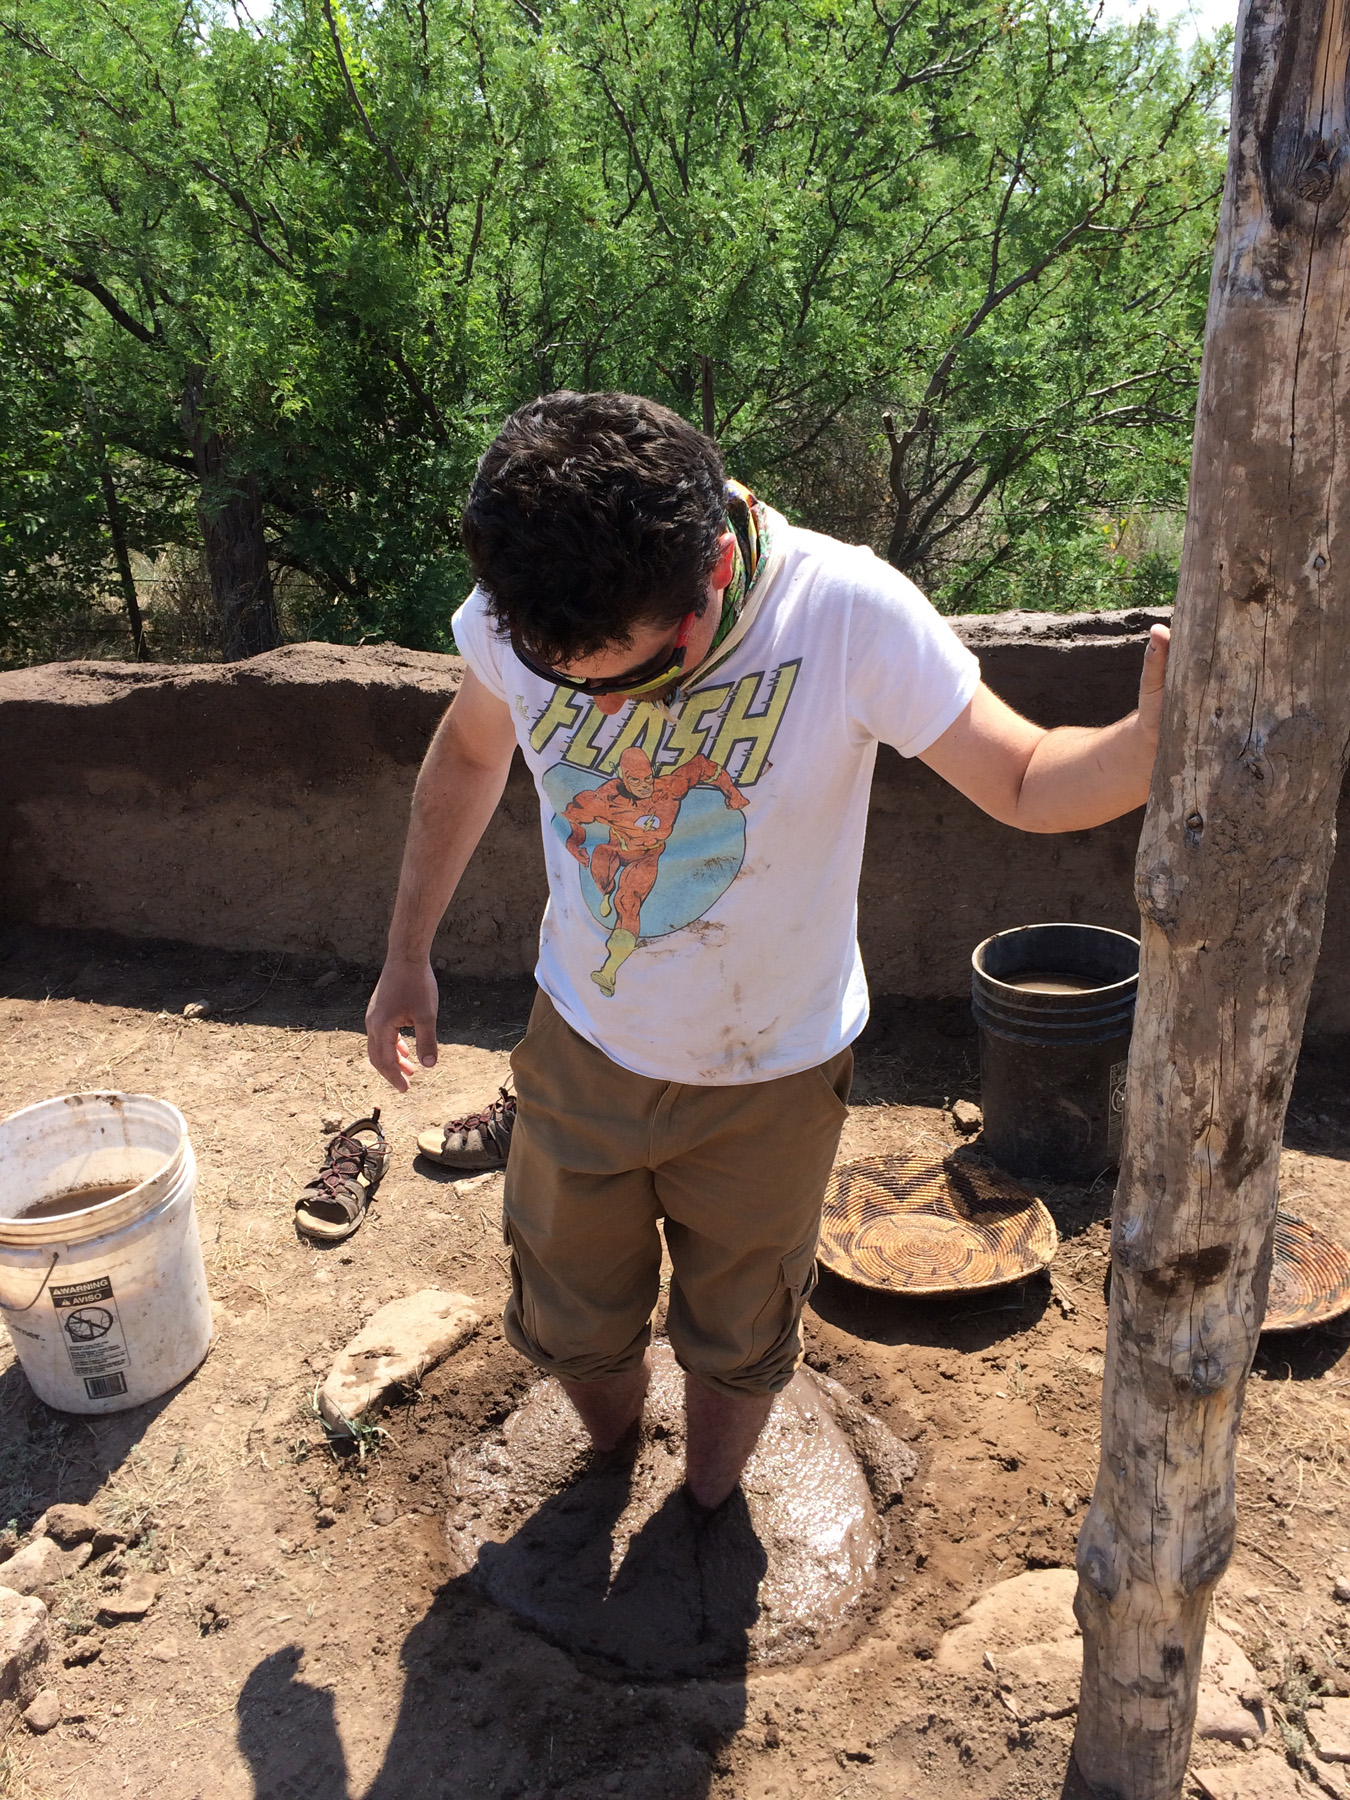
There are other techniques to mix the mud. The grape-stomping method works well, but it is hard to get the mud in the bottom of the pit mixed.

Susie and Johnny moments before their mud fight began.

Susie and Johnny

View of plugged doorway we constructed in the south wall of structure.

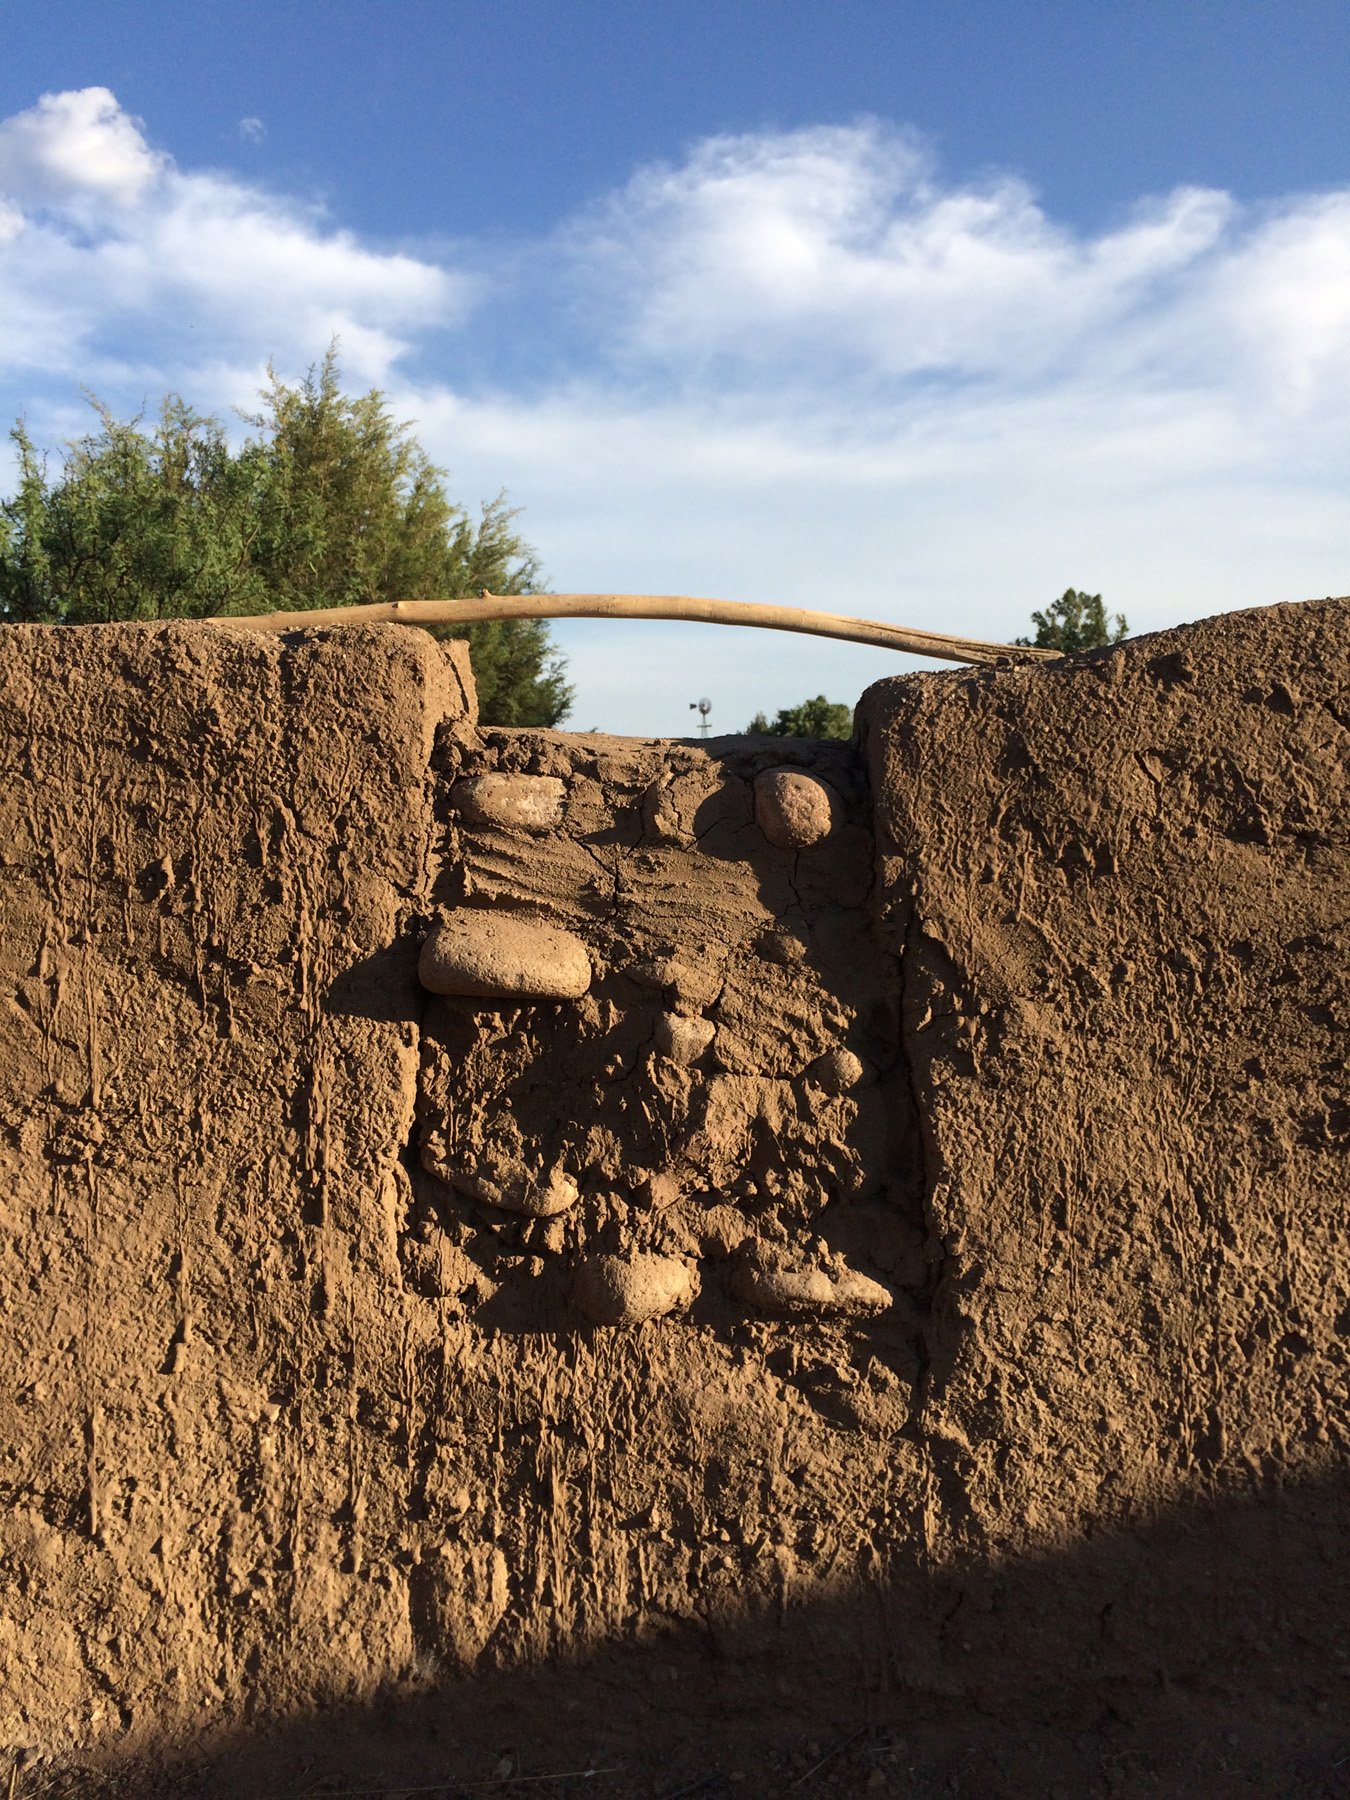
We continued construction of a plugged doorway we had started last year. By the end of this field school season, we had the lintel mudded in.

Taylor mixing mud
Taylor mixing mud

Chris mixing mud
Chris mixing mud

We mixed the mud to the consistency of thick cookie dough. If it was too soft, it would slump on the wall; if it was too dry, it would crumble when set upon the wall.

This image shows the cracking that occurred as the adobe dried. Cracking varied a lot, but was generally between 19–47 centimeters apart. We fixed the cracks by smooshing soft mud down into them. This really worked well—the wall held up such that we could walk upon it the next day.

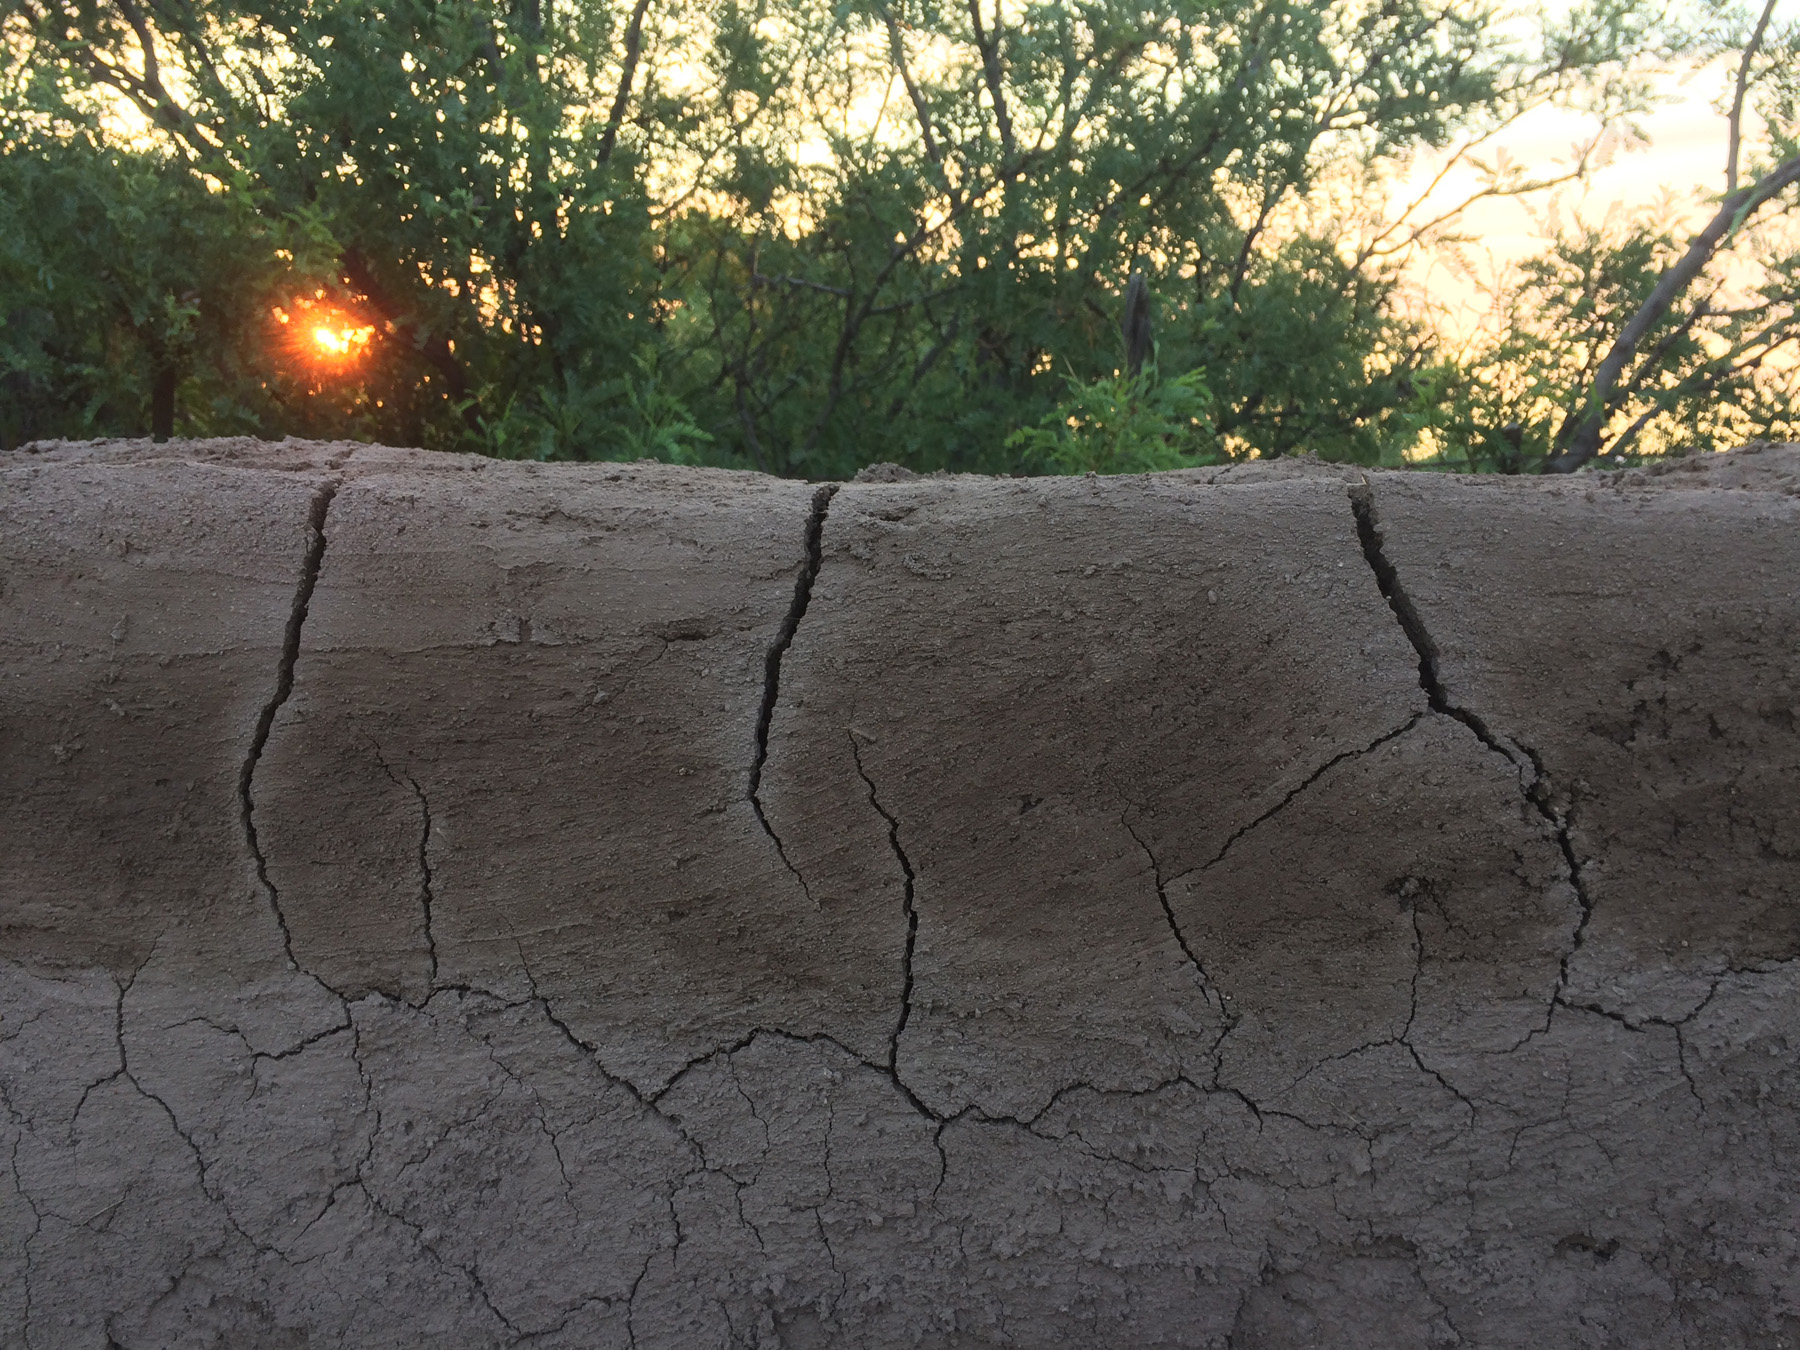
Sometimes small cracks appeared between the dried and moist layers, but for the most part this was minimal, and it did not seem to weaken the wall.

This is near the completion of what we were able to do this year. We were able to get the lintel on the plugged door after this photo was taken.

Next year, we will finish up the walls and work on a front wattle-and-daub wall.

Explore the News

  • Preservation Archaeology Blog
  • Press Releases/Announcements
  • Preservation Archaeology Today

Related to This

  • Post Mud and Rocks—What More Do Y...

Want to help us? Make a donation

or take action

Cyber SouthwestRespect Great BendHands-On ArchaeologySave History

© 2025 Archaeology Southwest

520.882.6946
Contact
  • My Store Account
  • Contact Us
  • Terms of Use
  • Privacy Policy
  • Press Room