
(September 28, 2016)—I often have people ask me how to find good stone to flintknap. It’s not easy. I enjoy working rock I have gathered myself from places I have visited or from areas near sites where I have worked. Looking at artifacts people made in the distant past always inspires me to replicate the artifacts using the same kind of stone. The example I will use here is a rock out of the Santa Cruz River here in Tucson.
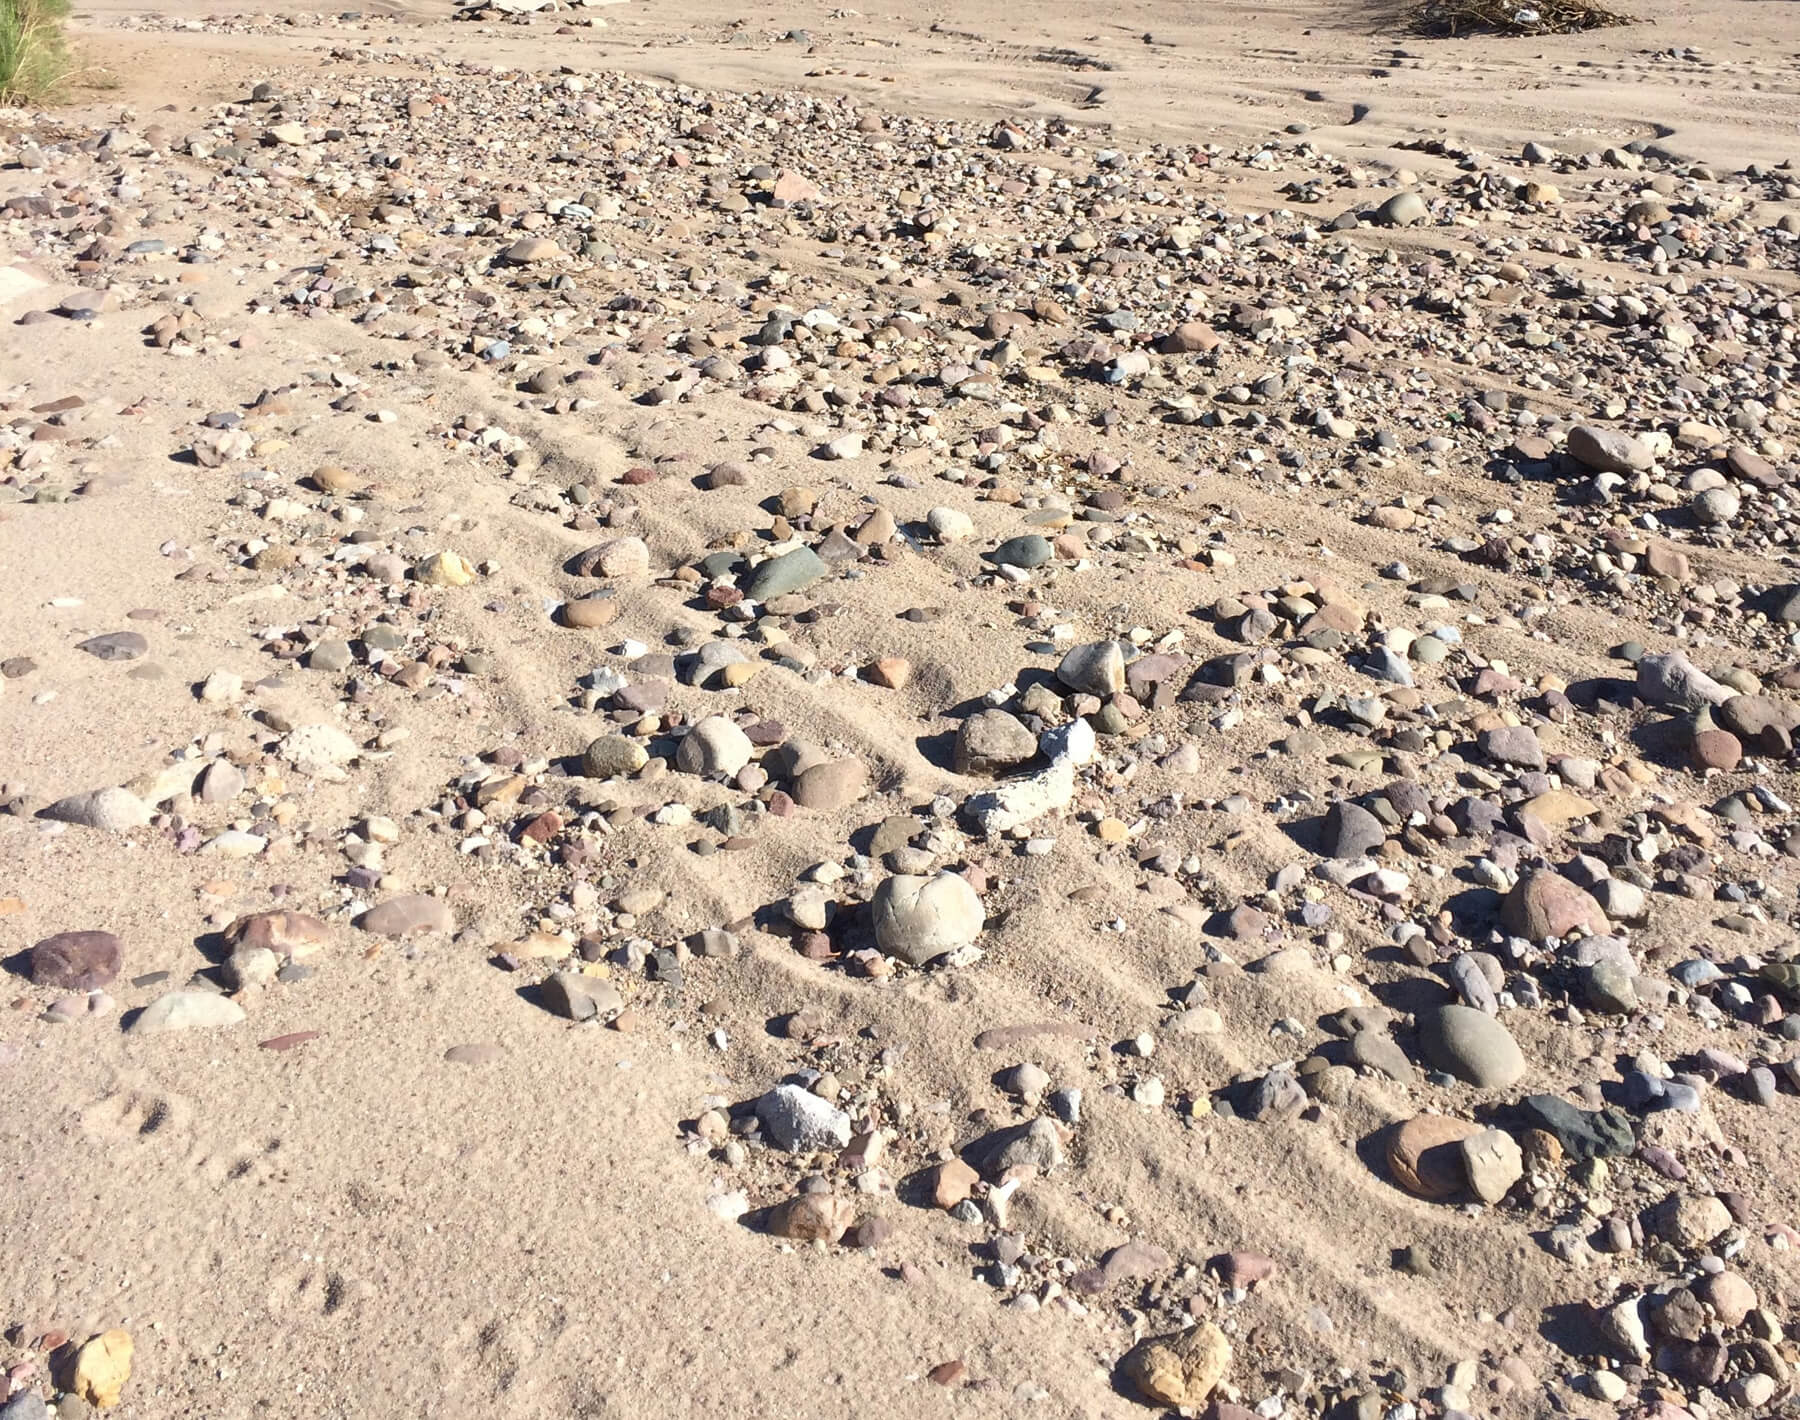
All the rocks in this post were in a secondary context, which means they had washed to that location from locations upstream. Having traveled a good distance, the rocks had been tumbled into round cobbles. Only a very small percentage of such rocks (less than 1%) are flakeable, so it takes time to find a good one.
A rock that is flakeable breaks with a concoidal fracture—the same thing that happens when a BB hits a window and knocks a cone out. Due to the thickness of the rocks, and the low force of most of the impacts, these cones only travel a shallow distance into the rock. Rocks that are flakeable develop a battered skin that makes them easier to see among all the other, less easily flaked rocks.
Each time the rock bangs into other rocks during floods, a small cone is created in its surface. Higher-quality rocks tend to have more cones in their skin. Sometimes, so many cones cover the surface of the rock that it’s hard to recognize what the stone looks like, but if you pay attention to the way the surface of the rock is battered, it tells you the rock is flakeable.
 |
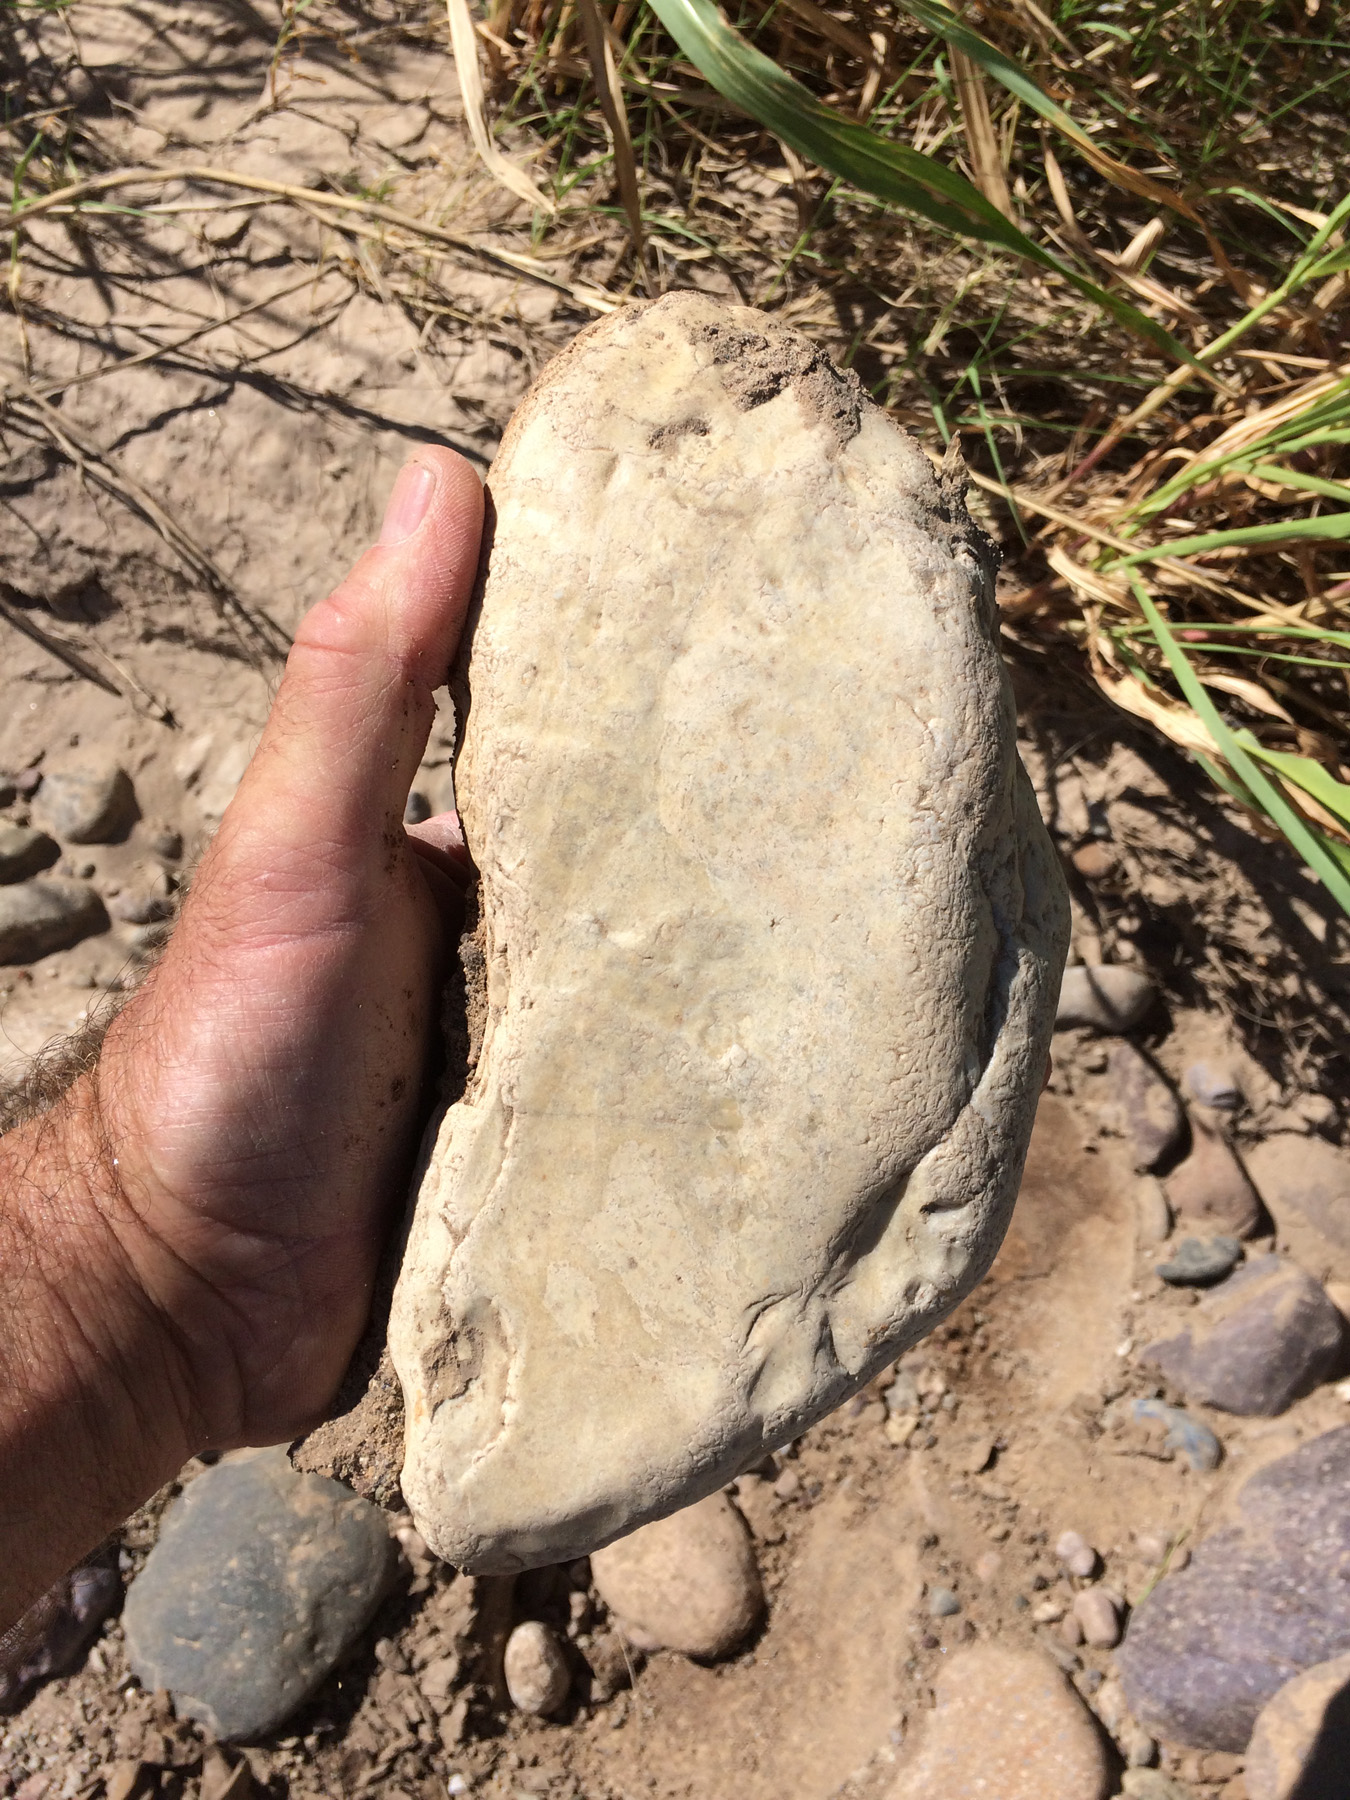 |
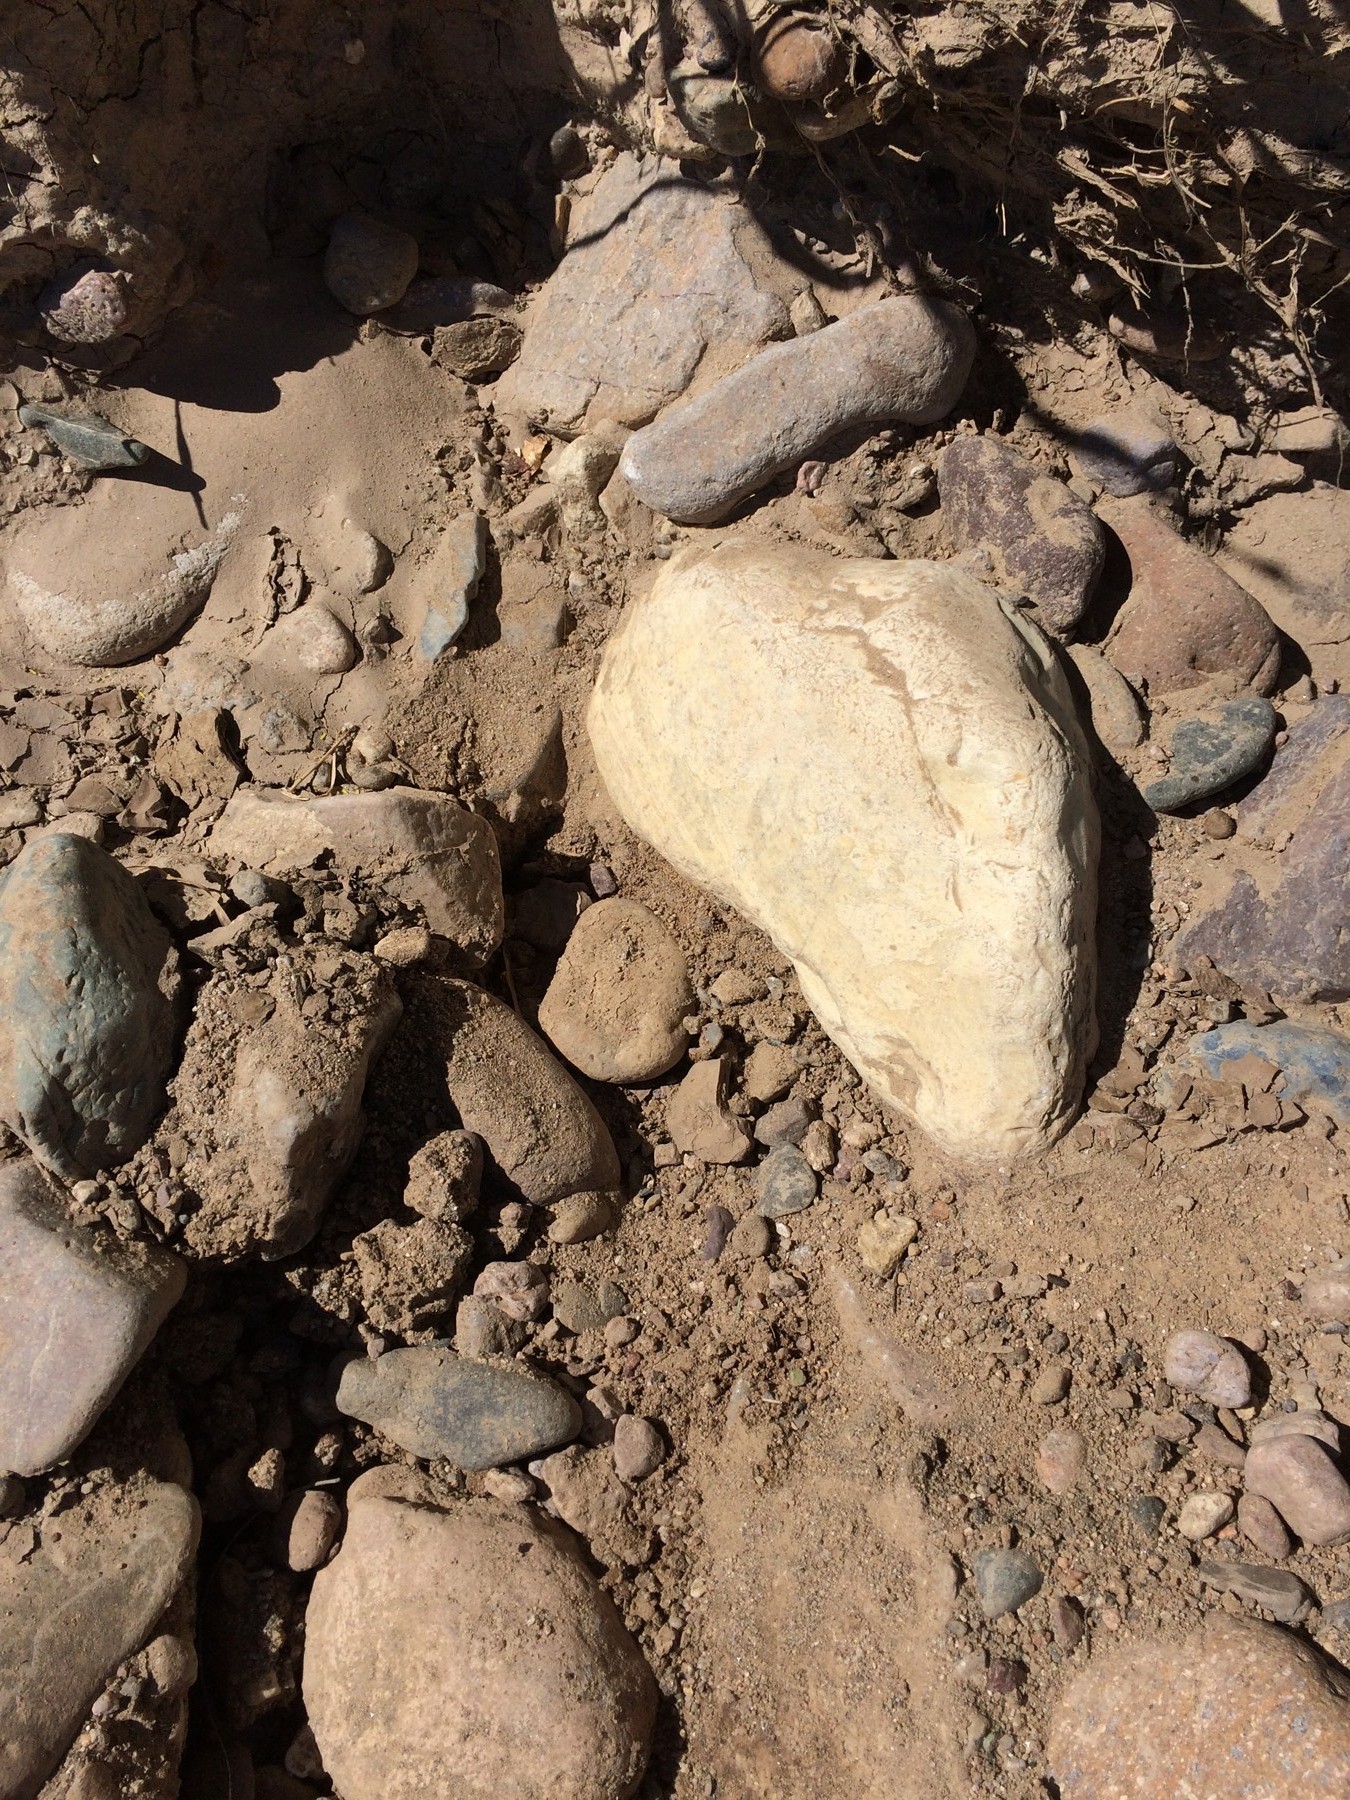
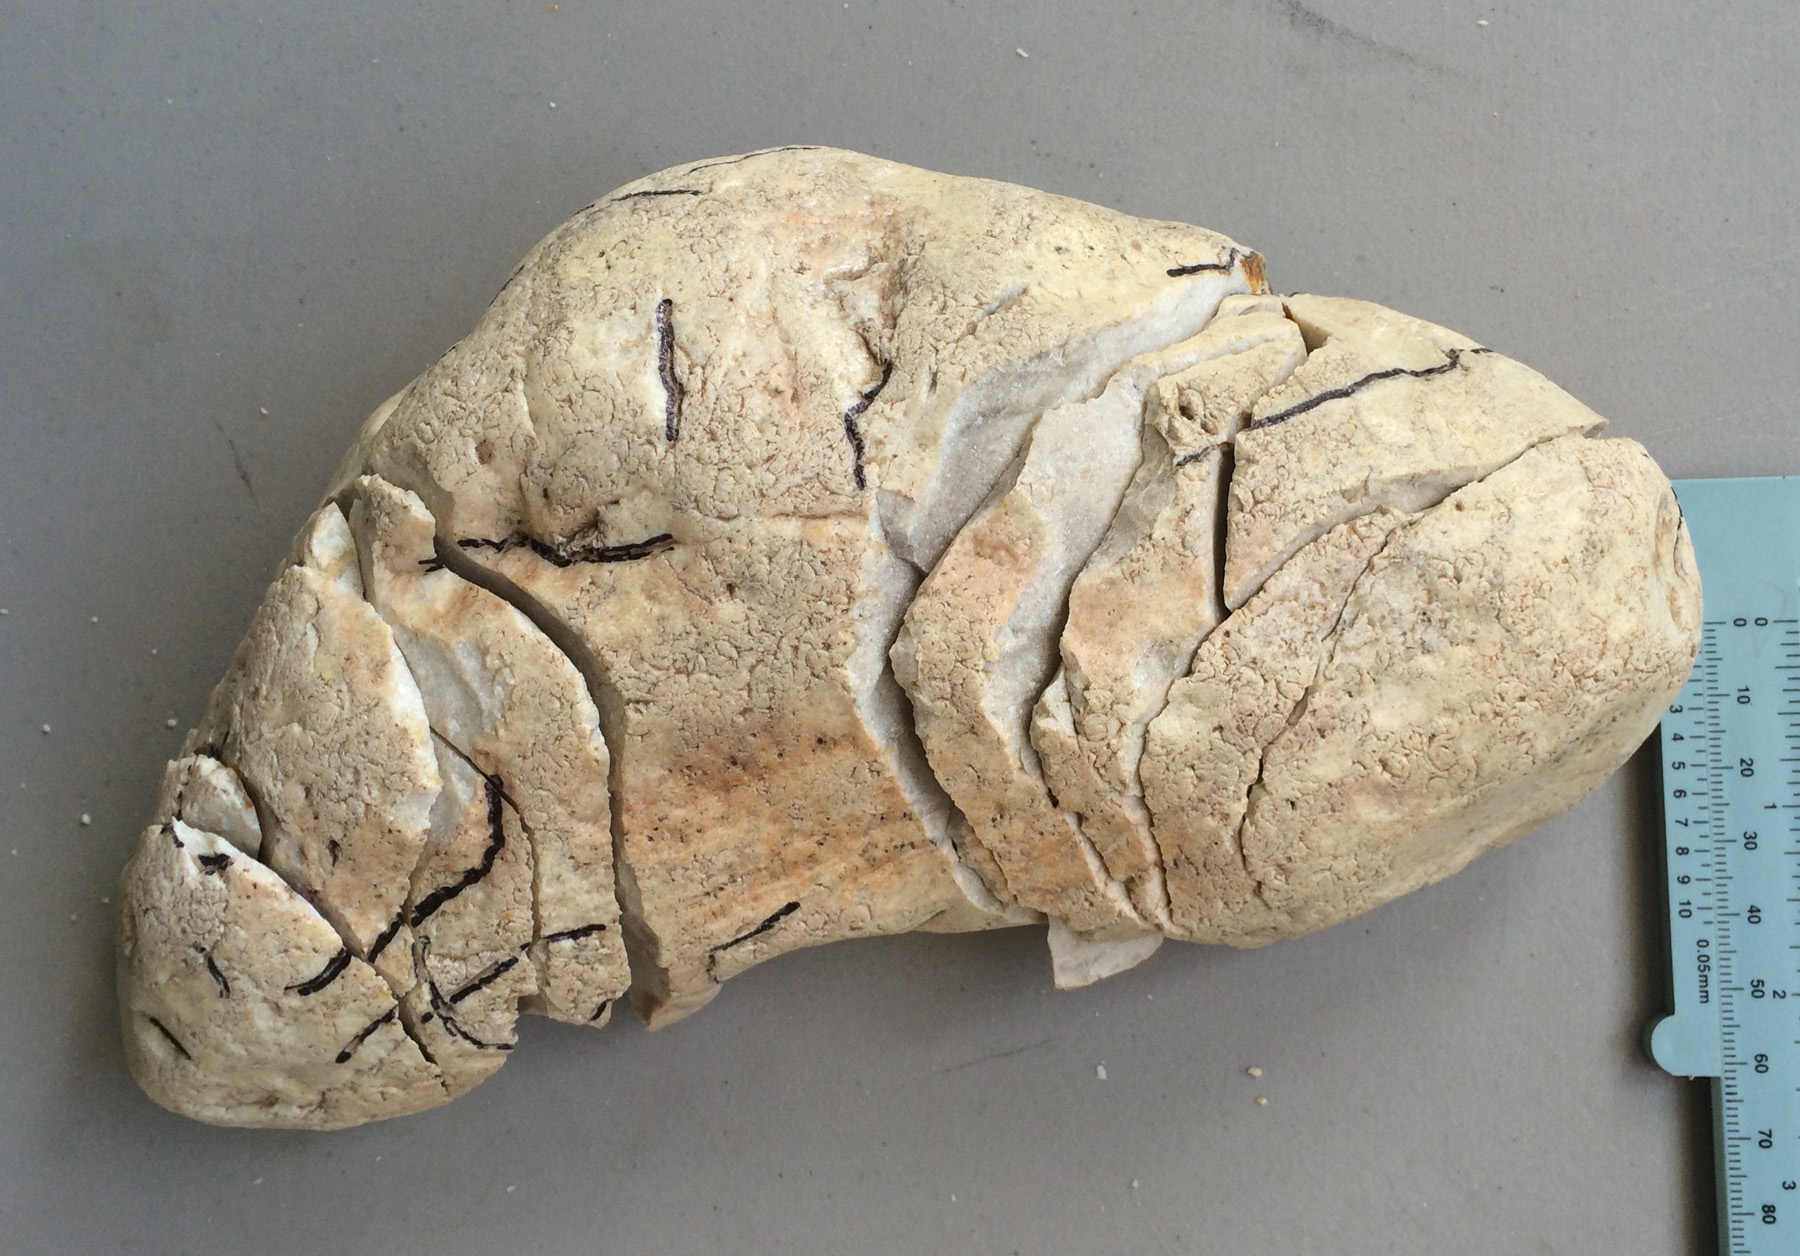
I found this chunk after about 2 hours of searching the gravels. It was mostly buried, but enough was exposed that I could tell it was flakeable. This is a kind of chert-like material that is fairly common in the Santa Cruz gravels. Only about 10% of such pieces I find are of a high enough quality to make points out of. To be sure a piece of rock is of a high enough quality to flake, you need to strike a flake off of it.
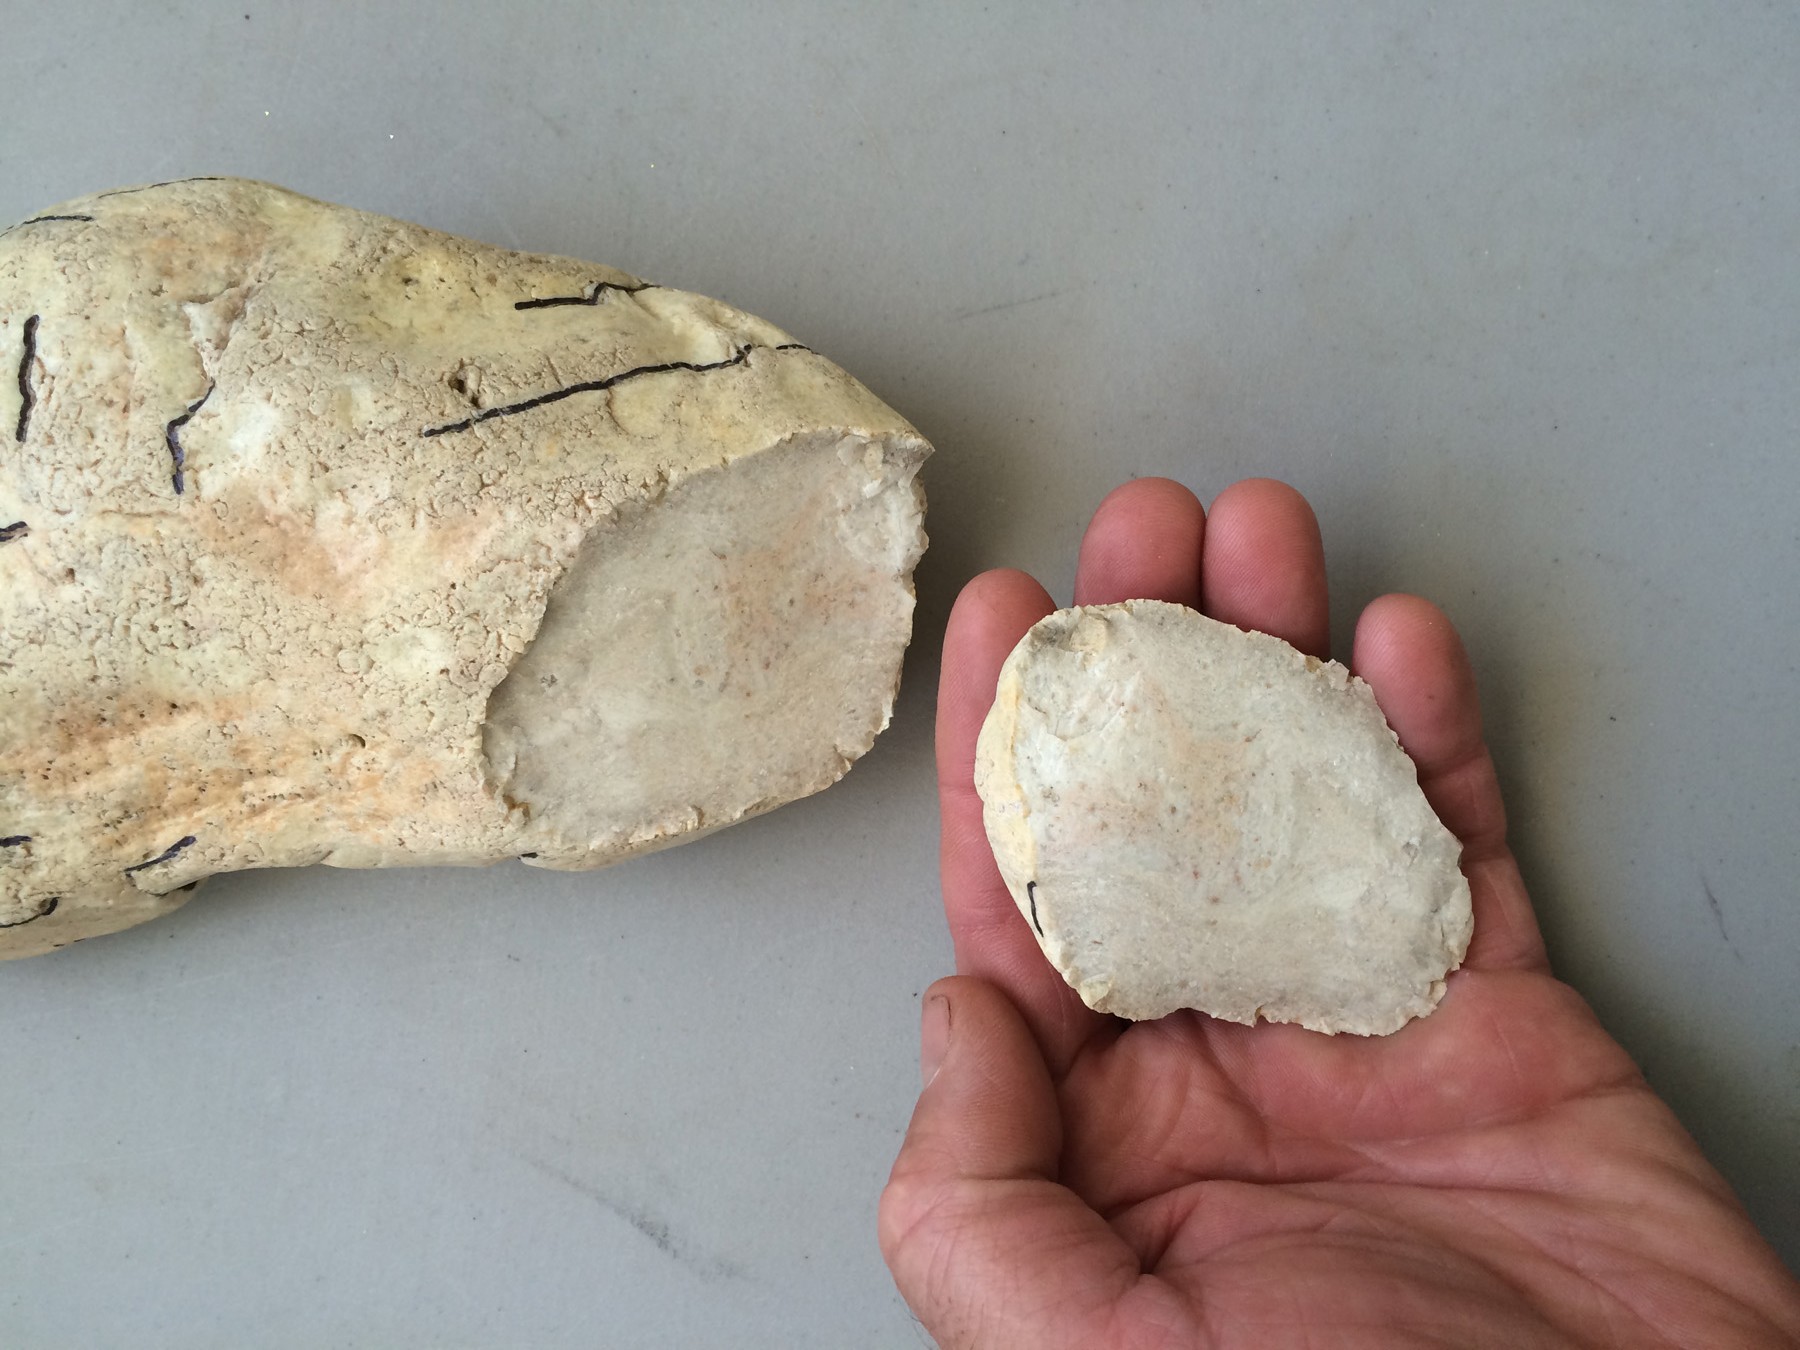
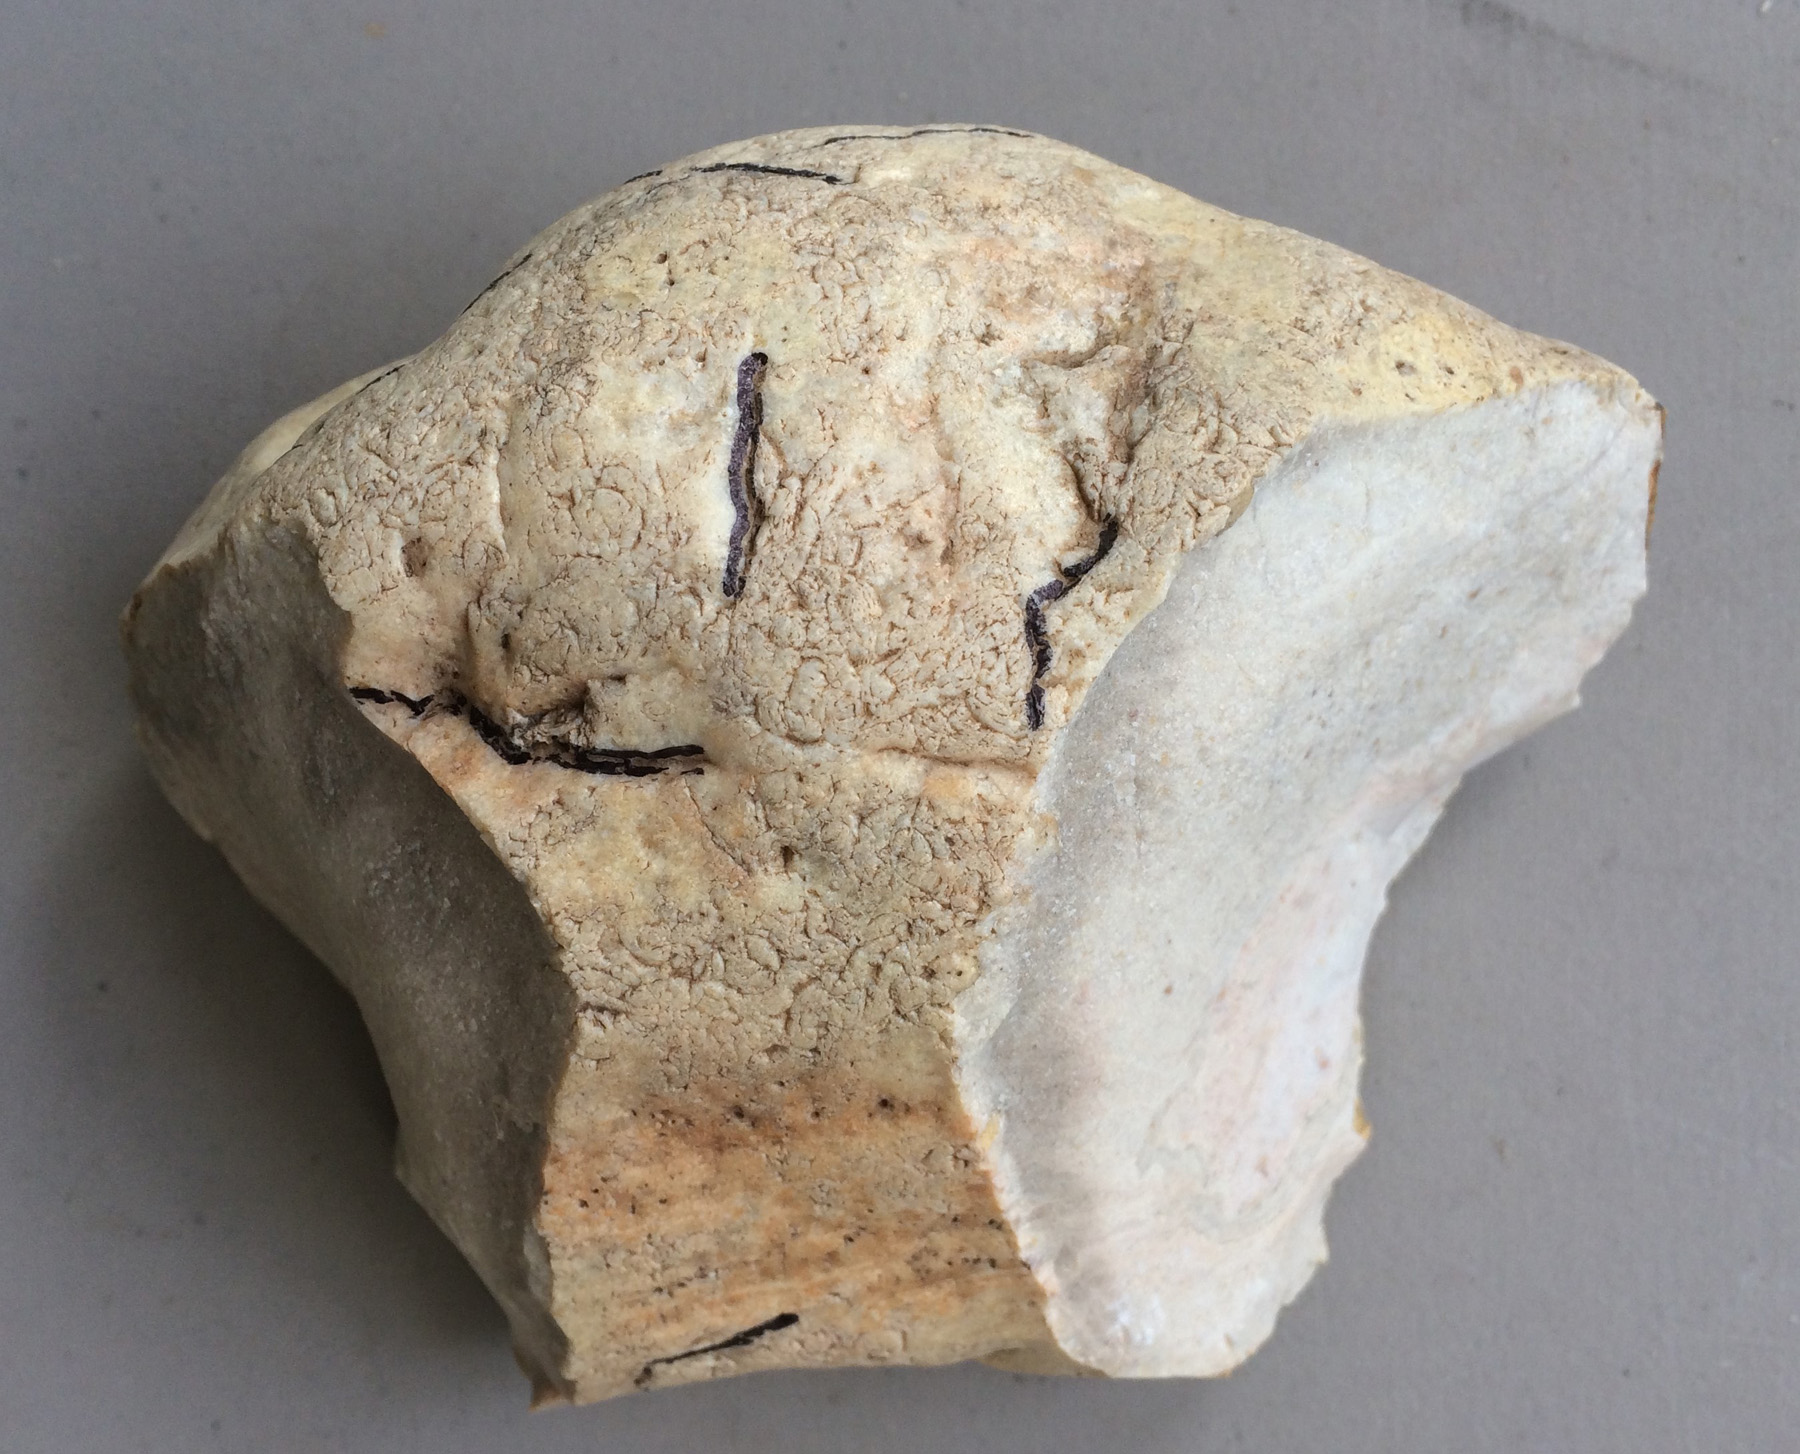
In this photo, you can see I have removed the first flake. This is called testing your stone, and is the only reliable way to tell if the rock is good. In the photo you can see the black sharpie lines I drew on the rock to show fractures in the material that are visible on the skin. If you look closely around the flake scar, you can see small, conical fractures that only go a couple of millimeters into the rock. Sometimes, the fractures can extend further into the stone and make it impossible to get a good flake off of it; other times, the fractures are invisible and only become evident when the rock falls apart when you hit it.
When you know the locations of fractures already in the rock, you can plan the flakes around them so that you get good clean flakes free of fractures. This is a good piece of rock. But it is a little tough, and could use heat treatment (see my previous post) to make it flake better.
There are some ethics to gathering flaking stone that I must mention. First, avoid picking up and testing rocks in places other than washes or river beds. If you were to strike flakes out across the landscape, the flakes and cores you create and leave behind would not necessarily be distinguishable from archaeological sites. Washes and riverbeds are a mixture of materials from upstream and have poor contexts. Few archaeologists would record artifacts in such a context. It is possible to follow artifacts in washes back to the site they are eroding out of, but once they have washed out, they have lost most of their important context.
|
|
|
Another way to get good rock is to purchase it. Rock shops often sell rock that is good for flaking. The best material for learning how to flintknap is obsidian (volcanic glass), and most rock shops have it at reasonable prices. I use obsidian with my students, because it is brittle and easy to flake—but it is also very sharp and likely to cause minor cuts.
Ready to learn how to flintknap? Join Allen this Saturday, October 1, 2016, for a workshop. Click here to learn more.