
(September 1, 2016)—All projectile points are but one component of a hunter’s equipment—each point would have been hafted to a foreshaft or handle. There are several materials that may be used to accomplish this task. In this post, I will show how I make a pine-pitch resin that works well for hafting.
This resin may be used all by itself or with sinew or cordage to fasten a point to the foreshaft. One of the things I like about this resin is that it is waterproof; sinew on its own has a tendency to rehydrate when exposed to moisture.
Materials:
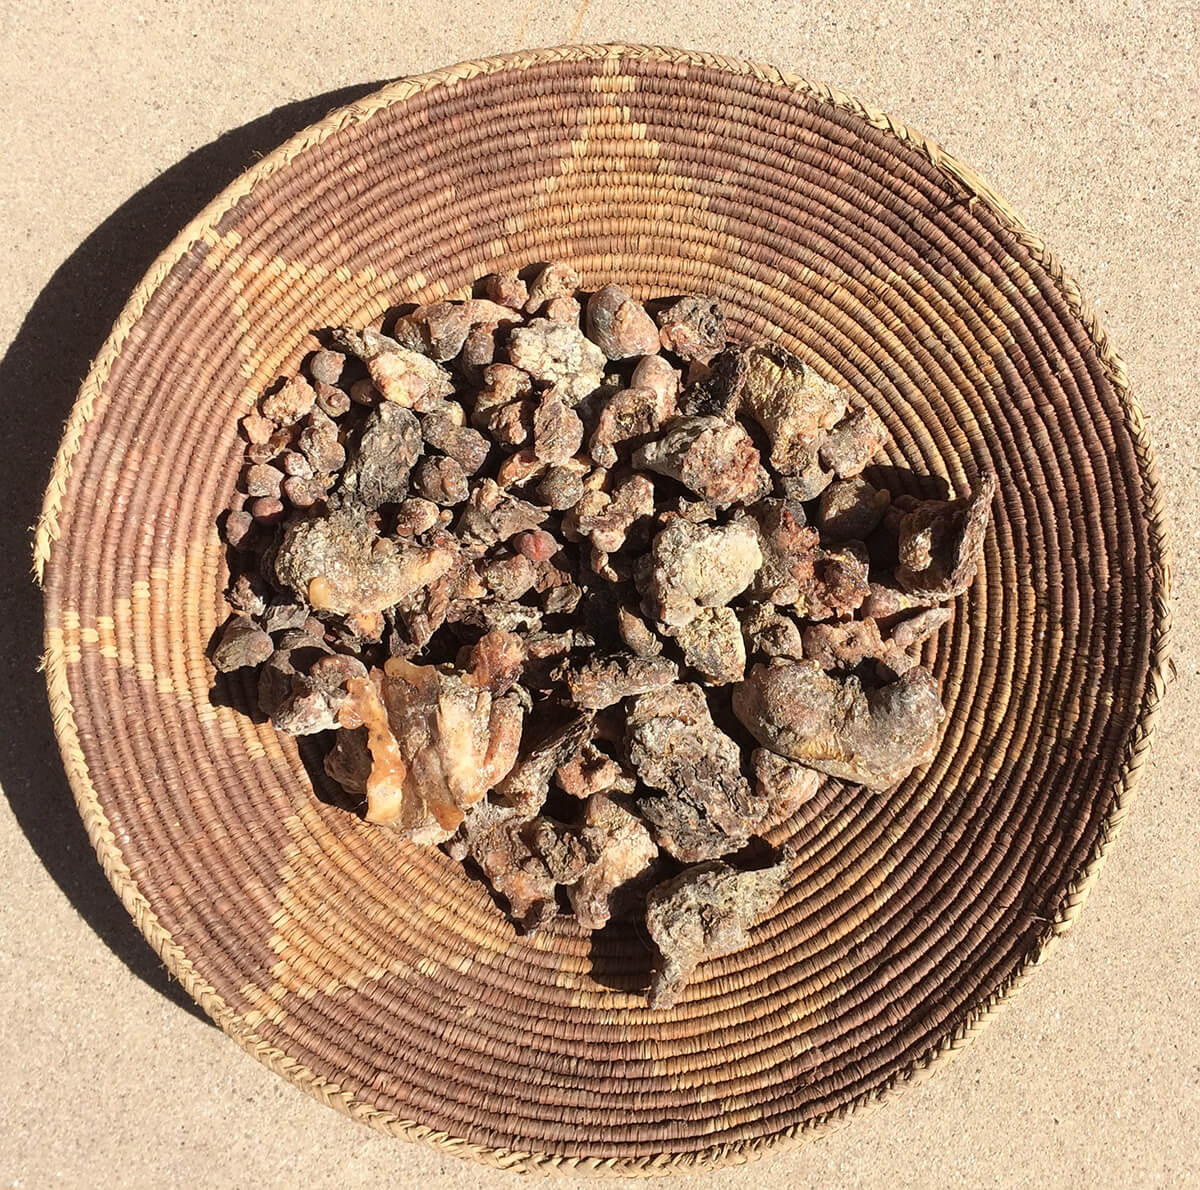
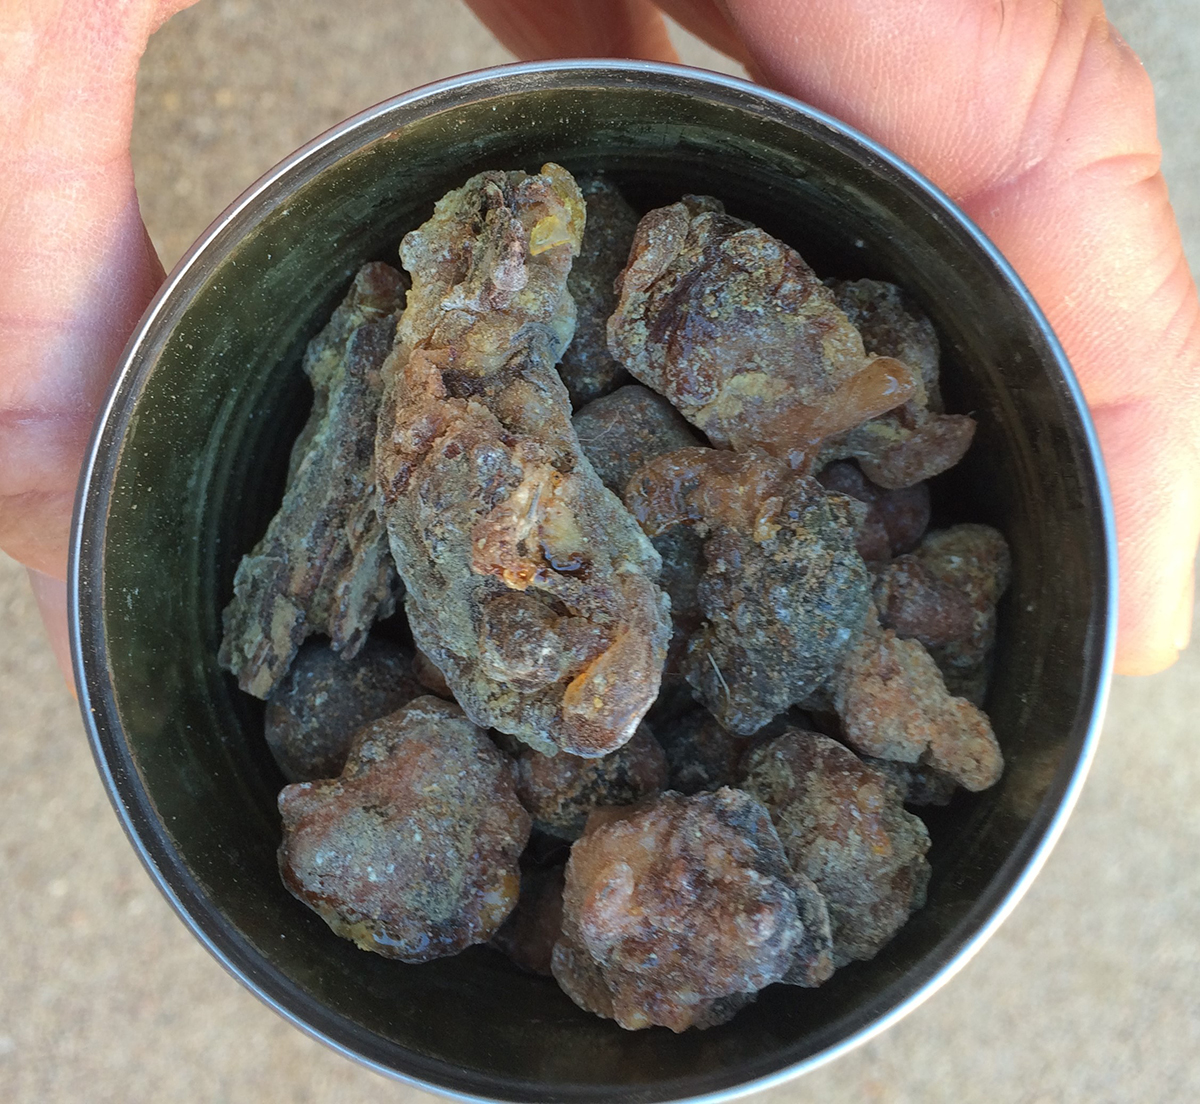
Lumps of raw pitch
*I gathered the pitch I used in this example in New Mexico from bug-killed pinyon trees. Pretty much any injured conifer will produce sap (pitch). I scraped this pitch off the dead tree’s bark, and it was fairly dried out.
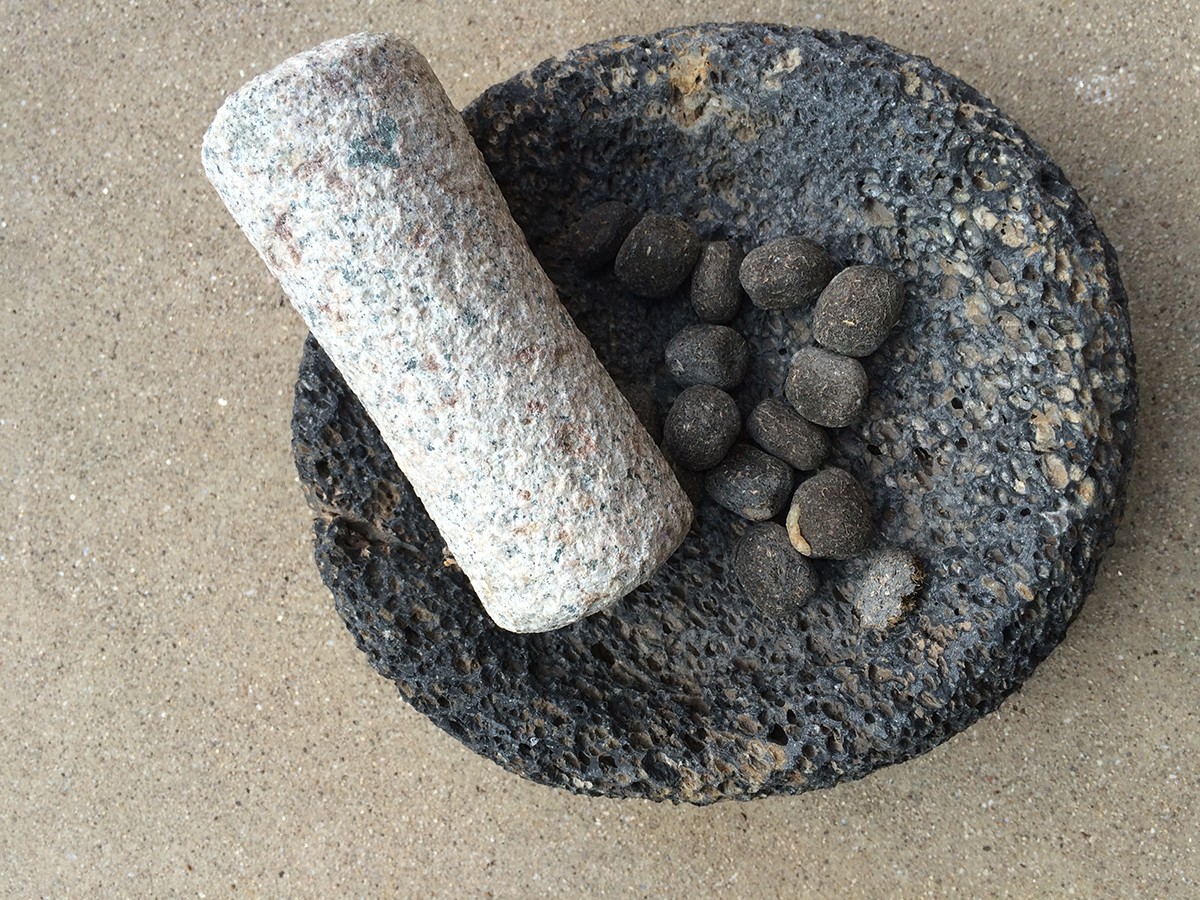
Dry elk droppings
Mortar and pestle
Hot air gun (or a hot plate, or more traditionally, an open fire)
Sticks
|
|
|
|

First:
Grind elk manure
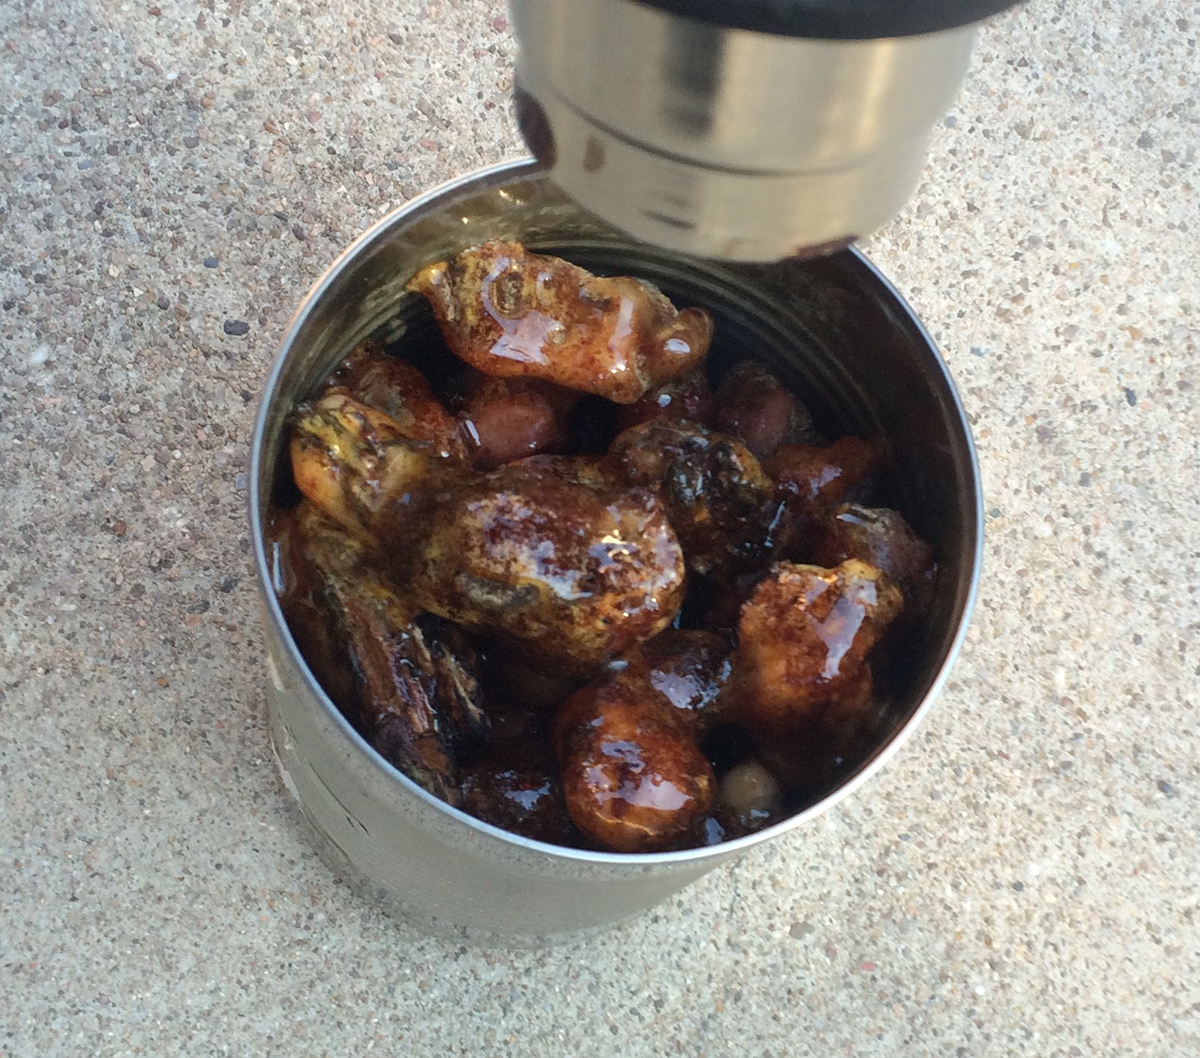
Put lumps of pine pitch into can
|
|
|
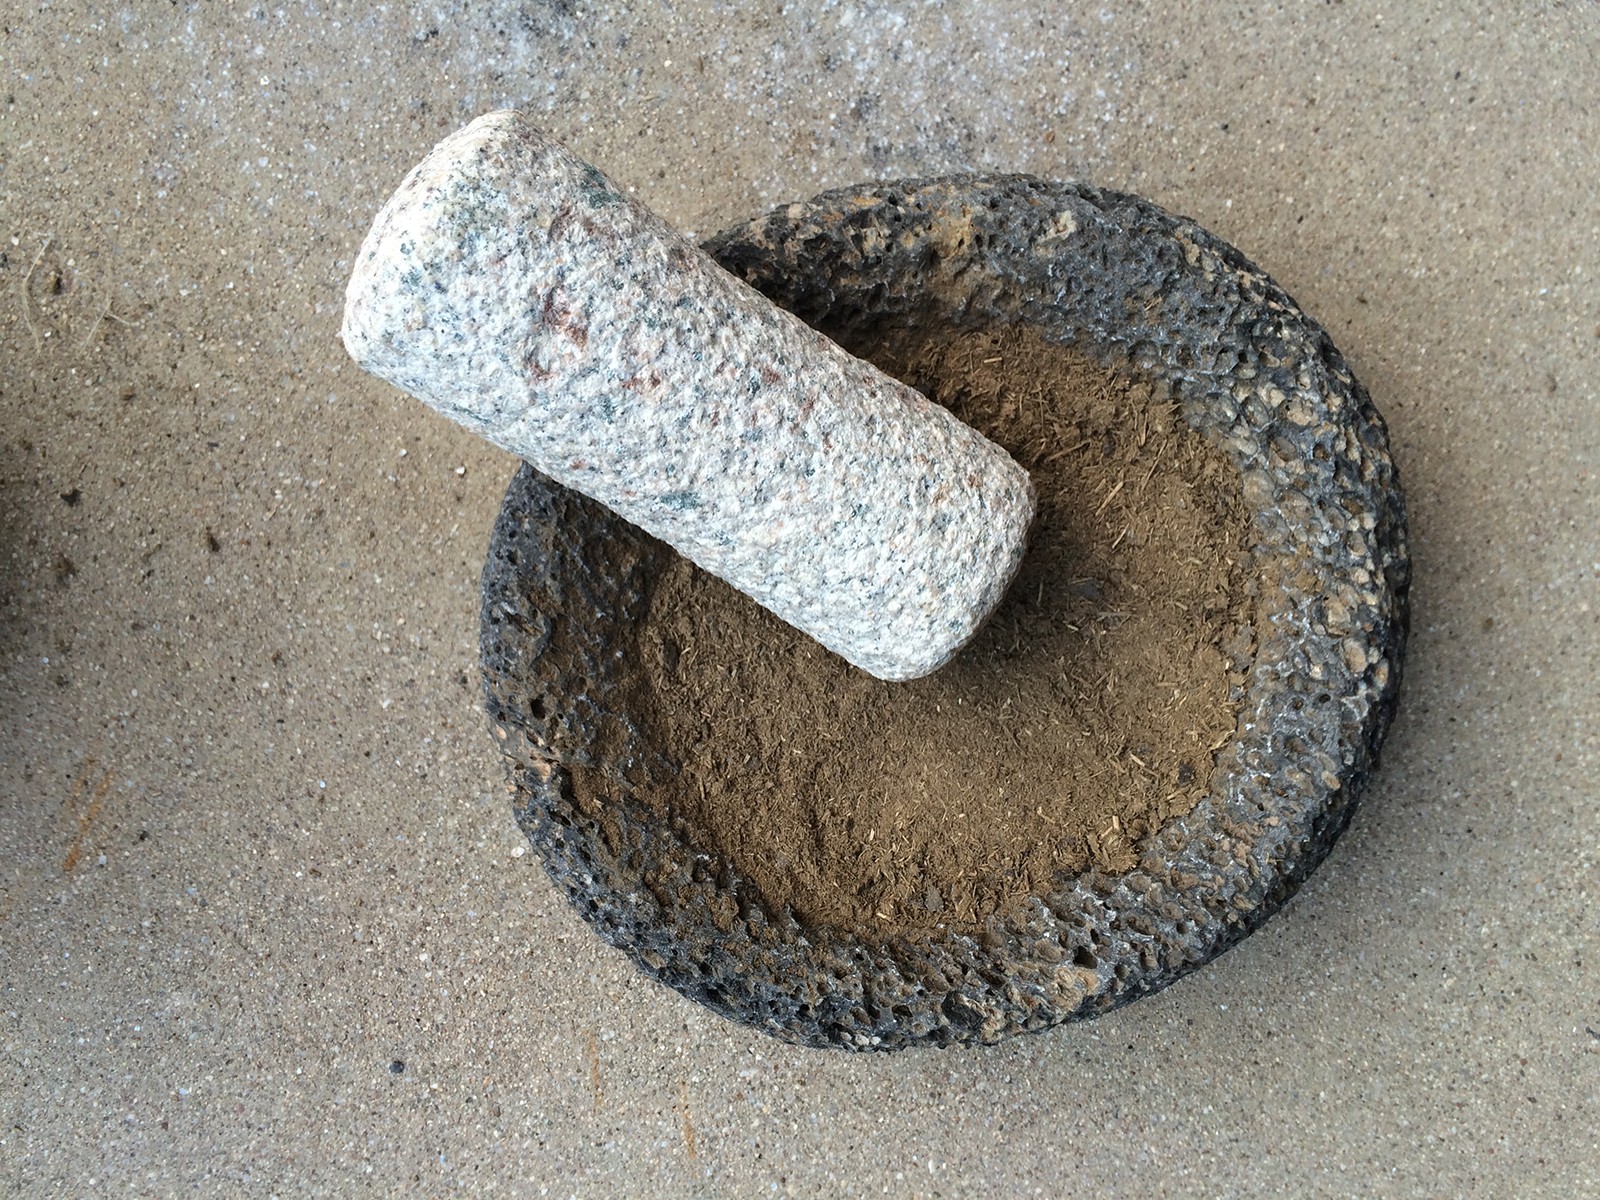
No need to finely grind the scat—just break up the larger lumps so they mix well. I used an old soup can for this. In the distant past, people could have melted the pitch on a hot slab over a fire, for example.
 |
 |
 |
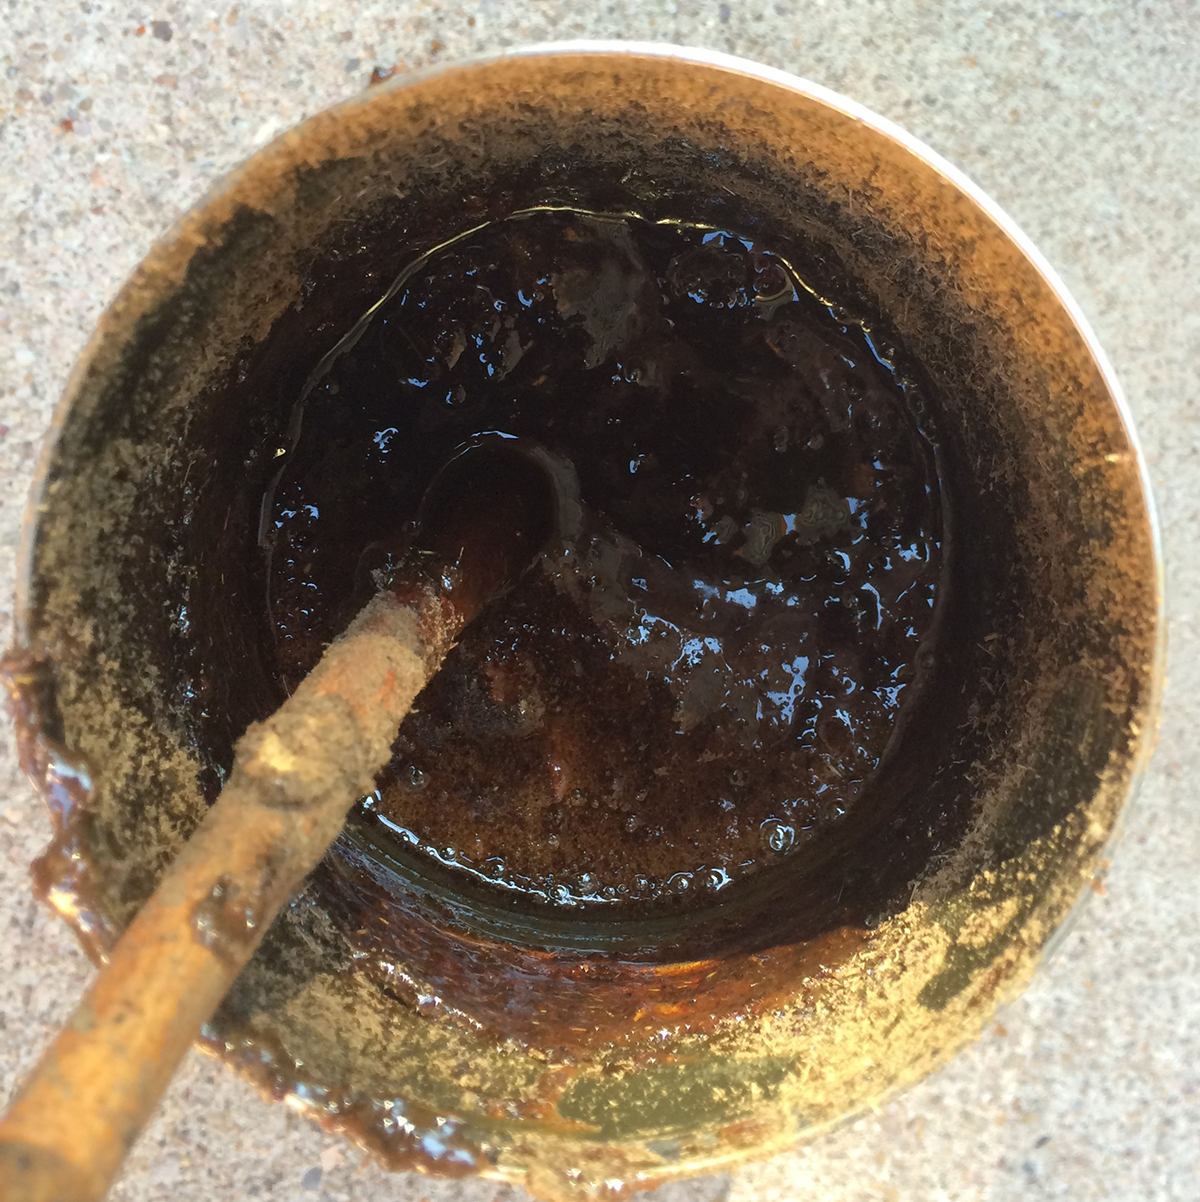
Next:
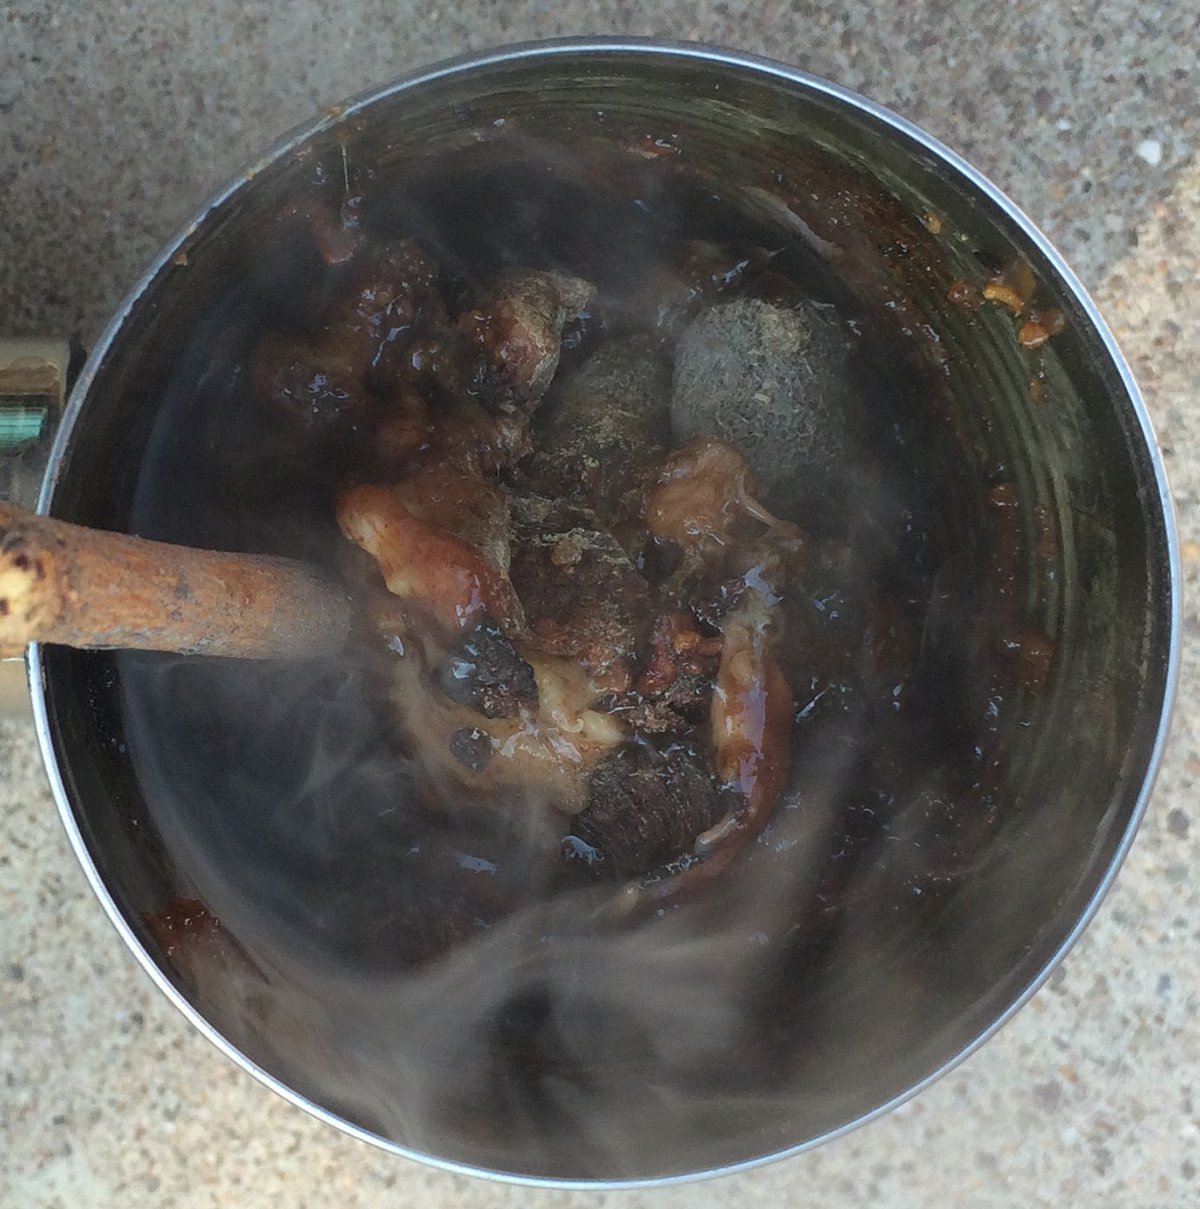
I use the hot air gun to heat the pitch in the can. (The pitch is extremely flammable, so I feel the hot air gun is safest. Some people use a hot plate.) As the pitch starts melting, stir it to help all the lumps melt faster. When the pitch is melted, begin mixing in the ground droppings. I guesstimate a ratio of about ¼ to ⅓ scat to pitch. When you have enough of the scat mixed in, make sure it is well blended.
 |
 |
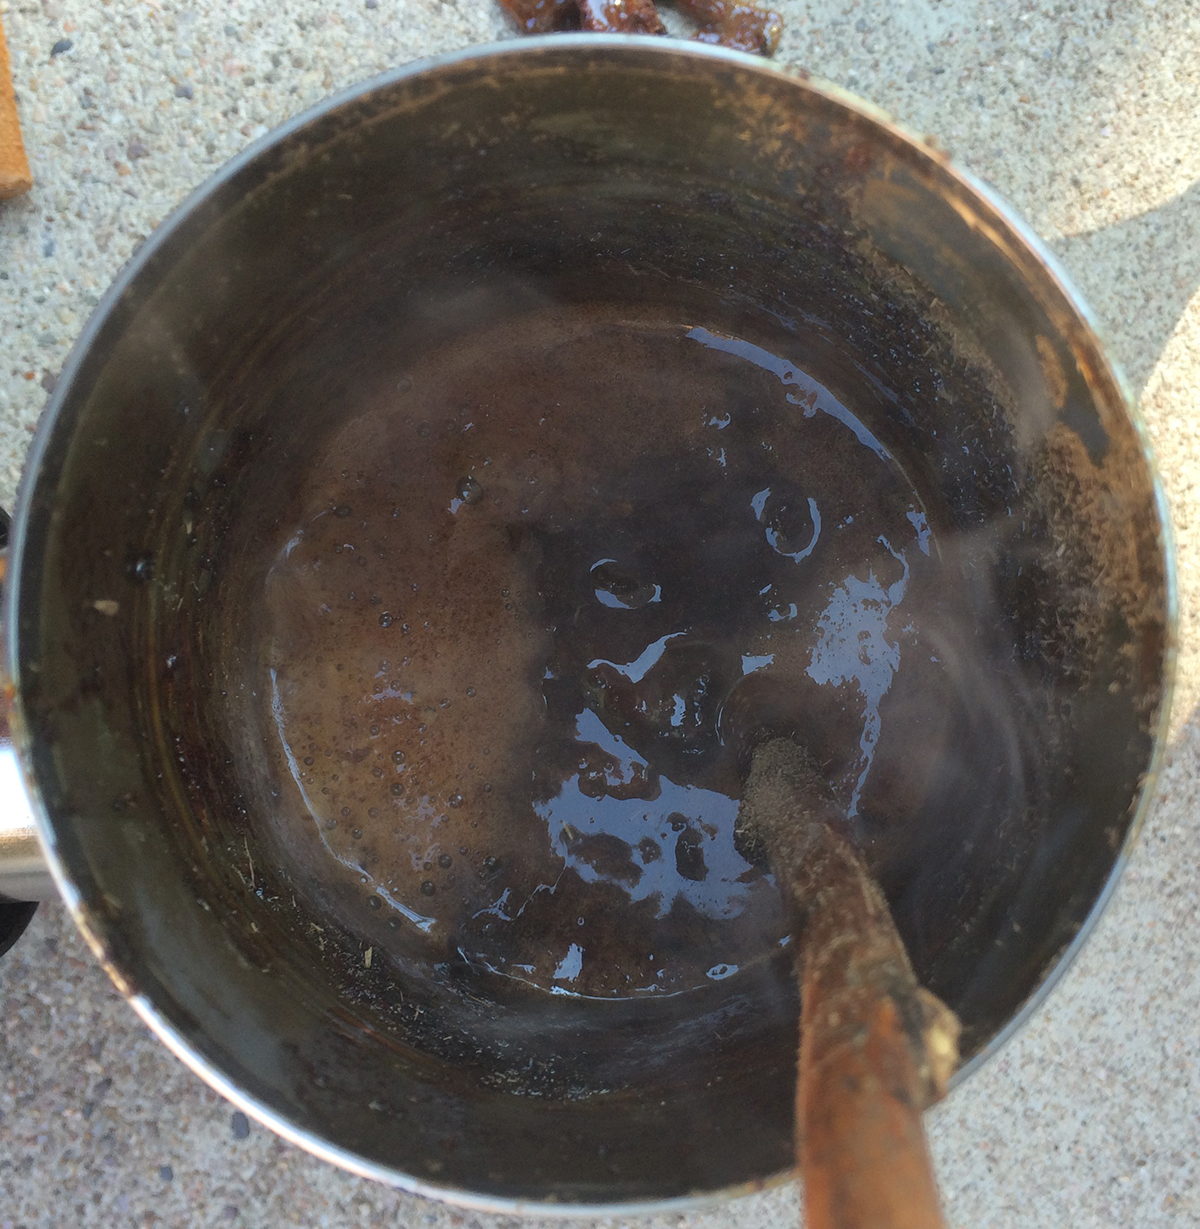
The pitch will thicken up a bit as you add the droppings. When you think you have the mixture right, remove the heat source (or remove the container from the heat source). Continue stirring as it cools so it cools evenly.
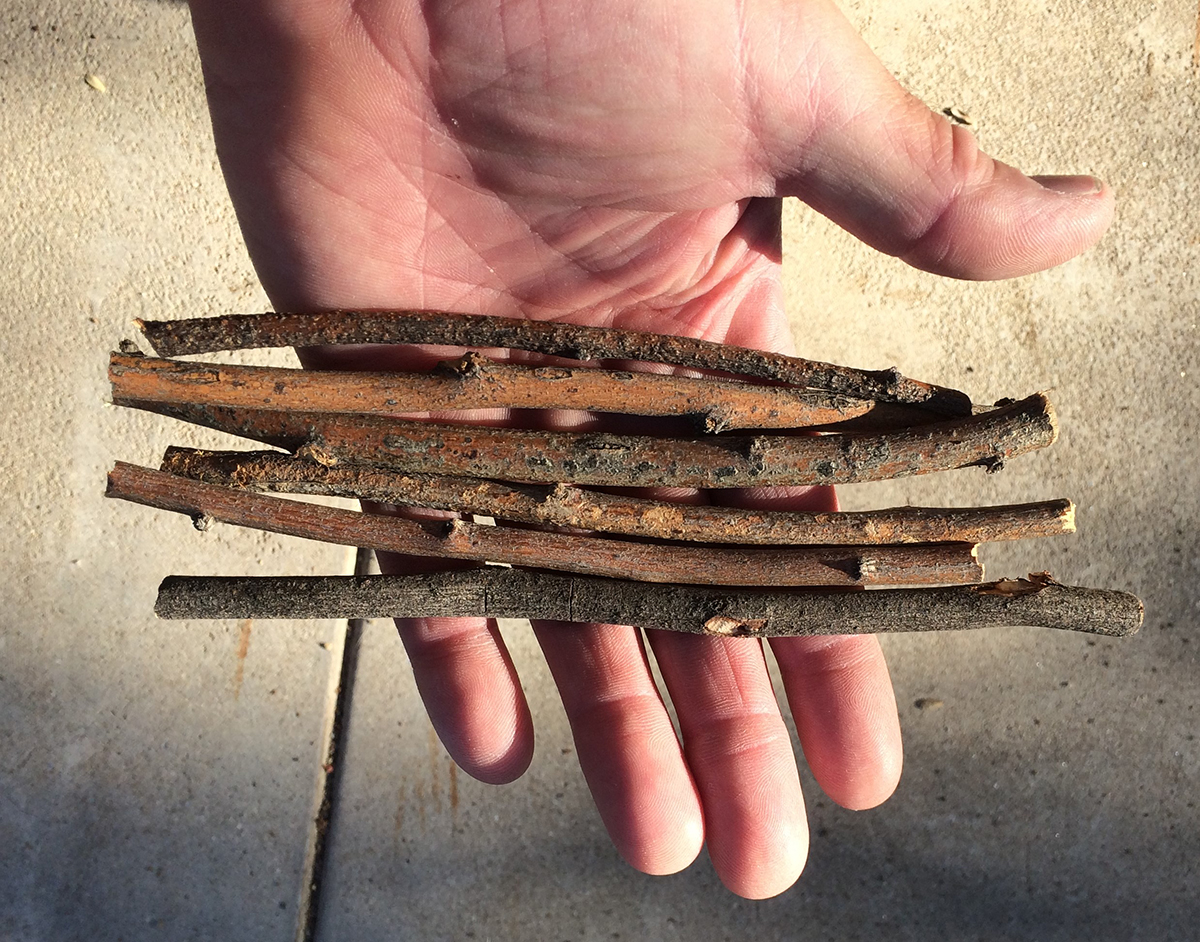
Then:
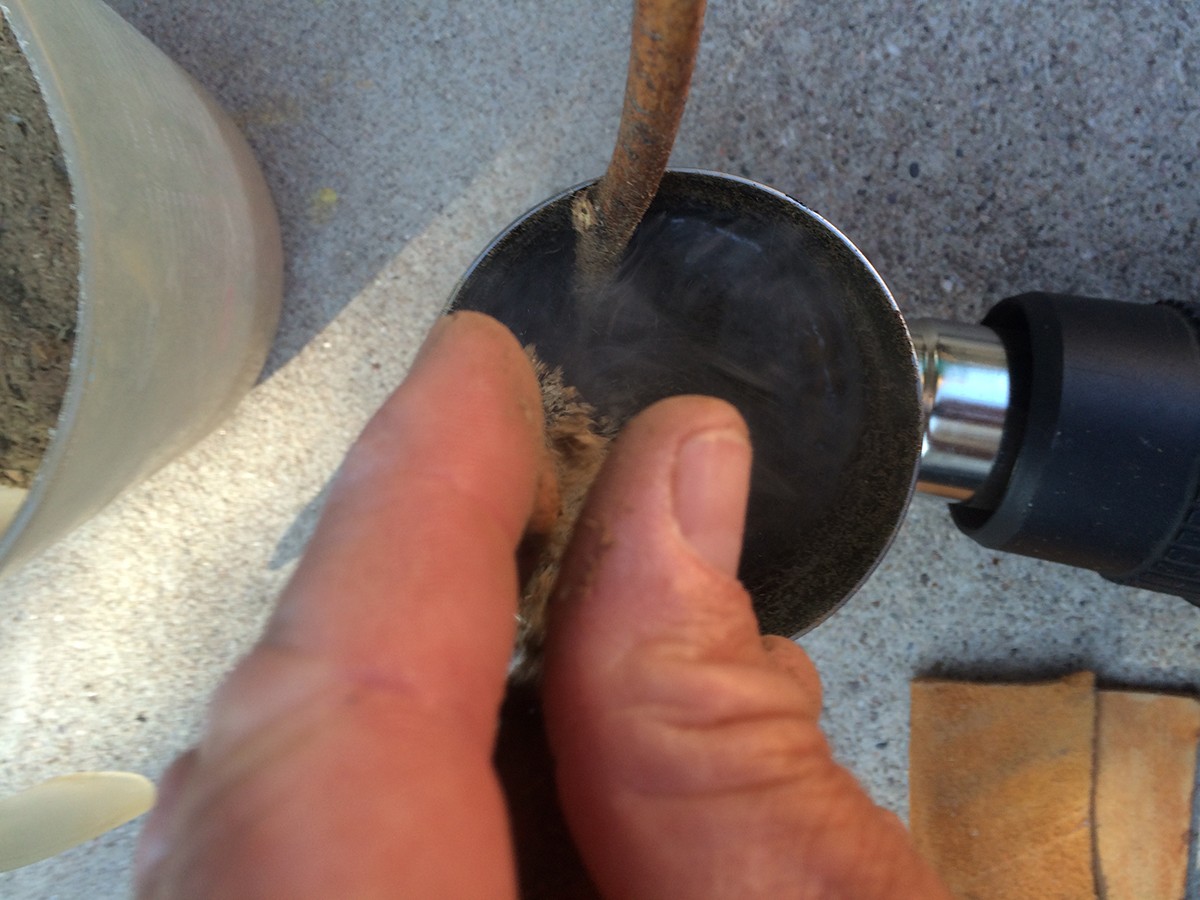
You will need to have prepared some sticks ahead of time to hold the finished pitch. Having your pitch “stored” on a stick is helpful, as it makes it easy to reheat it without burning it. I make my sticks about 4 or 5 inches long. I used some small, dry mesquite branches for the sticks here—use whatever is handy.
 |
|
 |
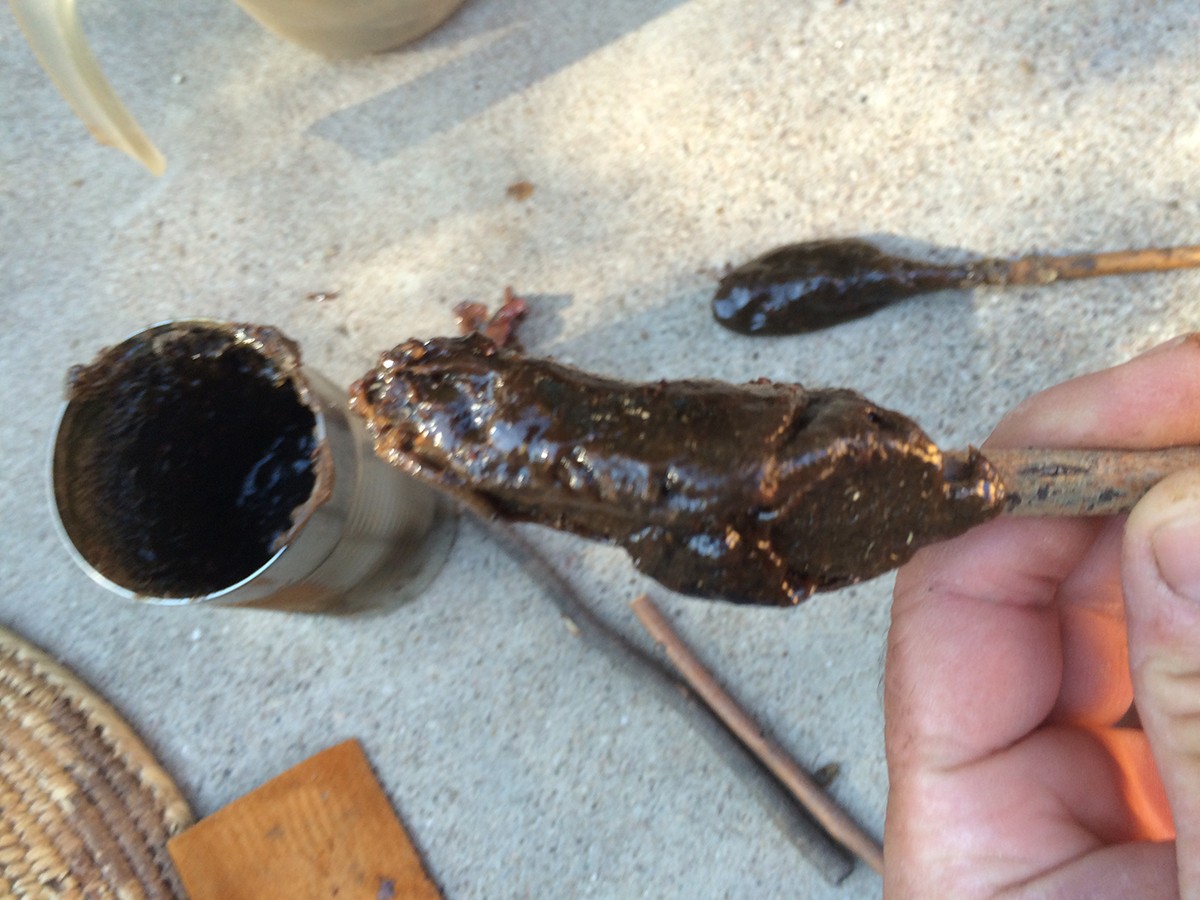 |
As the pitch cools, it thickens. Continue stirring until it starts adhering to the stick. At this stage, you will need to work fast to scrape the pitch out before it hardens up in the can. I usually have to reheat the can to get most of it out.
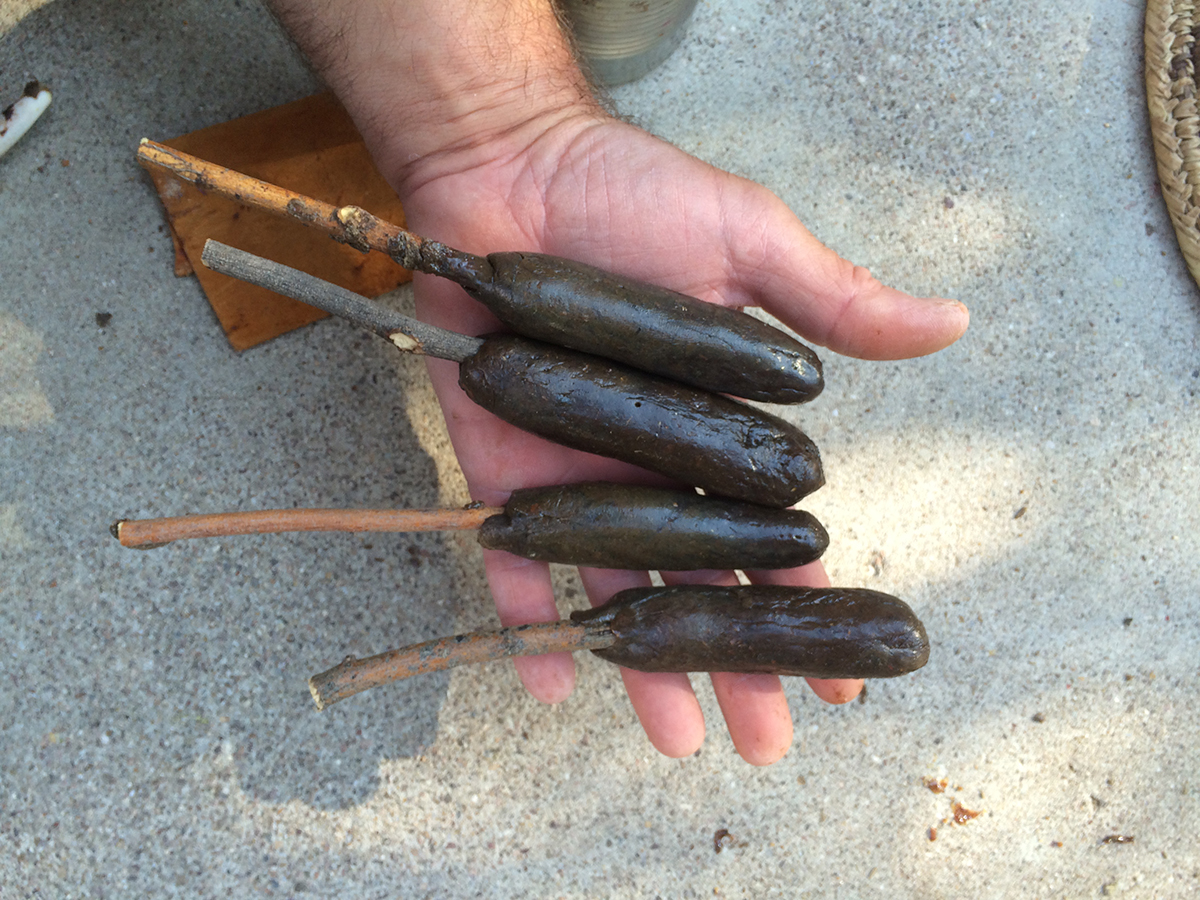
I was able to get four sticks out of this batch.
This resin may also be used with sinew—in fact, it is a good way to waterproof the sinew.
Next post, we’ll do some hafting!